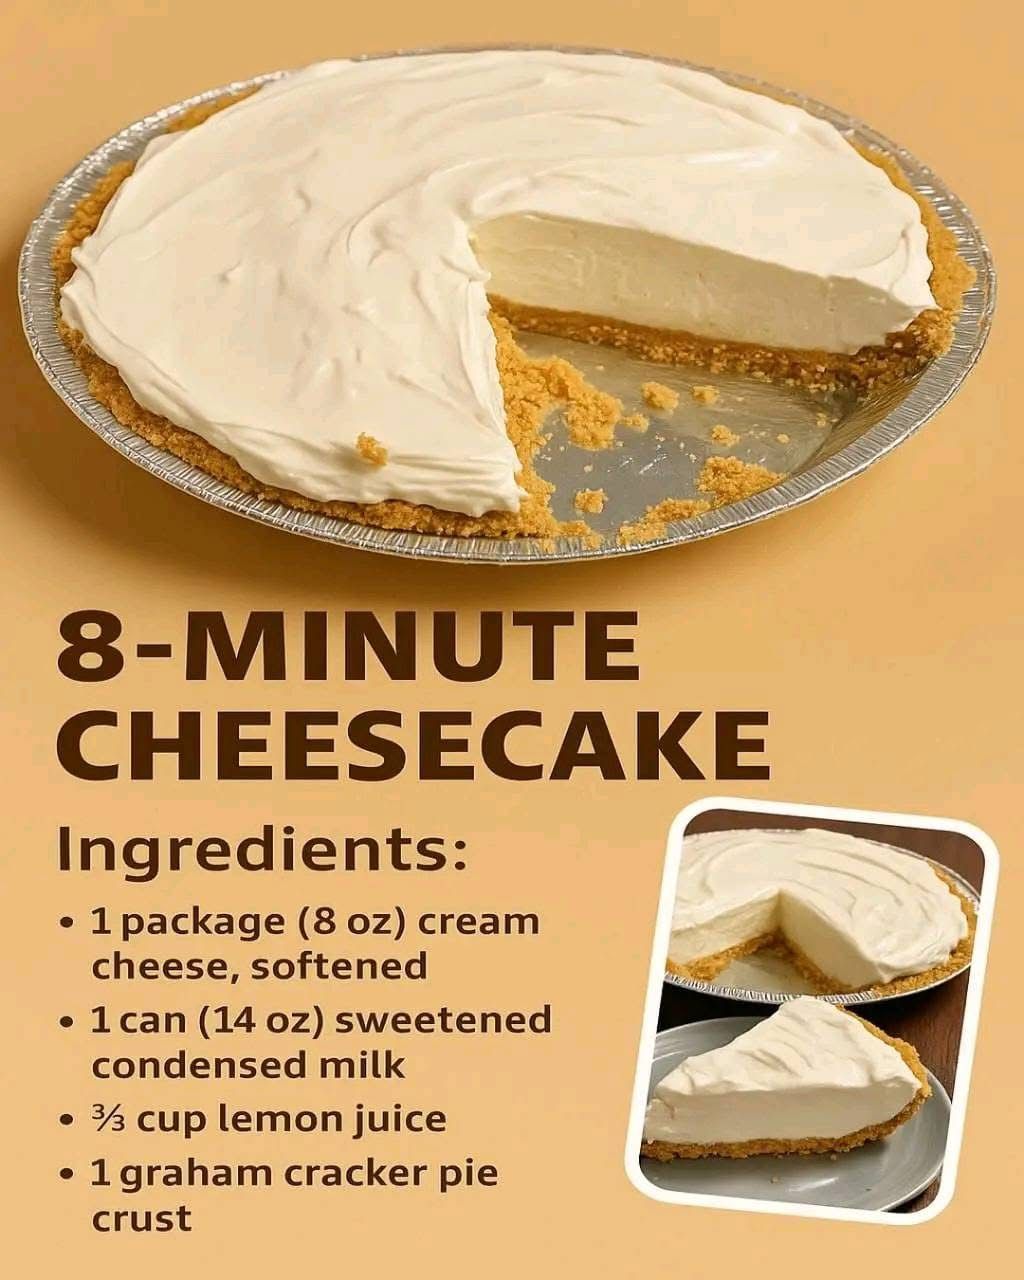
Pro Tips for Best Results
I tested the chilling time three different ways: 2 hours, 4 hours, and overnight. At 2 hours, it’s good but a bit soft. At 4 hours, it’s sliceable and delicious. But overnight? It’s transcendent. The texture firms up to that classic, dense-yet-creamy cheesecake feel we all love. If you can possibly plan ahead, give it that full overnight rest.
Here’s what I learned the hard way about the crust: Let your filled cheesecake chill in the fridge uncovered for the first hour. If you try to cover it with plastic wrap immediately, the condensation can make the top of the filling a tiny bit sticky and the crust can lose a little of its crunch. After that initial set, then you can cover it tightly.
For the cleanest, most beautiful slices, take an extra thirty seconds. Run a thin, sharp knife under very hot water, wipe it dry, and then make your cut. Repeat this between every single slice. It seems like a fussy step, but I promise you it creates those pristine, restaurant-style slices that make serving this dessert even more satisfying.
Common Mistakes to Avoid
The biggest mistake is rushing the cream cheese softening. I made this mistake the first time—I was impatient and tried to microwave it for a few seconds. It ended up too warm in spots and still cool in others, and it never blended smoothly with the condensed milk. Don’t do what I did. Plan for the room-temperature time. If you’re in a true pinch, you can place the sealed block in a bowl of warm (not hot) water for 10-15 minutes.
Another pitfall is using bottled lemon juice that’s been in the fridge for months. The acid level weakens over time, and it might not set the cheesecake properly. If you must use bottled, make sure it’s fresh. But really, squeezing a couple of lemons is part of the fun and guarantees that perfect, bright tang and a reliable set every single time.
Serving Suggestions
I love serving this cheesecake straight from the fridge, cold and firm. A simple garnish is often the most elegant. My go-to is a pile of fresh, juicy berries—raspberries or blueberries are my favorite. The slight tartness of the fruit plays so nicely against the sweet creaminess of the filling.
For a more decadent touch, I’ll warm up a jar of salted caramel sauce or a rich chocolate ganache and drizzle it lightly over each slice just before serving. The contrast of the cold cheesecake and the warm sauce is divine. In the fall, a spoonful of spiced apple compote on the side transforms it into a whole new dessert.
If I’m serving a crowd, I’ll sometimes add a dollop of freshly whipped cream on top with a little lemon zest grated right over it. It looks stunning and hints at the flavor inside. Remember, the cheesecake itself is the star; your toppings are just the supporting actors meant to enhance, not overwhelm.
Variations & Customizations
The beauty of this base recipe is how easily it adapts. One of my favorite variations is a Key Lime version. Simply swap the fresh lemon juice for an equal amount of bottled Key lime juice (Nellie & Joe’s is my brand of choice) and add a bit of lime zest to the filling. It’s like a vacation in a pie plate.
For a chocolate twist, I’ve had great success by folding in 1 cup of finely chopped semi-sweet chocolate or mini chocolate chips into the filling after it’s mixed. You can also use a chocolate cookie crust instead of graham cracker. I’ve even seen friends swirl in some raspberry jam or passionfruit curd before chilling for a gorgeous marbled effect.
If you’re feeling adventurous, infuse the filling with other flavors. Mix in the seeds of a vanilla bean for specks of real vanilla, a tablespoon of bourbon for a grown-up kick, or even a half-cup of smooth peanut butter. Just be sure any additions are at room temperature so they incorporate smoothly and don’t cause the filling to seize or separate.
How to Store, Freeze & Reheat
From my experience, this cheesecake stores beautifully in the refrigerator. Once it’s fully set, I cover the pie plate tightly with plastic wrap or aluminum foil. It keeps perfectly for up to 4-5 days. The crust will soften slightly by day four or five, but the flavor is still fantastic. I’ve never had a slice last longer than that to test further!
Yes, you can freeze it! To freeze, I chill it completely first, then wrap the entire pie plate (if it’s disposable) very tightly in two layers of plastic wrap, followed by a layer of heavy-duty foil. It will keep for up to 2 months. To thaw, I transfer it to the refrigerator for 24 hours before serving. I don’t recommend freezing individual slices as they can dry out a bit on the edges. And there’s no need to reheat this cheesecake—it’s always meant to be served chilled and refreshing.
Conclusion
This 8-Minute Cheesecake is more than just a recipe; it’s a little piece of kitchen magic that has saved my sanity and sweetened my gatherings more times than I can count. It proves that incredible desserts don’t require complex techniques or hours of effort—just a few quality ingredients and a bit of patience while it chills. I hope it becomes a trusted, beloved recipe in your home, just as it has in mine. Now, go grab those lemons and get mixing. Your future self, savoring that first perfect bite, will thank you.