The first time I pulled a pan of these Oreo-stuffed cinnamon rolls from my oven, I knew I’d stumbled onto something magical. The air in my kitchen shifted, becoming a warm, intoxicating blanket of melted chocolate, spiced cinnamon, and sweet, yeasty dough. As I poked one gently, witnessing the gooey chocolate center ooze out, I did a little victory dance right there by the stove. This recipe was born from a late-night craving, a fusion of two beloved treats that feels like a decadent secret. It’s not just baking; it’s creating edible joy, and the look on my family’s faces when they took the first bite is why I keep making them.
Why You’ll Love This Recipe
You’re going to love this recipe because it takes the cozy, familiar comfort of a cinnamon roll and injects it with a fun, chocolaty surprise that makes every bite exciting. It’s simpler than you think, using a brilliant shortcut that doesn’t sacrifice that homemade taste and feel. I promise, whether you’re serving these for a special weekend brunch or as the ultimate treat-yourself dessert, they deliver that unforgettable “wow” moment that has everyone asking for the recipe.
Ingredients
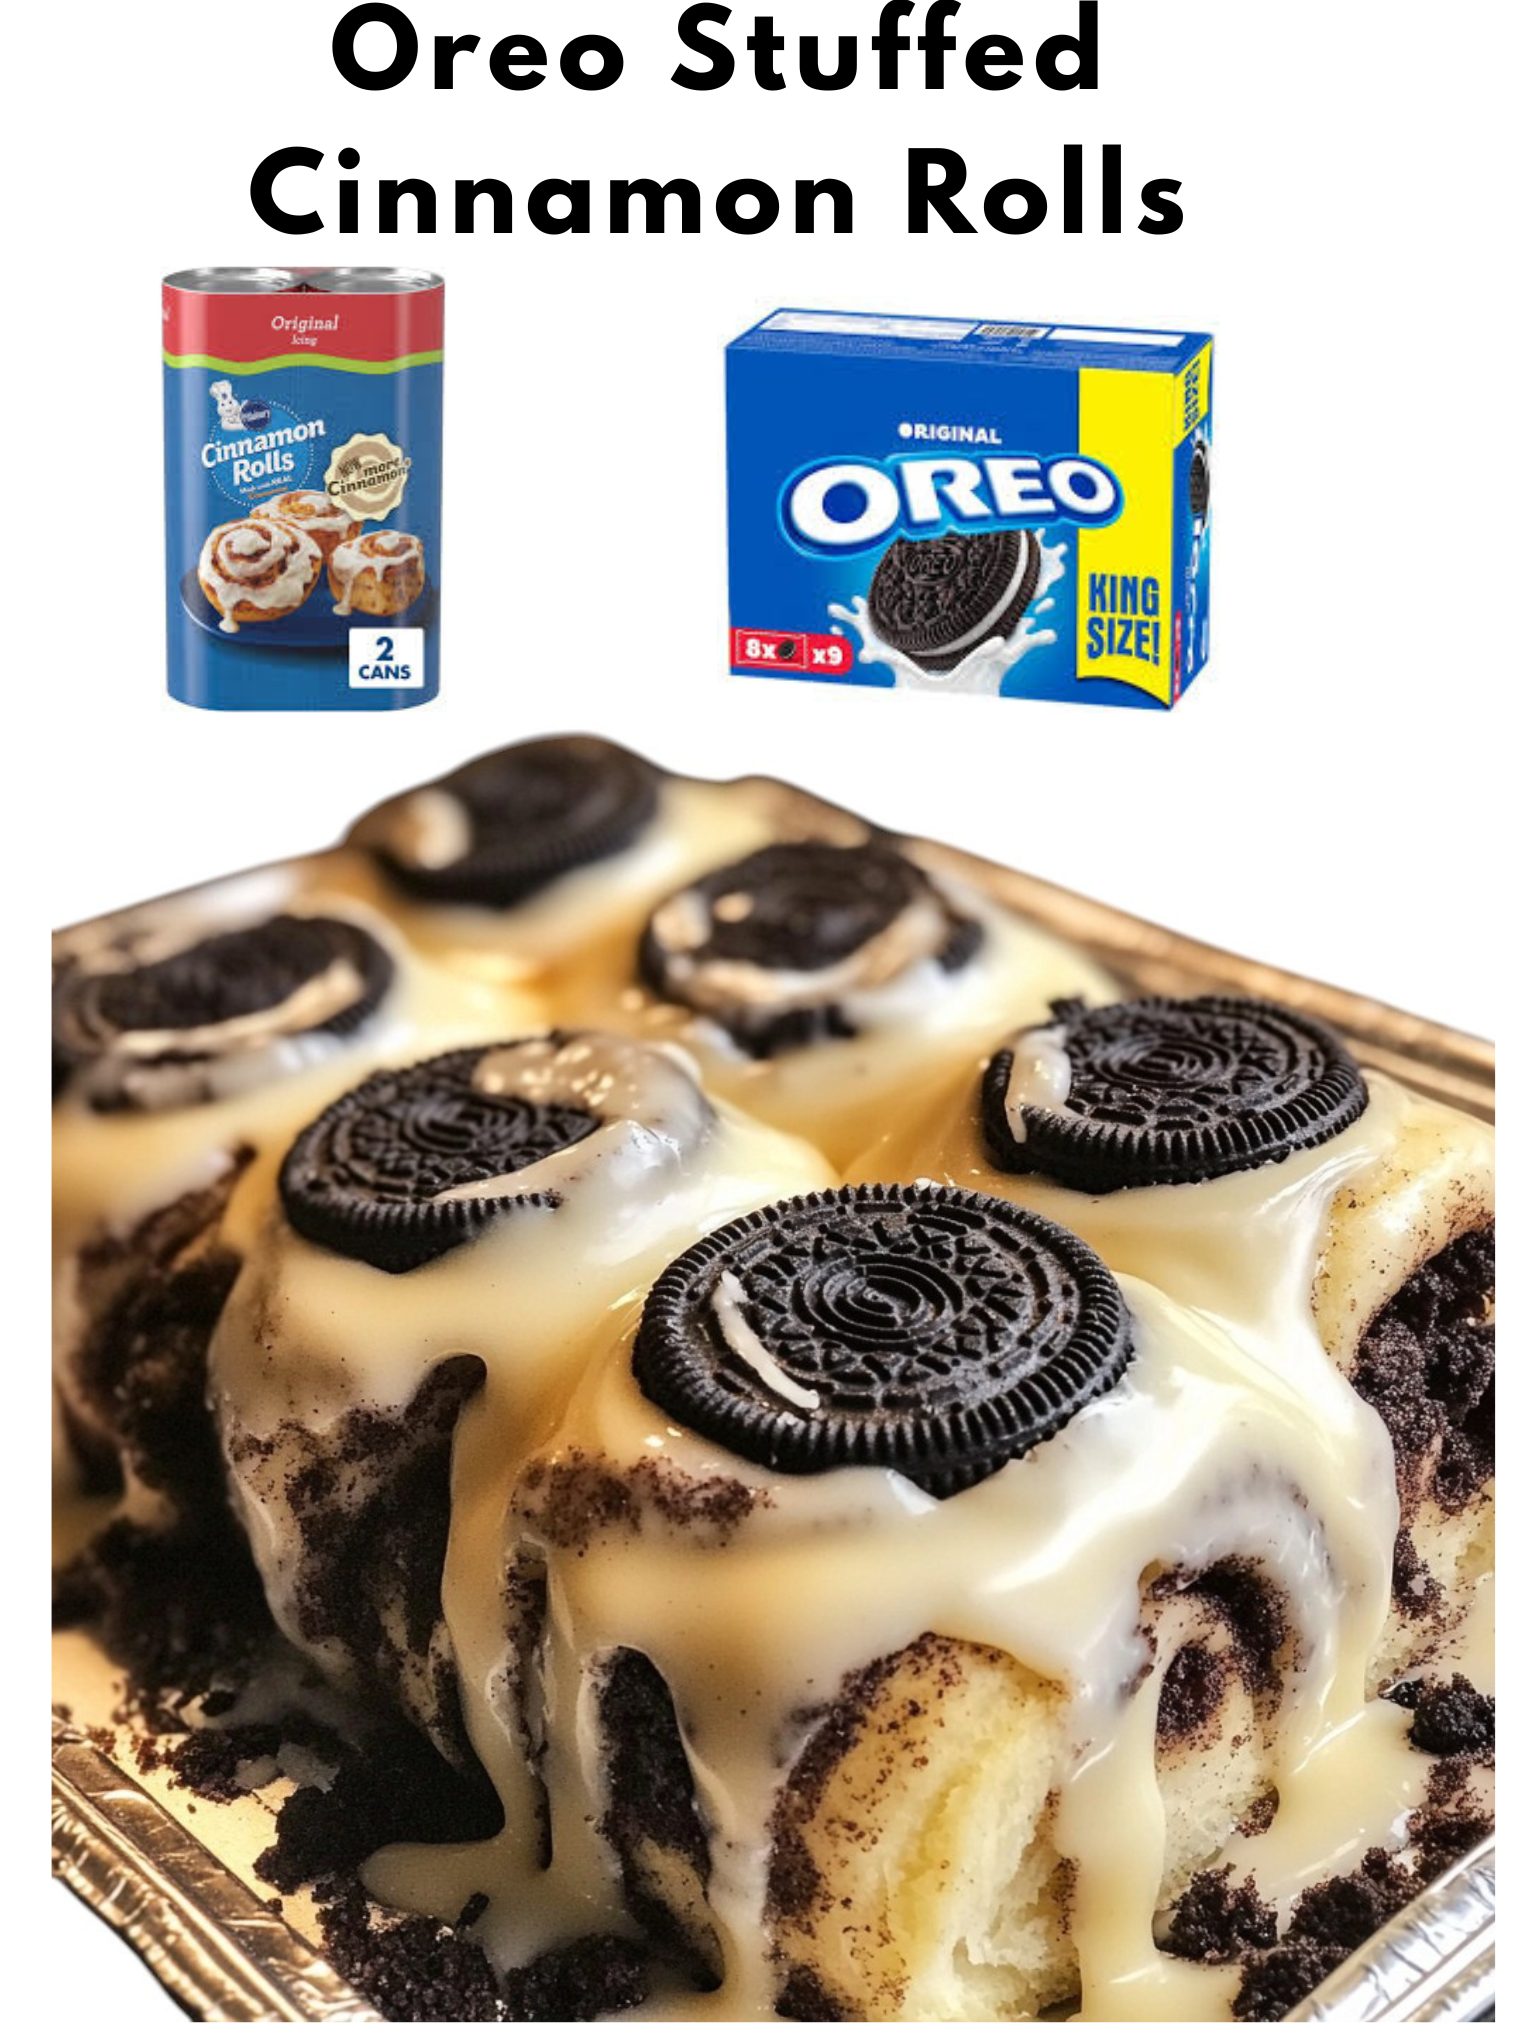
- 2 cans (8-count each) refrigerated original cinnamon roll dough with icing
- 16 Original Oreo cookies (1 standard package)
- 2 tablespoons all-purpose flour (for dusting)
- 2 tablespoons unsalted butter, very soft
- ¼ cup packed brown sugar
- 1 teaspoon ground cinnamon
- A pinch of salt
A quick note on ingredients: Trust me, do not use a “thin” or “double stuf” variety of Oreo here—the classic Original is perfect. The thin ones can get lost, and the double stuf can make the rolls too sweet and messy. The brown sugar might seem like a small addition on top of the dough’s filling, but it creates an extra layer of caramelization that makes a huge difference. If you only have salted butter, that’s fine, just omit the extra pinch of salt.
Equipment Needed
- Rolling Pin
- Lightly floured surface
- 9×13 inch baking dish
- Parchment paper
- Small bowls (for butter and sugar mix)
- Pastry brush (optional, but helpful)
- Oven
Let’s talk tools: Parchment paper is my non-negotiable hero here. I’ve tried greasing the pan, and without fail, some sugary bit always glues itself on, turning cleanup into a chore. Lining the pan is a lifesaver. A rolling pin is essential for thinning the dough—the cans say to just unroll, but that dough is too thick to wrap properly around the Oreo. Don’t worry if you don’t have a pastry brush; your fingers work perfectly to spread that soft butter.
Step-by-Step Instructions
First, let’s prep. Preheat your oven to 375°F (190°C) and line your baking dish with parchment paper. Open the cinnamon roll cans and separate the rolls, setting the included icing containers aside. On a lightly floured surface, use your rolling pin to flatten and widen each roll into a roughly 4-inch circle. Don’t be shy here—you want the dough thin enough to wrap around the cookie without being so thin it tears. I learned the hard way that skipping this step leads to doughy, undercooked centers where the cookie sits.
Now, for the fun part: the stuffing. Place one Oreo cookie in the center of each flattened dough circle. In a small bowl, mix the brown sugar, cinnamon, and pinch of salt. Lightly brush or spread a thin layer of the soft butter over the top of the dough circle, then sprinkle about a teaspoon of the cinnamon-sugar mix over the butter. This is your secret weapon for that bakery-style flavor. Then, carefully gather the edges of the dough around the cookie, pinching them firmly at the top to seal. Please, seal them well! I had one burst open like a chocolate volcano on my first try—delicious, but messy.
Place each sealed roll, seam-side down, in your prepared dish. They should be cozy but not crammed. Bake for 18-22 minutes. Watch them closely after the 15-minute mark. You’re looking for a deep, golden-brown top. They will look puffed and glorious. The moment you pull them out, that’s when you act. Use the end of a wooden spoon to gently poke a small hole in the top of each roll, then immediately spoon the included vanilla icing over them. The heat will melt the icing, letting it seep into that hole and down the sides, creating a perfectly glazed, gooey masterpiece.
Pro Tips for Best Results
Let your canned dough sit out on the counter for 10-15 minutes before you start. I’ve tested this cold versus slightly warmed, and the warmer dough is infinitely more pliable and less likely to tear or spring back when you roll it. It makes the whole process smoother and less frustrating. Also, when you seal the dough around the Oreo, really take a moment to pinch and smooth that seam. Roll it gently between your palms to form a neat ball. This ensures the cookie stays encased and the sugary butter doesn’t leak out.(See the next page below to continue…)