There are some recipes that feel less like cooking and more like edible alchemy, and for me, that’s the magic of Peanut Butter No-Bake Cookies. I remember the first time I made them on a sweltering summer afternoon when turning on the oven was out of the question. Within minutes, my kitchen was filled with the sweet, nutty scent of melting peanut butter and chocolate, a smell that instantly felt like home. They’re the treat I turn to when I need guaranteed smiles, zero fuss, and a whole lot of deliciousness. Today, I’m so excited to walk you through my tried-and-true version, sharing all the little secrets I’ve learned to make them perfect every single time.
Ingredients
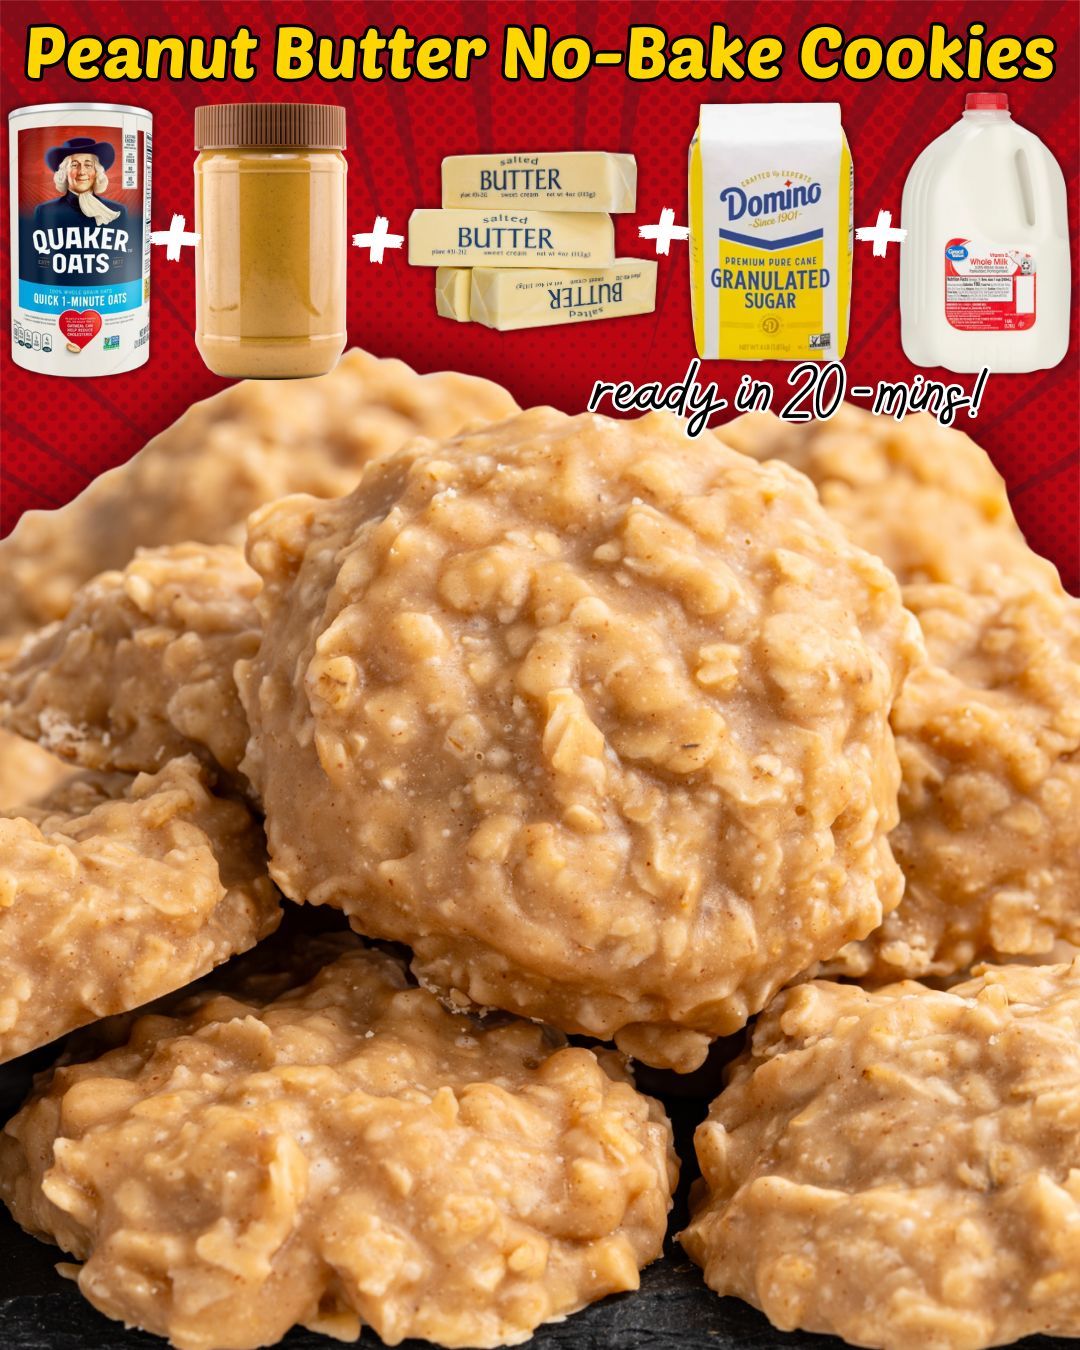
- 1/2 cup (1 stick) unsalted butter
- 2 cups granulated sugar
- 1/2 cup whole milk
- 1/4 cup unsweetened cocoa powder
- 1 cup creamy peanut butter (see my note below!)
- 1 tablespoon pure vanilla extract
- 3 cups old-fashioned rolled oats (quick oats will work in a pinch, but the texture changes)
I’ve learned that the quality of your peanut butter is the soul of this recipe. Don’t use a natural, oil-separating variety here—trust me, I’ve tried. The consistency is wrong and they won’t set properly. A standard, homogenized creamy peanut butter like Jif or Skippy works perfectly. Also, that splash of vanilla extract isn’t just a suggestion; it cuts the overwhelming sweetness and adds a beautiful depth of flavor. For the butter, I insist on unsalted so you control the salt level. The brand of cocoa matters less, but using a good one you enjoy eating makes a noticeable difference.
Equipment Needed
- A heavy-bottomed medium saucepan
- A sturdy wooden spoon or silicone spatula
- Measuring cups and spoons
- A baking sheet or two
- Parchment paper or wax paper
- A timer
Let’s talk about the saucepan first. A heavy-bottomed pot is non-negotiable because it distributes heat evenly and prevents the sugary mixture from scorching—a lesson I learned the hard way with a thin pot and a burnt batch. I line my baking sheets with parchment paper; it guarantees no sticking and makes cleanup a dream. You’ll want everything measured and ready to go (the mise en place) before you start cooking because once the boiling starts, things move quickly and you can’t step away. A good timer is your best friend for the crucial boiling minute.
Step-by-Step Instructions
First, combine the butter, sugar, milk, and cocoa powder in your saucepan. Place it over medium heat and stir constantly until the butter melts and everything comes to a smooth, bubbly blend. This is where patience is key. Don’t crank the heat to hurry it along. I did that once and ended up with a grainy texture. Once it reaches a full, rolling boil—where the bubbles cover the entire surface and don’t settle when you stir—start your timer for exactly one minute. Stir gently but continuously during this boil. This step is what gives the cookies their structure, so don’t cut it short.
(See the next page below to continue…)