Step-by-Step Instructions
First, I preheat my oven to 375°F (190°C). While it warms, I get my skillet nice and hot over medium-high heat with that tablespoon of olive oil. I add the diced onion and let it sweat for a few minutes until it turns soft and translucent—you’ll start to smell that sweet, savory fragrance. Then, in goes the ground beef. I break it up thoroughly with my wooden spoon as it browns, making sure there are no big clumps. This is where patience pays off; I let it get a good, deep brown color for maximum flavor, not just grey. Once it’s cooked through, I drain any excess fat. This step is crucial; too much grease will make the filling slick and the tacos soggy.
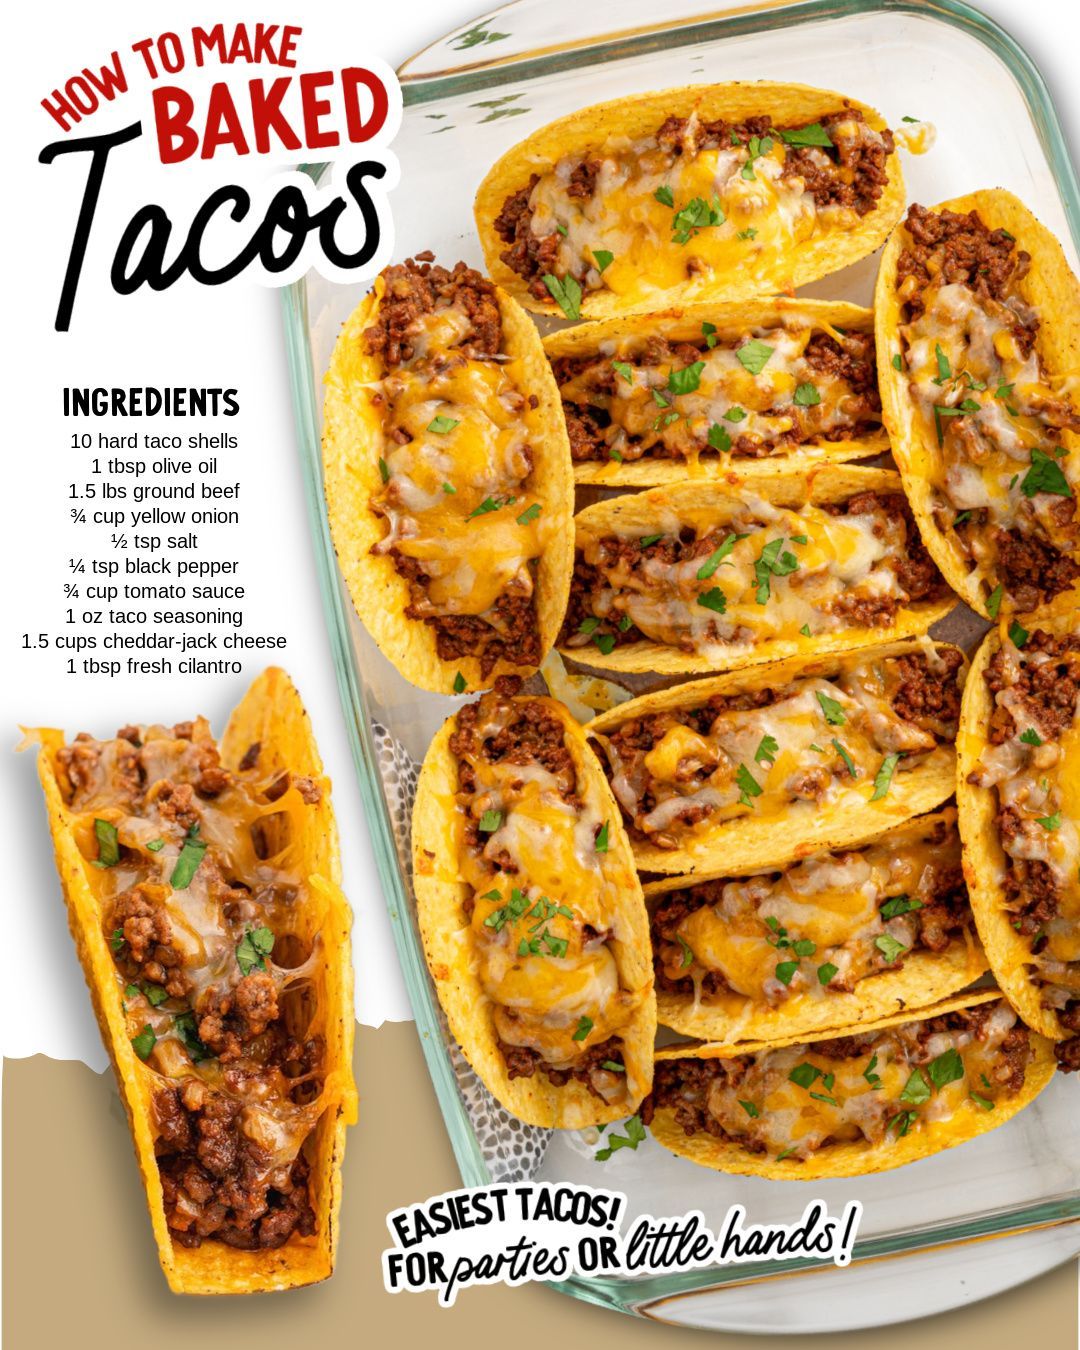
Next, it’s flavor time. I reduce the heat to low and stir in the tomato sauce, taco seasoning packet, salt, and pepper. I let this simmer for about 3-5 minutes. You’ll see the mixture thicken slightly and become fragrant. It should be moist but not runny—think the consistency of a sloppy joe mixture. I’ve learned the hard way that if it’s too wet, the taco shells get soggy in the oven. While that simmers, I stand the hard taco shells up in my ungreased 9×13 baking dish. They lean on each other a bit, and that’s perfectly fine.
Now for the fun assembly! I carefully spoon the beef mixture into each standing taco shell, dividing it evenly. I use the back of the spoon to press it down gently, ensuring every nook gets filled. Then, I generously top each one with the cheddar-jack cheese, making sure to cover the beef completely. The cheese acts like a delicious glue, holding everything in place. Into the preheated oven the whole dish goes for 10-12 minutes. You’re looking for the cheese to be fully melted and bubbly and the very tops of the taco shells to turn a deeper golden brown. The final touch is a sprinkle of that fresh, chopped cilantro as soon as they come out of the oven.
Pro Tips for Best Results
Let the filling cool for just a minute or two before spooning it into the shells. I was once too eager and filled them with piping-hot beef, and the residual steam made the bottoms of a few shells slightly soft. A brief 5-minute rest for the filling prevents this. Also, shred your own cheese if you can spare the extra few minutes. I’ve tested this three different ways: pre-shredded bags, a block shredded in a food processor, and a block shredded by hand. The block cheese, especially hand-shredded, melts so much creamier and doesn’t have the anti-caking agents that can make the melt less smooth.
Don’t be shy with the cheese topping! Completely cover the beef filling from edge to edge. This creates a delicious “seal” that helps keep the filling inside when you take a bite and protects the exposed parts of the shell from burning. I also like to rotate my baking dish halfway through the cooking time. My oven has a slight hot spot in the back, so this ensures every taco gets the same perfect, even crispness and melt. It’s a small step that guarantees uniform deliciousness.
Common Mistakes to Avoid
The biggest mistake I made the first time was overfilling the shells. It’s tempting to pack in as much of that delicious beef as possible, but an overstuffed taco is unstable and more likely to crack or spill when you try to eat it. Aim to fill them just to the top of the shell, not heaping over. Also, avoid using a runny salsa or fresh tomatoes in the filling before baking. The extra liquid will soak into the shell, turning it from delightfully crisp to disappointingly chewy in the oven’s heat. Save those fresh, wet toppings for serving.
(See the next page below to continue…)