Once the potatoes are done, I let them cool for about 10 minutes so I don’t burn my fingers. I carefully slice the potatoes in half and scoop out the fluffy insides, leaving about 1/4 inch of potato with the skin. I save the insides for mashed potatoes or a tasty soup later! Next, I turn the oven temperature up to 425°F (220°C) and brush the insides of the potato skins with a bit more olive oil, seasoning them with salt and pepper. Placing them back on the baking sheet, I bake them for another 10-15 minutes until they’re crispy and golden brown.
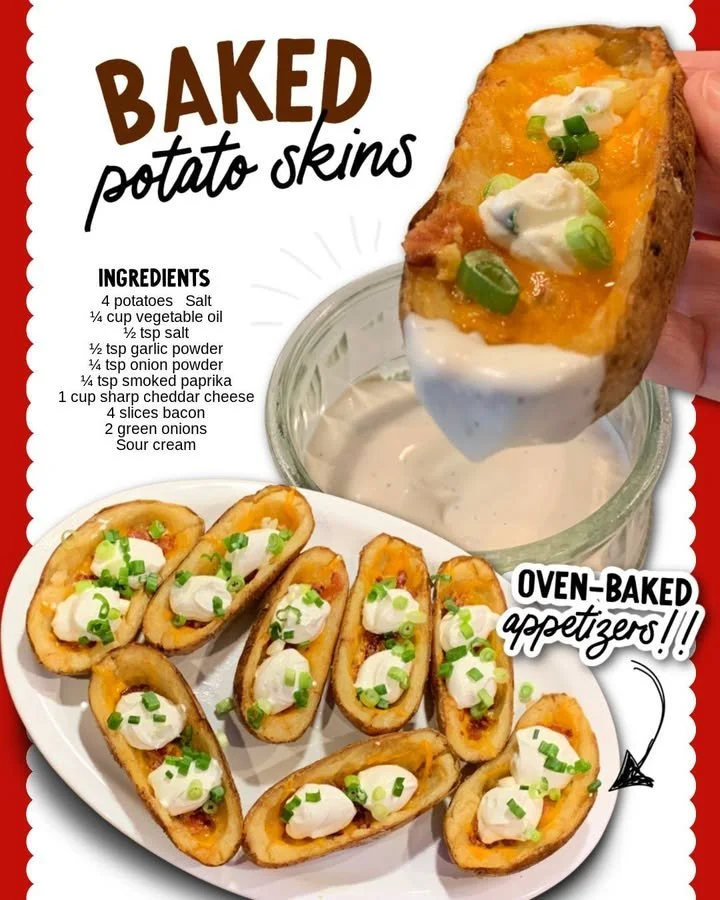
Now, the fun part! I take the baking sheet out and fill each skin with shredded cheddar cheese and bacon bits, baking them again for 5 more minutes until the cheese is perfectly melted. The gooey texture combined with the crunchy skins creates this amazing contrast that I can’t resist! Right before serving, I drizzle sour cream on top and sprinkle on some chopped green onions. It’s hard to beat that fresh, vibrant look, and the taste is even better!
Pro Tips for Best Results
I tested this three ways to find my favorite method! For a fluffier interior, try baking the potatoes longer at a lower temperature. I enjoy a bit of char on the skins, so I usually crank up the heat at the end, but if you like your skins a bit more tender, skip that last step and enjoy them at 400°F.
Another tip is to brush the skins with garlic-infused olive oil instead of plain olive oil. It adds a lovely flavor that elevates these snacks even more. I never knew how much of a difference it could make until I accidentally had some garlic-infused oil left over from a dinner recipe.
Lastly, be generous with your toppings! I always load mine up with cheese and bacon. It can be tempting to skimp a bit on toppings, but trust me, these potato skins are about indulgence. I’ve found that a thick layer of toppings not only enhances the flavor but also makes them more visually appealing—you eat with your eyes first, after all!
Common Mistakes to Avoid
One common mistake I used to make was not cooking the potatoes long enough the first time. I’d take them out thinking they were done, only to find they were still hard inside. I’ve learned that patience is key—let them cook fully, then cool before handling them. It makes a big difference! (See the next page below to continue…)