Next, I mix the dry ingredients together—the flour, baking soda, baking powder, and salt. I like to whisk them in a separate bowl to ensure they’re evenly distributed. Gradually, I add the dry mix to the banana mixture, alternating with buttermilk, and gently fold it all together. If I’m using nuts, I’ll fold them in gently at this stage. The batter should be thick yet pourable, and I can never resist sneaking a taste; it’s like liquid happiness!
After that, I divide the batter evenly between the prepared cake pans, smoothing the tops with my spatula. I bake them for about 25-30 minutes, checking with a toothpick inserted in the center—it should come out clean. When they’re done, I let them cool in the pans for about 10 minutes before transferring them to a cooling rack. The anticipation builds as I wait for them to cool completely; the smell in my kitchen is simply irresistible!
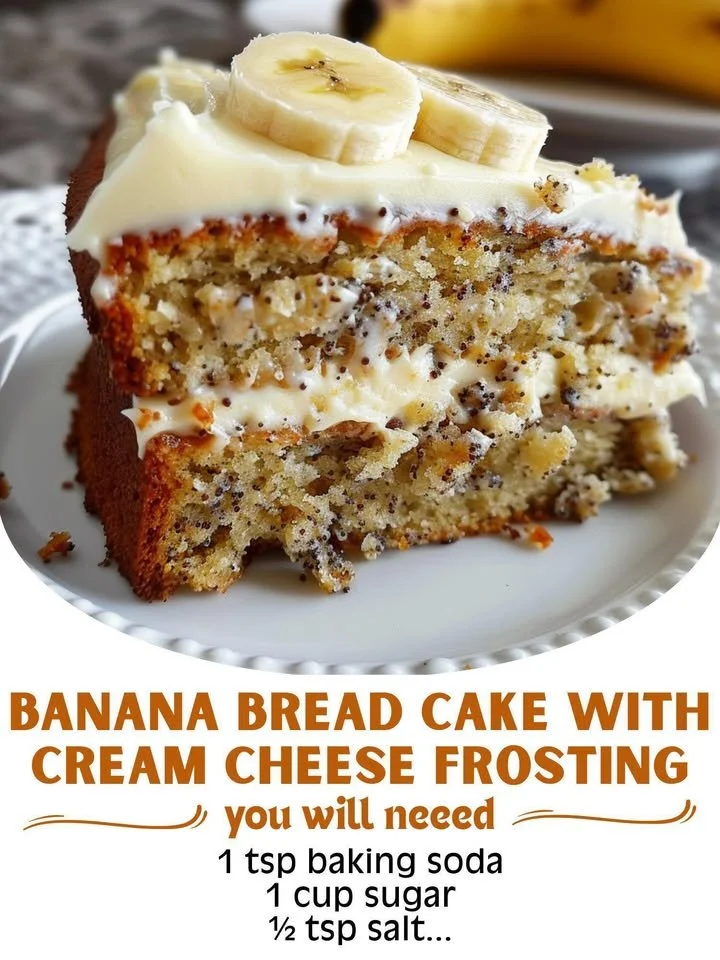
Meanwhile, I whip up the cream cheese frosting. In another mixing bowl, I beat together softened cream cheese and butter until smooth. Slowly, I incorporate powdered sugar and vanilla until the frosting is creamy and delightful. Once my cakes are fully cool, I spread a generous layer of frosting between the two layers, and then I frost the top and sides. Finally, I like to top it off with a sprinkle of chopped nuts or a drizzle of caramel for a touch of elegance!
Pro Tips for Best Results
When I first tested this recipe, I was a little nervous about the bananas. I learned that the riper they are, the sweeter the flavor will be! Brown, overripe bananas might not look pretty, but they add the most delicious sweetness to the cake. I enjoy making this when my bananas are speckled with brown spots; it makes all the difference!
I also found that using room temperature ingredients really helps create a fluffier texture. If my butter or eggs are cold, it can lead to a denser cake. So, I make sure to pull them out well in advance—usually while I’m getting all my ingredients together. It’s a small step, but trust me, it pays off!
Lastly, I like to let the cake sit for a few hours before slicing it. This allows the flavors to meld together beautifully. I know it’s hard to resist, but the wait is worth it! It’s usually even more delicious the next day if there are any leftovers (which is often a challenge!).
Common Mistakes to Avoid
One mistake I made early on was not measuring my flour properly. Too much flour can dry out your cake and make it crumbly. Now, I always spoon the flour into my measuring cup and level it off with a knife. It’s a little detail, but it ensures the right texture every time. (See the next page below to continue…)