Once the mixture has thickened and is bubbling away, I take it off the heat and temper the egg yolks. To do this, I whisk a bit of the hot mixture into the yolks, ensuring they don’t scramble. Then, I gradually whisk the yolk mixture back into the saucepan. I put it back on low heat and stir in the butter and vanilla until melted and smooth. It’s such a satisfying step, watching it transform into a creamy delight!
Next, I pour the banana filling into the cooled pie crust. I gently place the sliced bananas on top and cover the filling with plastic wrap to avoid a skin forming as it cools. I let it cool at room temperature for about 30 minutes before refrigerating until it’s fully set—typically at least 3 hours, but I often let it sit overnight for the best results.
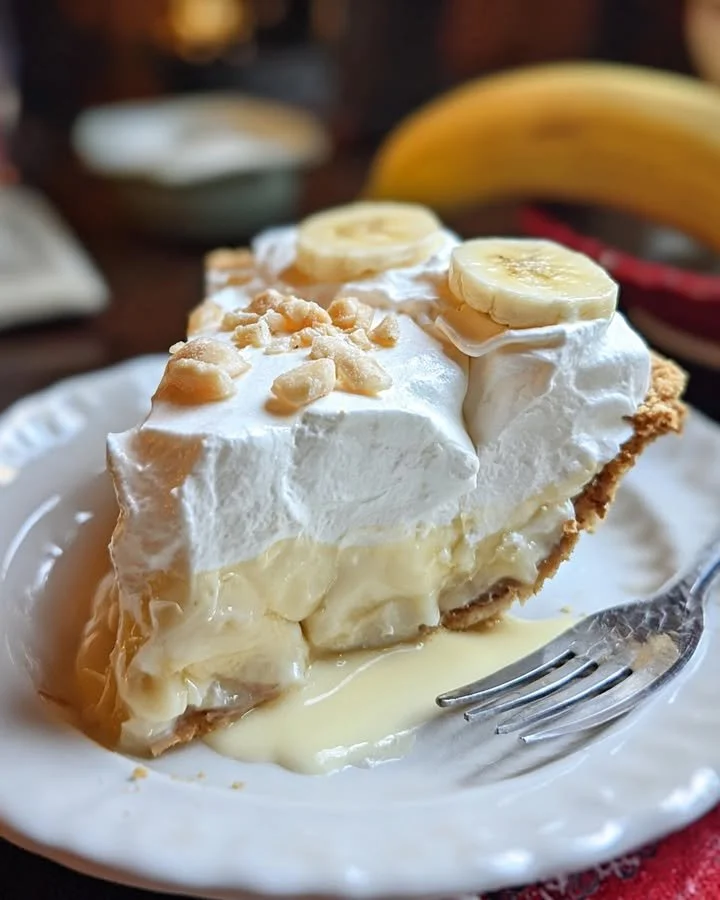
Finally, just before serving, I whip up my heavy cream with powdered sugar until it reaches stiff peaks. This creates a beautiful, fluffy topping that adds an extra touch of elegance. I spread it generously over the pie, and just like that, my homemade Banana Cream Pie is ready to dazzle!
Pro Tips for Best Results
One thing I learned from my multiple attempts is the ripeness of the bananas matters! The sweeter and riper they are, the better your pie will taste. I’ve tested it with both medium and overly ripe bananas, and I highly recommend going for the really ripe ones for maximum flavor.
Another tip? When making the filling, don’t skip watching the mixture closely while it thickens. The difference between a great texture and a lumpy mess lies in those few minutes of constant stirring. I learned that the hard way after making some less-than-perfect pies!
Lastly, I found that making my own whipped cream, rather than using store-bought, takes this pie to a whole new level. The freshness and texture of homemade whipped cream make all the difference, and honestly, it’s easy to do! Just keep your bowl and beaters cold for the best volume.
Common Mistakes to Avoid
One mistake I see often is overcooking the pudding mixture. It’s incredible how quickly it goes from perfectly thickened to overly dense or even burnt. Keeping the heat low and stirring constantly is crucial; this really helps to avoid lumps and burnt bits. (See the next page below to continue…)