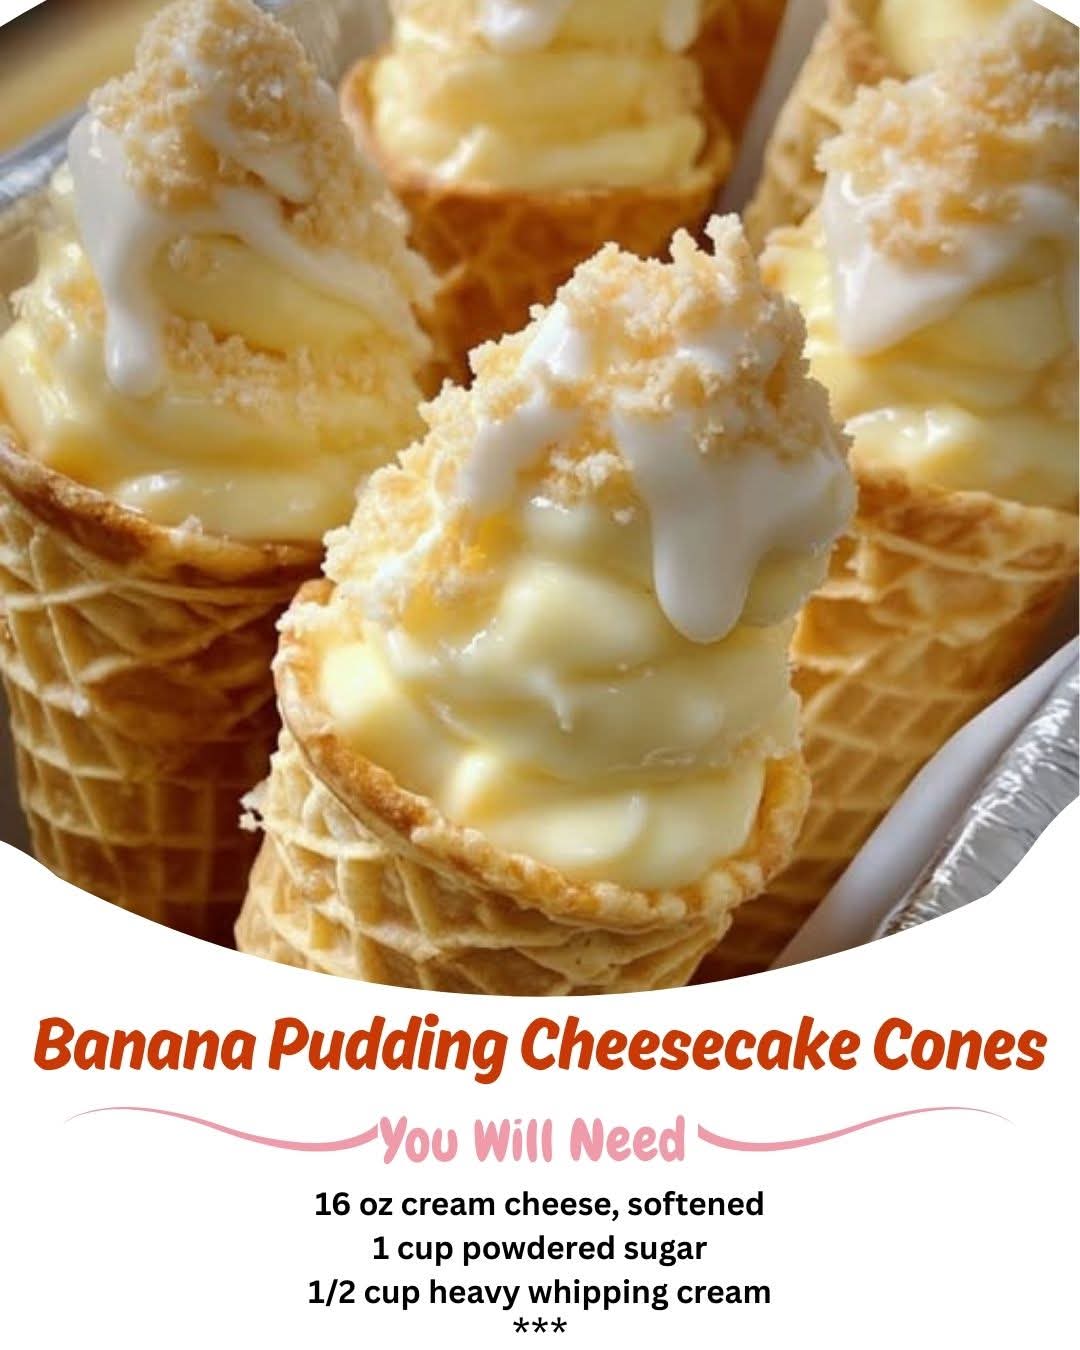
Variations & Customizations
This recipe is a wonderful canvas for creativity. One of my favorite twists is a “Tropical Escape” version. I substitute the instant banana pudding mix with coconut cream pudding mix, fold in toasted coconut flakes along with the wafers, and top with a piece of grilled pineapple instead of banana. It’s like a vacation in a cone! For a chocolate-peanut butter take, I’ve used chocolate pudding mix and swirled in some melted peanut butter into the filling, then topped with chopped peanut butter cups. It’s decadent and always a hit.
If you’re not a fan of cones or want a gluten-free option, this filling works beautifully in a pie crust or even in individual small jars layered with more wafers and banana slices, like a deconstructed parfait. I’ve also made a “berries and cream” version for a friend by using cheesecake-flavored pudding mix and folding in a mix of macerated strawberries and blueberries, then serving it in sugar cones. The possibilities are endless, so don’t be afraid to play with the flavors you love most.
How to Store, Freeze & Reheat
For storing, these are strictly a freezer affair. Once assembled and garnished with the dry toppings (like wafer crumbs), wrap each cone individually in plastic wrap and store them in a single layer in an airtight container in the freezer. They will keep beautifully for up to 2 months. The plastic wrap is key—it prevents freezer burn and stops the cones from absorbing any other odors. I’ve found they are best consumed within the first month for optimal texture and cone crispness.
There’s no need to reheat these, as they are meant to be enjoyed cold. However, if you’ve stored them fully garnished with the fresh banana slice (which I don’t recommend), you will see discoloration. If that happens, just scrape off the old slice and replace it with a fresh one before serving. The filling itself holds up perfectly. Do not try to refrigerate them for long-term storage; the moisture from the filling will slowly soften the cone into a sad, soggy state. The freezer is your friend here.
FAQ Section
Can I make this recipe ahead of time?
Absolutely, and I highly recommend it! In fact, making them at least a day ahead is part of the recipe’s charm. The extended freezing time allows the flavors to meld and the texture to set perfectly. I often make a full batch two days before a party. Just remember my tip about holding off on the final fresh whipped cream and banana slice garnish until you’re ready to serve for the prettiest presentation.
What can I use instead of Nilla Wafers?
If you can’t find Nilla Wafers, don’t worry. I’ve successfully used shortbread cookies or even graham crackers crushed up for the mix-in and topping. The flavor profile changes slightly—graham crackers will give it more of a s’mores vibe—but it’s still delicious. Just make sure whatever cookie you use is dry and crisp so it adds that necessary textural contrast to the creamy filling.
My filling seemed a bit soft after whipping. What did I do wrong?
This usually traces back to one of two things: either your heavy cream or your cream cheese wasn’t cold enough when you started whipping. The fat in both needs to be quite cold to trap air and thicken properly. If this happens, don’t panic. Just pop the entire bowl of filling into the fridge for 30 minutes, then give it another good whip with your mixer. That almost always fixes it right up.
Conclusion
Creating these Banana Pudding Cheesecake Cones has become one of my favorite kitchen adventures. They embody everything I love about baking: nostalgia, creativity, and the sheer joy of sharing something uniquely delicious. I hope you feel inspired to try them, to make them your own, and to experience that same moment of pride and delight when you pull your own batch from the freezer. Happy cooking, and I can’t wait for you to take that first perfect, creamy, crunchy bite