Now, I cover the ham loosely with aluminum foil, trying not to touch the glaze directly. This helps to keep the ham moist during cooking. I popped it into my preheated oven for about 1 hour. After that, I carefully remove the foil and baste the ham with the remaining glaze. This is where the magic happens! As the ham continues to bake for another 30 to 45 minutes, I start placing the pineapple slices around the ham, securing them with toothpicks. The aroma wafts through my kitchen, and it’s absolutely irresistible.
When the internal temperature reaches about 140°F (60°C), I know that my ham is ready to come out. Once it’s out of the oven, I let it rest for a good 15 minutes before slicing. This resting period helps the juices redistribute throughout the meat, keeping it juicy and tender. When I finally slice into that beautiful ham, the sweet glaze glistens, and I can’t wait to dig in!
Pro Tips for Best Results
I learned a few things while perfecting this recipe. First, using a good quality ham is crucial. I tried three different brands, and I’ve found that the juiciness highly impacts the final flavor. A higher-quality ham is definitely worth it! Secondly, be generous with the glaze. I sometimes add additional layers if I have company coming over. It creates a delightful, thick crust that everyone will love.
Lastly, don’t rush the basting process. I’ve noticed that taking the time to baste the ham every 15 minutes after removing the foil makes a world of difference. Each layer adds flavor and creates a nice caramelized exterior. Trust me on this one—patience is a virtue in the kitchen!
Common Mistakes to Avoid
One common mistake I made early on was skipping the foil cover during the first hour of baking. I learned the hard way that the ham can dry out, so don’t skip this step! It’s essential to protect the meat until it’s nicely warmed through. Another mistake is to underestimate the timing. Every oven is different, so while the general cook time is approximately 1.5 hours, I always recommend keeping an eye on the internal temperature with a thermometer for the best results.
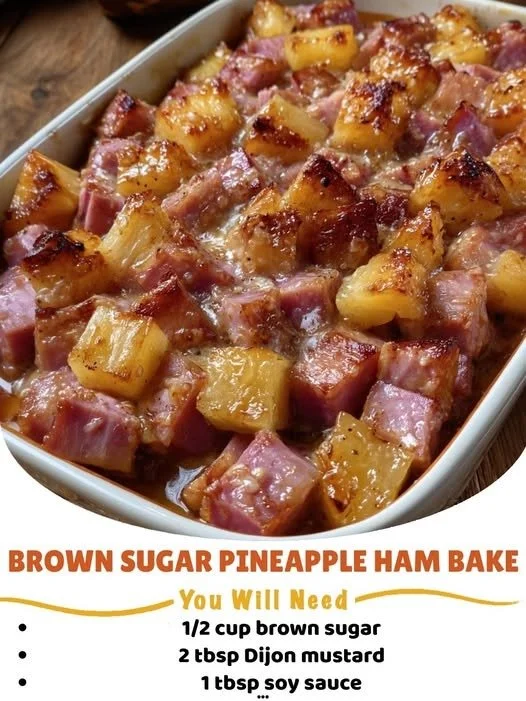
Also, using canned pineapple is perfectly fine, but make sure to drain it well if using slices. I’ve run into trouble when I didn’t and ended up with too much moisture in the pan, which diluted the glaze. It’s all about making sure that caramelization happens, so a little preparation goes a long way. (See the next page below to continue…)