It all started on a rainy Sunday when the craving for a cannoli hit, but I didn’t feel like frying shells. I wondered, what if I could capture that creamy, ricotta-filled, subtly spiced joy in a cookie? The first batch that came out of my oven filled my kitchen with the most incredible aroma—toasty, sweet, and nutty, with that unmistakable whiff of vanilla and rich cheese. That moment, biting into a tender, flavorful cookie that sang all the right cannoli notes, was pure magic. I knew I had to share this little piece of happiness with you. These Cannoli Cookies aren’t just a dessert; they’re a warm, handheld hug of Italian pastry shop nostalgia.
Ingredients
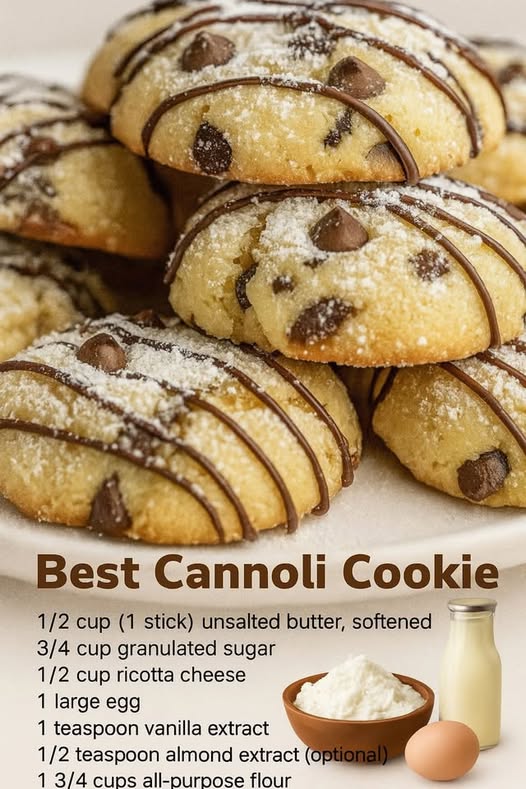
- 1/2 cup (1 stick) unsalted butter, softened
- 3/4 cup granulated sugar
- 1/2 cup ricotta cheese
- 1 large egg
- 1 teaspoon vanilla extract
- 1/2 teaspoon almond extract (optional)
- 1 3/4 cups all-purpose flour
Now, let’s talk about these ingredients because a few of them are non-negotiable stars. First, the ricotta: don’t skip this ingredient; it makes a huge difference. It’s what gives the cookie its signature tender crumb and subtle tang. Use whole-milk ricotta for the best richness and texture—I’ve tried part-skim, and the cookies just aren’t as luxuriously moist. The almond extract is listed as optional, but trust me, it’s the secret whisper that makes people say, “This really tastes like a cannoli!” It mimics the traditional flavor of the shell so beautifully. And for the butter, truly let it soften at room temperature. I’ve rushed this with microwaved butter, and it resulted in a greasy, spread-out cookie. Patience here pays off in texture.
Equipment Needed
- Electric hand mixer or stand mixer
- Large mixing bowl
- Medium mixing bowl
- Whisk
- Rubber spatula
- Baking sheets
- Parchment paper or silicone baking mats
- Cooling rack
You don’t need any fancy equipment here, but a few tools are lifesavers. An electric mixer is key for creaming that butter and sugar to the perfect light and fluffy stage—doing it by hand is a serious arm workout and never quite gets the same airy result. My biggest practical tip? Line your baking sheets with parchment paper or silicone mats. I learned this the hard way when my first test batch, baked directly on the sheet, stuck terribly and burned on the bottom. The mats provide just the right insulation. A good rubber spatula is your best friend for folding in the flour gently and scraping every last bit of that delicious dough from the bowl.
(See the next page below to continue…)