Pro Tips for Best Results
I tested the fry par-cooking step three different ways: not at all, halfway, and fully cooked before adding toppings. Halfway is the absolute sweet spot. Fully cooked fries can get too crunchy and almost burn, while raw fries turn to mush. Pull them when they’re just starting to get some color on the edges. That’s the cue.
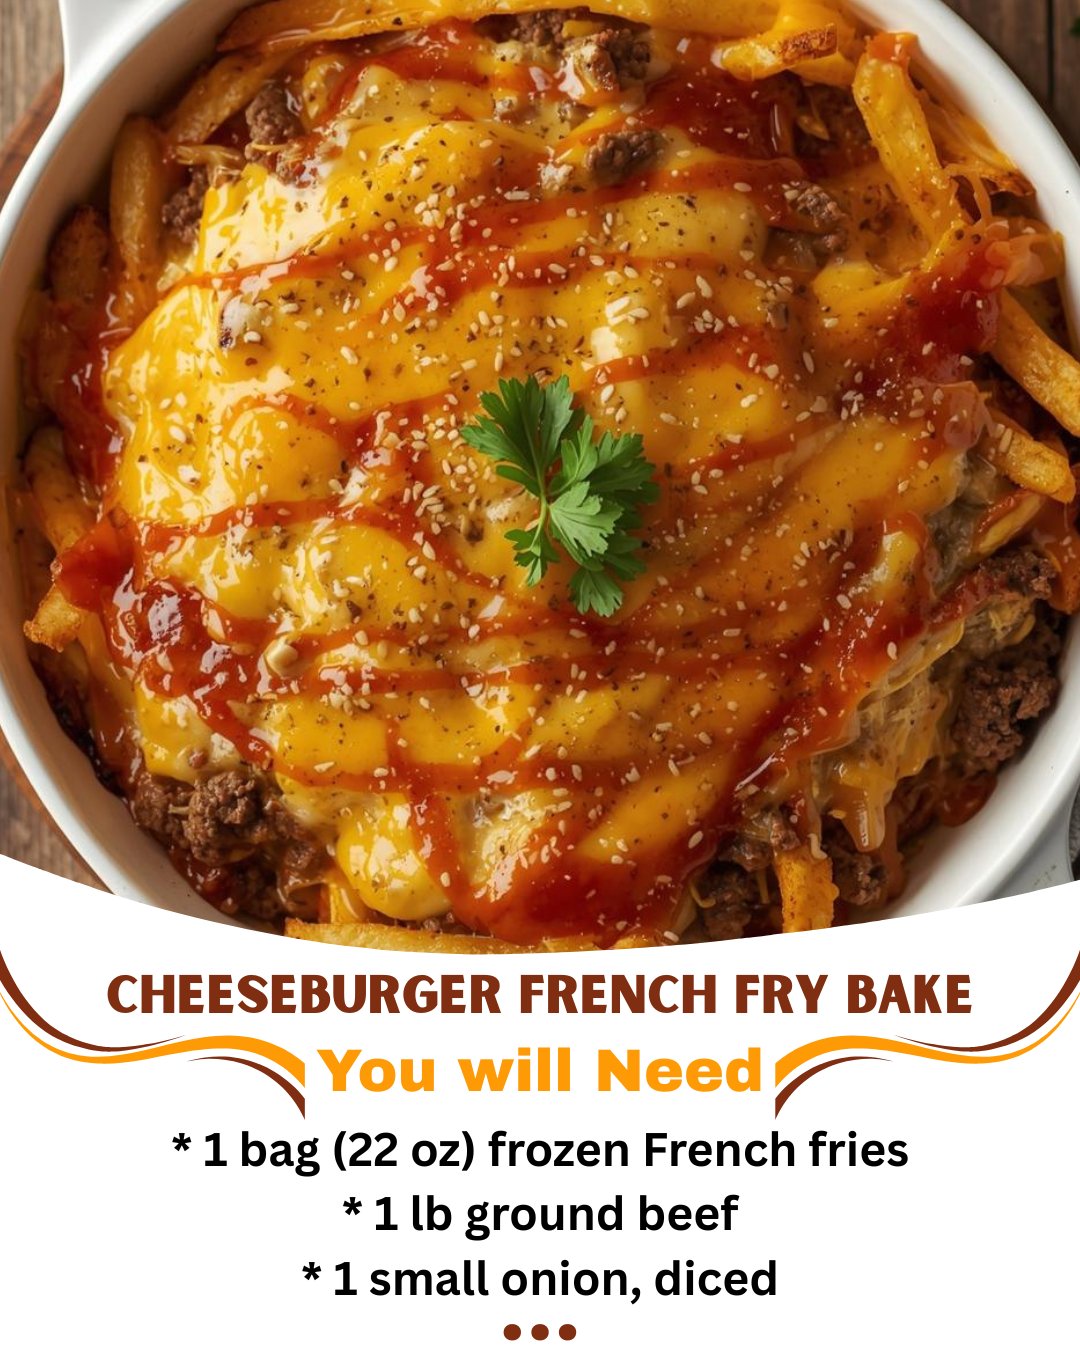
Here’s what I learned the hard way about the beef mixture: don’t make it too wet. If you’ve used a very fatty beef, go ahead and drain a little of the excess grease after browning. You want flavor, not a puddle of oil at the bottom of your baking dish. The cheese soup and broth will provide all the moisture you need.
For the ultimate flavor bloom, let the assembled bake rest for about 5-7 minutes after you pull it from the oven. I know it’s tempting to dive right in, but this allows the cheese sauce to set just slightly, making it easier to serve clean slices or scoops. It also saves the roof of your mouth from a molten cheese catastrophe!
Common Mistakes to Avoid
My biggest first-time mistake was using raw, freshly cut potatoes instead of frozen fries. It was a disaster. The potatoes didn’t cook through, and the texture was all wrong. Frozen fries are par-fried at the factory, which is what gives them that perfect crispy-on-the-outside, fluffy-on-the-inside quality in this bake. Do not do what I did. The frozen bag is your friend here.
Another pitfall is forgetting to season the beef layer adequately. The fries and cheese are salty, but the beef needs its own flavor party. Don’t be shy with the Worcestershire, mustard, and that smoked paprika. Taste your beef mixture before you assemble everything. If it tastes a little bold on its own, it’ll be perfect once combined with the other elements.
Serving Suggestions
I like serving this bake straight from the dish at the table, letting everyone scoop out their own portion. The visual of that cheesy, bubbly surface is part of the fun! For a true “cheeseburger in a dish” experience, I set out small bowls of classic burger toppings: diced dill pickles, chopped fresh tomatoes, shredded iceberg lettuce, and extra squirt bottles of ketchup and yellow mustard. Let everyone customize their plate.
To round out the meal, I almost always serve it with something cool and crisp to cut through the richness. A simple green salad with a tangy vinaigrette is perfect. In the summer, I love it with a vinegary cucumber salad. The acidity and freshness are the ideal counterpoint to the savory, cheesy bake.
For a real crowd-pleasing spread, especially on game day, I’ll put out a bowl of creamy coleslaw and some crispy bread-and-butter pickles. It turns the bake from a simple dinner into a festive, comforting feast that always disappears faster than I expect.
Variations & Customizations
This recipe is a fantastic canvas for your favorite burger flavors. I’ve made a “Bacon Western” version by mixing a few tablespoons of barbecue sauce into the beef and topping the final dish with crispy, crumbled bacon and crispy fried onions. It was a massive hit. You could easily add diced mushrooms to the beef as it cooks, or a handful of chopped jalapeños for a spicy kick.
For a “California” style, try using a Monterey Jack cheese blend and topping individual servings with sliced avocado and a dollop of creamy ranch dressing after baking. I’ve also successfully used ground turkey instead of beef for a slightly lighter take—just add an extra teaspoon of Worcestershire or a dash of soy sauce to boost the savory flavor.
If you’re feeling adventurous with the potato base, swap the fries for another frozen potato product. Tater tots are an obvious and delicious choice (hello, “Cheeseburger Totchos”!). I’ve even used frozen potato wedges with great success. The principle remains the same: par-cook your potato base first, then top and bake until golden and glorious.
How to Store, Freeze & Reheat
Leftovers store beautifully, which is one of my favorite things about this dish. I let it cool completely, then cover the baking dish tightly with foil or transfer portions to airtight containers. It will keep in the fridge for 3-4 days. To reheat, I find the oven or toaster oven works best to revive the crispiness. A 350°F oven for 15-20 minutes (covered for the first 10) does the trick. The microwave will work in a pinch, but it will soften the fries.
You can also freeze this bake for future meals. Assemble it completely, but do not do the final bake. Cover it tightly with a layer of plastic wrap and then foil, and freeze for up to 2 months. When you’re ready, you can bake it from frozen—just add about 15-20 extra minutes to the baking time, and you may need to loosely tent the foil at the end to prevent the cheese from over-browning. It’s a lifesaver for busy nights.
Conclusion
The Cheeseburger French Fry Bake is more than just a recipe in my house; it’s a guaranteed mood-lifter, a crowd-pleaser, and my secret weapon for turning an ordinary weeknight into something special. It’s proof that the most beloved meals often come from combining simple, familiar flavors in a new, wonderfully comforting way. I hope it brings as much joy, ease, and deliciousness to your table as it has to mine. Now, go preheat that oven—your new favorite dinner is waiting.