Finally, I pop the skillet under the broiler. WATCH THIS LIKE A HAWK. I set a timer for 2-3 minutes. The goal is a bubbly, golden, spectacularly melted cheese blanket, not burnt Doritos. I learned the hard way that answering a text here leads to sadness. Once it’s gloriously melted, I pull it out (carefully, with an oven mitt!). Now, the fun part: I artfully (or more like enthusiastically) scatter the diced tomatoes, onions, black olives, jalapenos, and cilantro over the top. I finish with generous dollops of cool sour cream right before serving.
Pro Tips for Best Results
Let the skillet cool for just a minute after broiling before adding the fresh toppings. I was too eager once and my tomatoes and cilantro wilted instantly from the residual heat. You want those toppings bright and crisp for contrast. Also, for the onions, if you or your guests are sensitive to raw onion bite, give your diced onions a quick rinse under cold water and pat them dry. It tames the sharpness while keeping that great crunch.
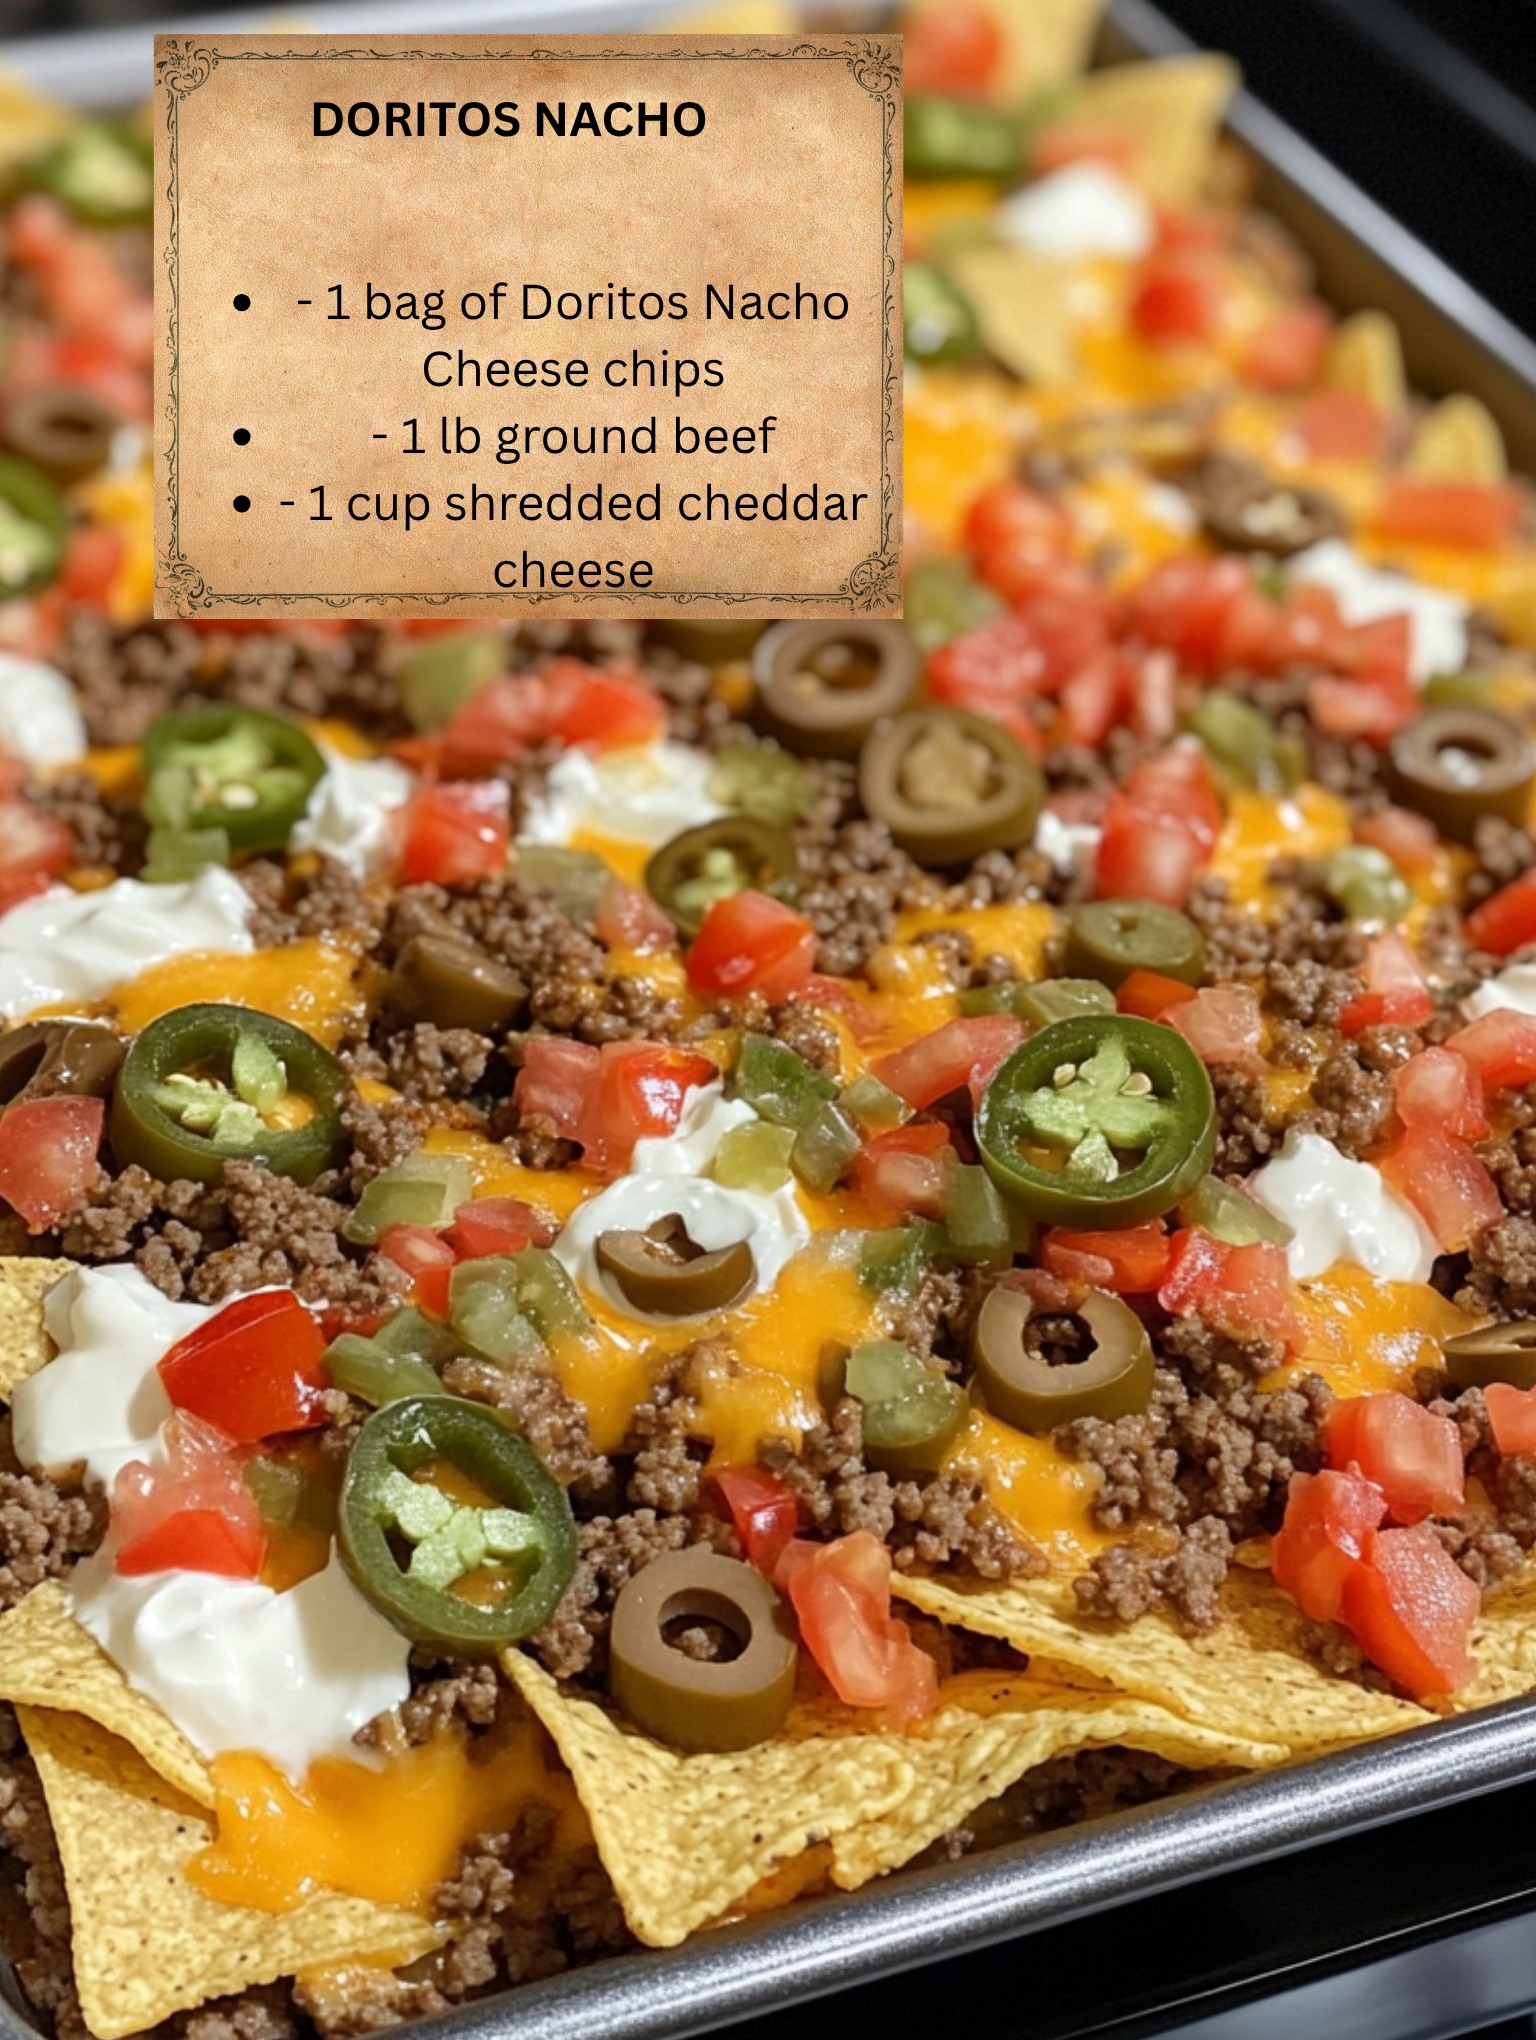
I tested the cheese layer three different ways: mixed into the beef, only on top, and half-and-half. Topping it all at the end creates the best “cheese pull” experience and prevents the chips underneath from steaming and getting soft. It creates a perfect textural journey: crunchy chip, savory beef, molten cheese, then fresh toppings. It’s a symphony in every bite.
For the ultimate experience, serve it right in the skillet at the table. It stays warm, and it looks incredibly inviting. Have a strong metal spatula or server ready to dig in and lift out hearty portions. The sizzle and presentation are part of the magic. It encourages everyone to gather around and dive in together, which is really the whole point of this dish.
Common Mistakes to Avoid
The biggest mistake is overloading the skillet before it goes under the broiler. I made this error the first time—I piled on all the cold toppings before the broil. The result was a lukewarm, uneven mess where the cheese never properly melted over the cold tomatoes. The broiler step is only for melting the cheese onto the beef and chip base. All the fresh, crunchy elements must be added after, as the final flourish.
Don’t skip draining the beef fat. I know, fat equals flavor, but in this case, too much will make the chips at the bottom unpleasantly greasy and limp. You want the chips to stay as crisp as possible under their cheesy blanket. Take that extra 30 seconds to drain it well. Similarly, don’t under-season the beef thinking the Doritos will do all the work. A good pinch of salt and pepper in the beef layer builds a foundational flavor that complements the chips perfectly.
Avoid using pre-shredded bagged cheese if you can help it. It’s coated to prevent clumping, which also prevents it from melting into that smooth, creamy pool we all dream of. The extra two minutes it takes to shred a block of cheddar makes a monumental difference in texture and gooeyness. Trust me on this; it transforms the dish from good to “can’t-stop-eating-it” great.
Serving Suggestions
I like serving this right in the center of the table with a stack of small plates or even just napkins. It’s finger food at its finest. For drinks, ice-cold Mexican beer or a tangy margarita are my go-tos. The crisp, cold bubbles or citrus cut through the richness beautifully. For a family-friendly option, a big pitcher of limeade works wonders.(See the next page below to continue…)