For a lighter, more rounded meal, I always make a quick side salad. A simple mix of crisp romaine, cherry tomatoes, and cucumber with a tangy vinaigrette cuts through the richness of the cheesy chicken perfectly. Sometimes, I’ll even add some of that salad directly into the wrap for extra crunch and freshness. It transforms it into a completely different experience.
If I’m serving these to friends or family, I turn it into a DIY wrap bar. I place the bowl of chicken filling in the center of the table alongside the warm tortillas, and then set out small bowls of toppings: shredded lettuce, diced tomatoes, sliced olives, jalapeños, different sauces like ranch and sriracha mayo. It’s interactive, fun, and lets everyone customize their perfect wrap. It’s always a hit.
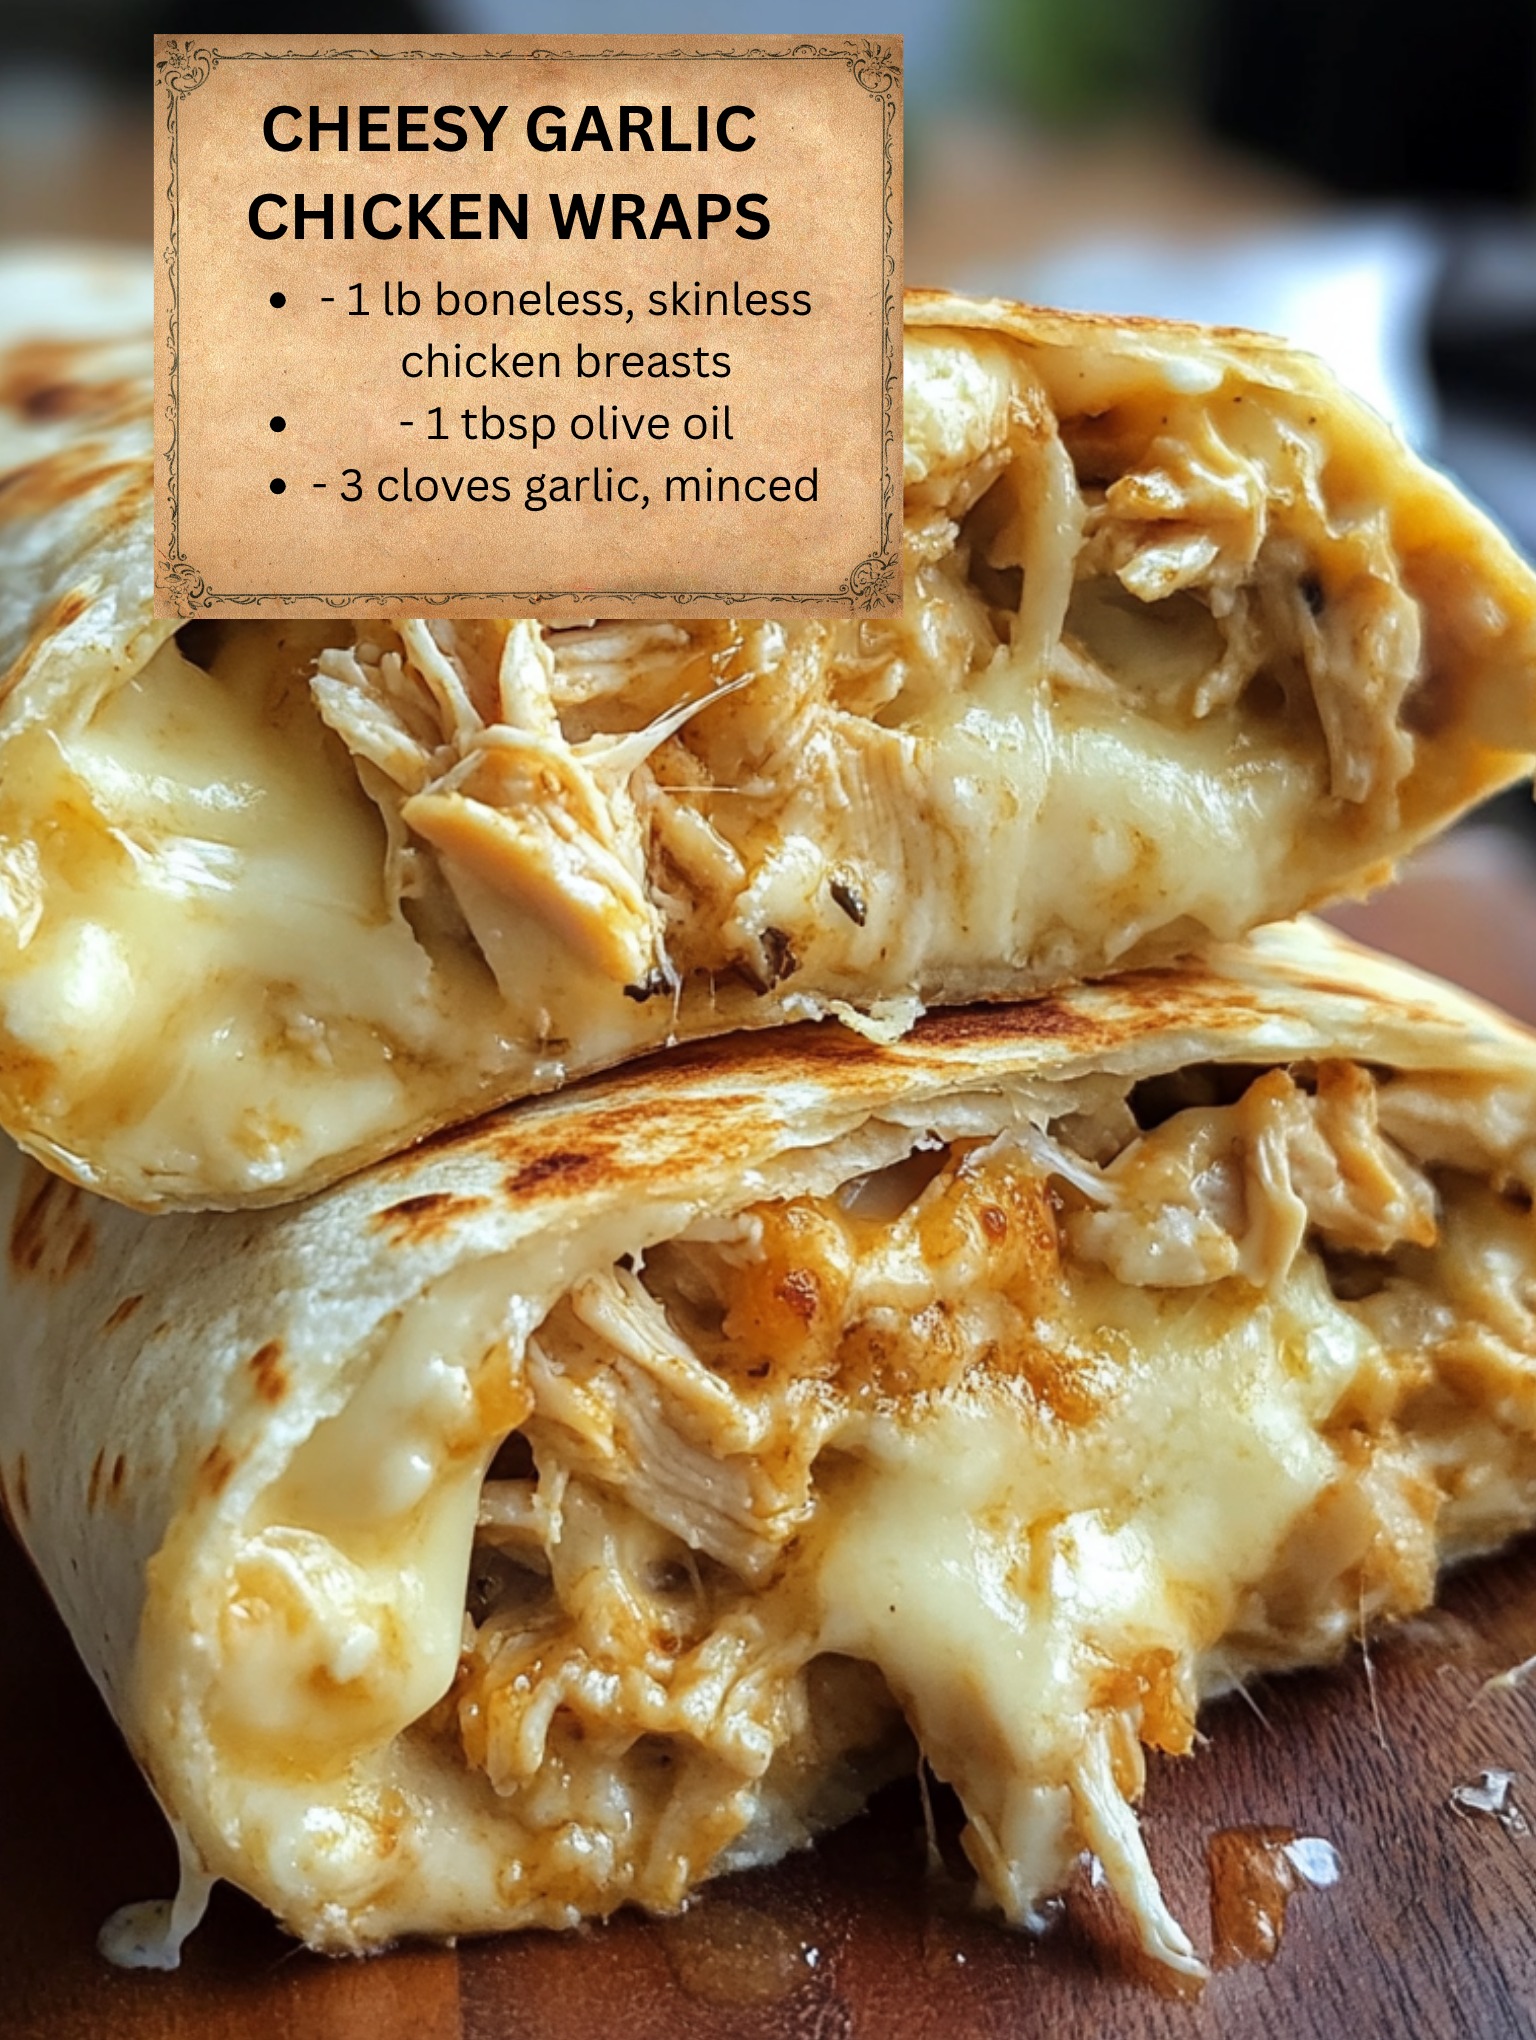
Variations & Customizations
This recipe is a fantastic blueprint. For a spicy kick, I’ve added a finely chopped jalapeño to the cheese mixture or used a pepper jack cheese instead of mozzarella. A dash of cayenne pepper in the chicken seasoning works wonders, too. My friend who doesn’t eat mayo swears by using full-fat Greek yogurt as a substitute, and it’s delicious—it adds a lovely tang.
You can easily change up the protein. I’ve made this with leftover rotisserie chicken (just shred and warm it gently before mixing) and it’s a fantastic 10-minute meal. I’ve also tried it with canned tuna (drained well) for a different twist, and it was surprisingly great. The core concept of a garlicky, cheesy binder is so versatile.
For a low-carb or gluten-free option, ditch the tortilla altogether. I’ve served the chicken mixture over a bed of greens as a killer salad topper, or stuffed it into halved bell peppers and baked them until the peppers were tender. You can also use large lettuce leaves like romaine or butter lettuce as fresh, crunchy wraps. It’s just as flavorful.
How to Store, Freeze & Reheat
To store leftovers, wrap each assembled wrap tightly in plastic wrap or aluminum foil and place them in an airtight container in the fridge. They’ll keep well for up to 2 days. I don’t recommend storing them much longer than that, as the tortilla can start to get soggy from the filling. If you think you’ll have leftovers, I often keep the filling and tortillas separate and assemble just before eating.
These wraps freeze quite well! Wrap each unbaked (or leftover) wrap tightly in plastic wrap, then again in foil. Place them in a freezer bag. They can be frozen for up to 2 months. To reheat from frozen, do not microwave them straight away—you’ll get a soggy mess. Instead, unwrap them, place on a baking sheet, and bake in a 375°F oven for 25-30 minutes, until heated through and the tortilla is crisped up.
For reheating a refrigerated wrap, I strongly prefer using my air fryer or oven. A microwave will make the tortilla rubbery. I pop it in the air fryer at 370°F for 4-5 minutes, or in a toaster oven/regular oven at 375°F for about 10 minutes. This restores that delightful texture and melts the cheese back into gooey perfection. It’s almost as good as fresh.
FAQ Section
Can I make the filling ahead of time?
Absolutely, and I do this often for meal prep! You can cook the chicken and mix the filling (hold the parsley until serving for freshness) and store it separately in an airtight container in the fridge for up to 3 days. When you’re ready to eat, just warm the filling gently in the microwave or in a skillet over low heat, stir in the parsley, and assemble your wraps. It saves so much time on a busy weeknight.
My filling seems dry. What did I do wrong?
This usually happens if the chicken was overcooked or if you didn’t use enough of the binding agent (the mayo). The mayo is crucial for moisture and creaminess. If you’re wary of mayo, make sure you’re using full-fat and the full amount. You can also add a tiny splash of milk or chicken broth to the mixture to loosen it up if needed. Remember, the cheese will also melt and add moisture when warmed.
What’s the best way to roll these so they don’t fall apart?
The technique is key! Place your filling in the lower third of the tortilla, not in the center. Fold the bottom edge up and over the filling, then fold in the left and right sides. Hold those folds in place with your fingers, and then roll the wrap tightly away from you, from the bottom to the top. If you’re making them ahead to crisp later, place them seam-side down. This keeps everything neatly tucked inside.
Conclusion
These Cheesy Garlic Chicken Wraps have earned a permanent spot in my weekly dinner rotation. They’re the perfect combination of effortless cooking and truly delicious results—the kind of meal that makes everyone ask for the recipe. I hope you give them a try and experience that same moment of savory, garlicky joy in your own kitchen. Happy cooking!