Next, I spread a little enchilada sauce on the bottom of my baking dish—this helps keep the tortillas from sticking. Then, I grab my tortillas and warm them slightly in a dry skillet for about 30 seconds on each side. Warming makes them pliable and easier to roll without tearing. Once they’re warm, I scoop about 2-3 tablespoons of the beef mixture into each tortilla, drizzle a bit of cheese on top, and roll them up tightly. I place the filled tortillas seam-side down in the dish, repeating until I run out of space.
Now comes the best part! I pour the remaining enchilada sauce over the rolled tortillas, making sure every nook and cranny is covered. Then, I sprinkle the rest of the cheese on top before covering the whole dish with aluminum foil. I bake it in a preheated oven at 350°F (175°C) for about 20 minutes. The smell wafting through my home while they bake is pure bliss. After 20 minutes, I remove the foil and let it bake for an additional 10 minutes until the cheese is melted and bubbly.
Pro Tips for Best Results
One thing I learned during my trials is to ensure you don’t overcook the beef. It should be browned but still juicy; otherwise, your enchiladas can be dry. I’ve tested this recipe using different meats—ground turkey, shredded chicken, and even a mix of beans for a vegetarian version—and they all turned out delicious!
Also, consider adding a touch of heat with jalapeños or a sprinkle of chili powder in your beef mixture—I sometimes do this if I want that extra kick. It elevates the overall flavor and brings some warmth to the dish.
Lastly, don’t skip the waiting time after baking. I always let the enchiladas sit for about 5 minutes before serving. This waiting period helps everything settle perfectly and makes serving a lot easier.
Common Mistakes to Avoid
I’ve made my fair share of mistakes while trying to perfect my enchiladas! One of the most common pitfalls is using cold tortillas straight from the fridge. They tend to crack and tear when you roll them, leading to messy enchiladas. Warming them up is not just a tip, it’s a must for a great roll!
Another trend I’ve noticed is people going too heavy on the filling. It’s tempting to load them up, but if you overstuff your tortillas, they might burst during baking. The sweet spot is about 2-3 tablespoons of filling per tortilla. (See the next page below to continue…)
Sometimes, I see folks skimping on the sauce. Trust me; a well-sauced enchilada is a happy enchilada! Without enough sauce, you risk ending up with dry or bland bites. And remember, the toppings play a key role too—a sprinkle of fresh cilantro or a dollop of sour cream can truly elevate your dish.
Lastly, avoid using pre-shredded cheese if possible. I know it’s convenient, but it often contains anti-caking agents that can affect melting. I recommend shredding your own; trust me, the creamy texture and flavor payoff are worth the extra effort.
Serving Suggestions
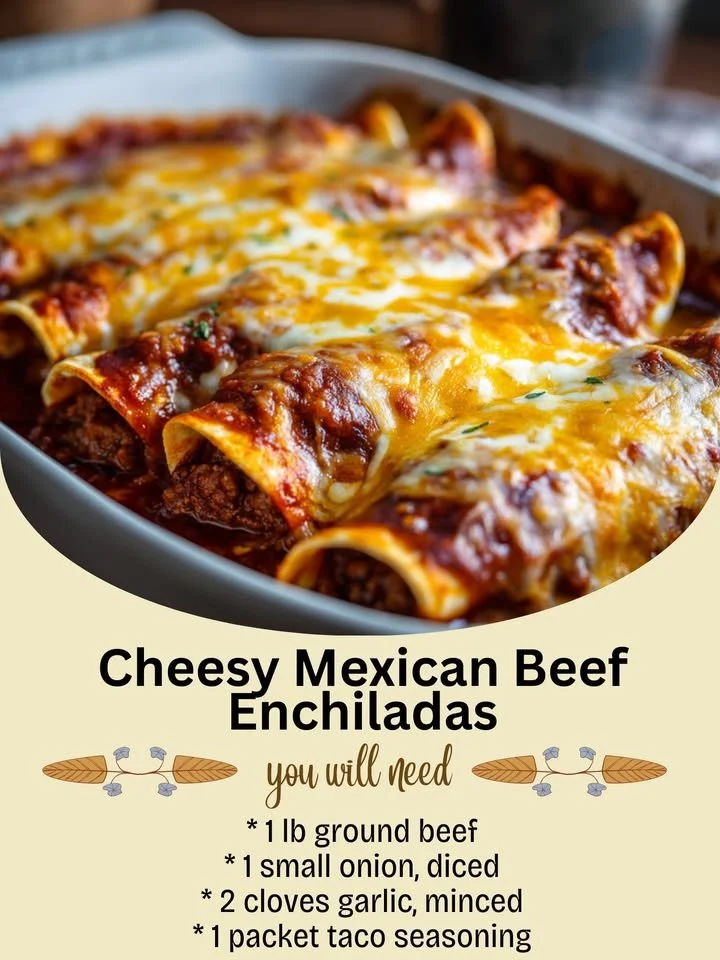
When serving my Cheesy Mexican Beef Enchiladas, I like to plate them up with a sprinkle of fresh cilantro and slices of avocado on the side. The cool, creamy avocado complements the warm, cheesy enchiladas perfectly. Sometimes, I even whip up a quick tomato and corn salad to add freshness to the meal; the colors and textures just shine together.
For those who love a bit of crunch, tortilla chips with pico de gallo on the side make for a great appetizer. The chip crunch combined with the vibrant salsa creates a refreshing start to the meal.
I always have sour cream and sliced jalapeños on the table as optional toppings because everyone’s tastes are different. A dash of hot sauce is also a favorite addition in my home; it just adds that extra zing that we love!
Variations & Customizations
This recipe is so versatile! You can easily switch out the ground beef for ground chicken or turkey, and it cooks just as nicely. For a vegetarian version, I love swapping in roasted veggies like zucchini, bell peppers, or even lentils for a hearty filling. Just season them well and you’re set!
Another fun variation is to change up the cheese. While I’m a fan of classic cheddar, I’ve experimented with pepper jack for an extra kick or even a sprinkle of crumbled queso fresco just before serving, adding a delightful creaminess.
And let’s not forget about sauces! You could give a twist by using green enchilada sauce instead of red, offering a completely different flavor experience. Sometimes, I mix the two for a colorful and delicious fusion!
How to Store, Freeze & Reheat
If I ever have leftovers (which is rare!), I make sure to cool them completely before storing them in an airtight container in the fridge. They can last about 3-4 days and are easy to reheat.
For a longer storage option, I love freezing enchiladas. After assembling them, simply cover them tightly with foil and freeze before baking. When the craving strikes, pop them in a preheated oven for about 1.5 hours from frozen, covered for the first half and uncovered for the rest.
Reheating leftovers is simple; I suggest using the oven to maintain freshness. Just preheat to 350°F (175°C), cover with foil, and reheat for around 20-25 minutes, and you’ll have a dish that tastes freshly made once again!
Conclusion
Making Cheesy Mexican Beef Enchiladas has become a cherished tradition in my kitchen. The smell of sizzling beef, the gooey cheese, and the warm tortillas create an inviting atmosphere that keeps my family coming back for more. I hope you give this recipe a try, and like me, you’ll enjoy creating beautiful memories around the dinner table while sharing a warm, delicious meal. Happy cooking!