Pro Tips for Best Results
Letting the cooked taco meat cool completely before assembling is the single most important tip I can give you. I was impatient once and used it warm, and the steam made the dough so soggy and hard to handle that it tore. The result was a leaky, messy bake. Cooling the filling solidifies the fats and allows everything to hold together, making the sealing process clean and simple. I sometimes spread the beef on a plate and pop it in the freezer for 5-7 minutes to speed this up.
I’ve tested the baking temperature three different ways. A lower temp resulted in pale, soft sticks. Too high, and the tops browned before the inside was cooked through. 400°F (200°C) is the sweet spot. Also, an oven thermometer is a cheap game-changer; my oven’s actual temperature was off by 25 degrees, which explained my inconsistent bakes for years. Trust me, knowing your true oven temp removes so much guesswork.
For the crispest possible sticks, I use a wire cooling rack set inside the baking sheet. As soon as the sticks come out of the oven, I lift the parchment or mat and slide the whole batch onto the rack. This allows air to circulate underneath immediately, preventing condensation from forming and softening that perfect crunchy bottom. Letting them rest for 5-7 minutes also helps the molten cheese filling set slightly, so it doesn’t all gush out on the first bite.
Common Mistakes to Avoid
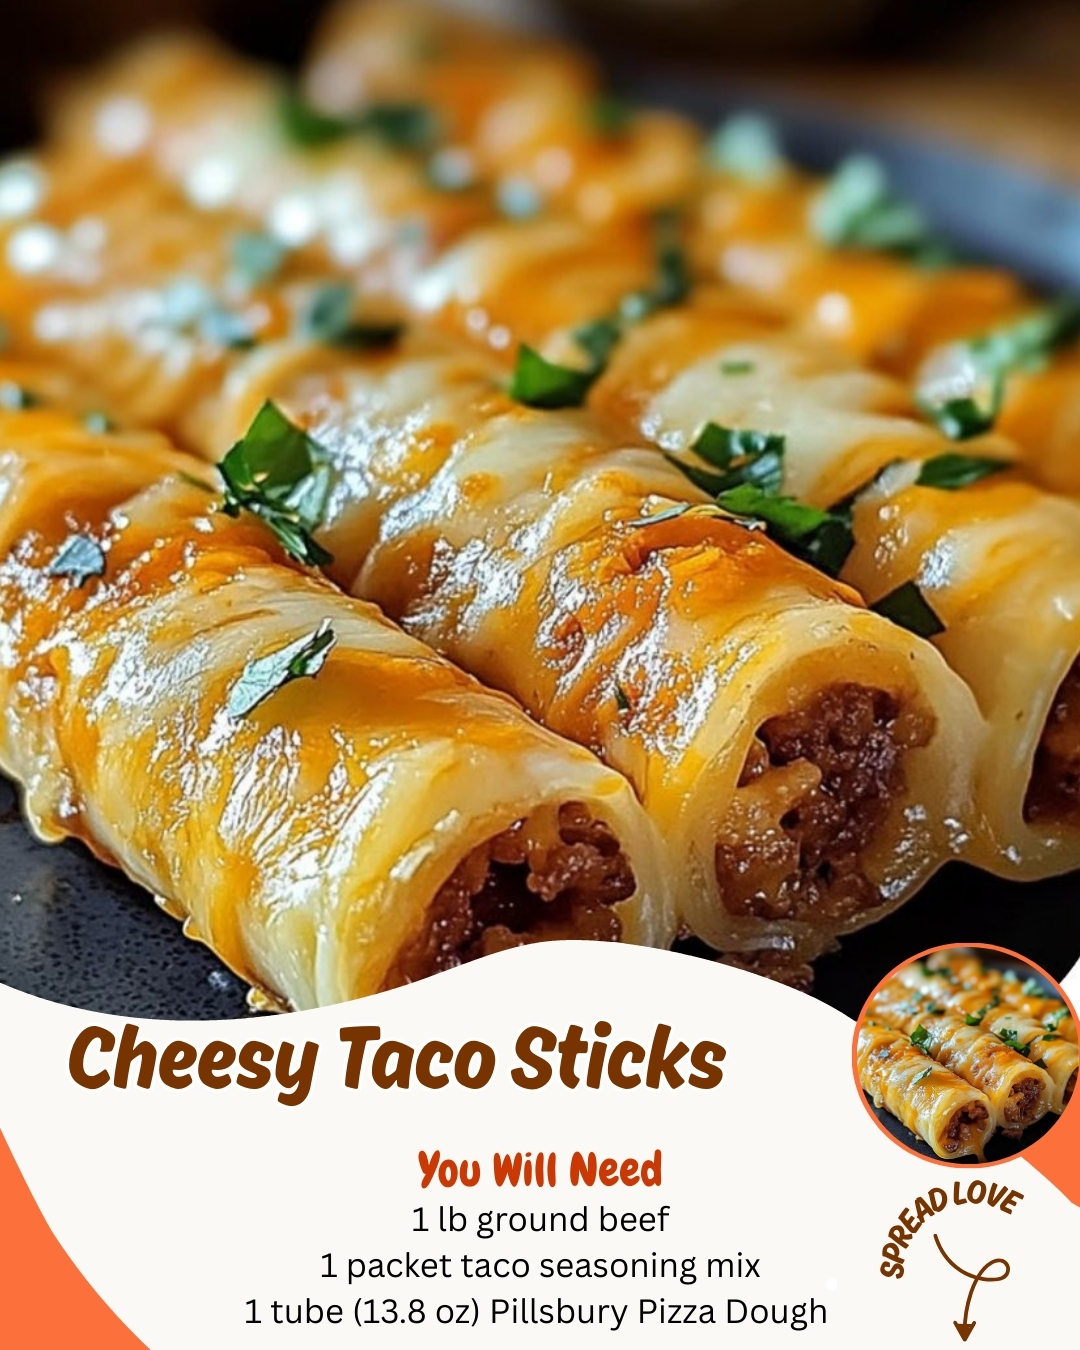
The first time I made these, I was too generous with the filling. I piled on the beef, thinking more is better, and I could not get the dough to seal. It burst open in the oven, and while it still tasted fine, it was a cheesy, beefy landslide on the pan. Be moderate! A thin, even layer of filling is all you need. The star here is the combination of flavors and textures, not an overstuffed log.
Don’t skip the sealing step, and don’t just press with your fingers. I made that mistake the first time—don’t do what I did. The pressure of the rising dough and bubbling filling can force those finger-sealed seams open. Taking an extra 60 seconds to firmly crimp the edges with a fork creates a physical lock that holds everything in beautifully. It’s the difference between presentable sticks and a deconstructed taco bake.
Avoid cutting the sticks directly on the baking sheet. It seems convenient, but you risk scratching your pan and you won’t get clean cuts. I transfer the whole sealed log to the parchment-lined sheet before cutting. Then, I use my pizza cutter to score them lightly, and a small spatula to gently separate and space them out. This gives each stick room to expand and bake evenly on all sides, ensuring every piece has those desirable crispy edges.
Serving Suggestions
I love serving these sticks straight from the oven on a big wooden board for a casual, shareable dinner. They’re fantastic just as they are, but for a full experience, I always put out small bowls of cool sour cream, chunky salsa, and a quick guacamole. The cool, creamy dip against the hot, savory stick is absolute perfection. For my kids, a side of simple ranch dressing is their favorite dipper.
To round this out into a complete meal, I usually toss together a quick, crisp romaine lettuce salad with a lime vinaigrette or black bean and corn salad. The freshness cuts through the richness of the sticks beautifully. On busier nights, I keep it super simple with just some tortilla chips and store-bought pico de gallo on the side. It still feels like a festive, fun meal without extra fuss.
For game day or a party, these are the ultimate finger food. I’ll double the batch and keep a tray warming in the oven at 200°F. I arrange them in a basket lined with a checkered napkin—they disappear faster than anything else on the table. I like to offer a variety of dipping sauces in little cups so guests can mix and match; a spicy chipotle mayo is always a hit with the adults.(See the next page below to continue…)