Another common issue is overbaking. If you leave them in the oven for too long, you’ll end up with a dry texture that no one wants. Keep an eye on them in the last few minutes; the center should still have a slight jiggle when you take them out. Trust me, the residual heat will do the rest!
Also, make sure to use the correct pan size. A 9×13 inch pan is ideal for these bars; using a smaller pan might lead to longer baking times and could result in burnt edges. I learned this the hard way, resulting in my first batch being quite charred!
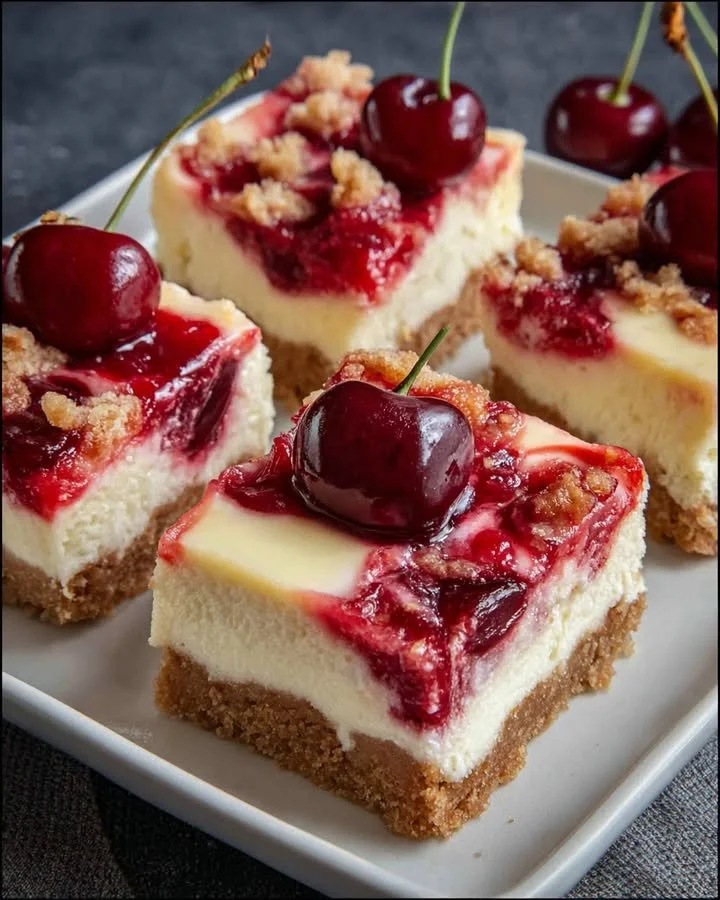
Finally, if you’re using homemade cherry pie filling, make sure it’s cooled down before you spoon it over the cheesecake layer. Hot filling can create steam, which affects the texture of the cheesecake itself.
Serving Suggestions
These Cherry Cheesecake Bars are delightful on their own, but I love to serve them with a dollop of whipped cream for that extra touch of indulgence. A sprinkle of grated chocolate or crushed nuts on top can add a lovely texture as well. You could even drizzle some chocolate sauce or caramel for a gourmet flair!
They also make for a fantastic dessert at potlucks or family gatherings. Just imagine everyone gathering around, plates in hand, excited to try these sweet treats! I often package them up in cute boxes to share with friends and family; they make the perfect homemade gift.
When enjoying them, I recommend pairing them with a cup of coffee or tea. The warm, comforting flavors of the drink complement the creamy, sweet cheesecake bars perfectly. Trust me; your taste buds will thank you!
Variations & Customizations
If cherries aren’t your thing, feel free to swap them for other fruits! Fresh blueberries or strawberries work wonderfully and give a different but equally delightful flavor profile. You can create an entire fruit-themed cheesecake bar collection—just imagine the possibilities!
For a little extra zing, consider adding a splash of lemon juice to the cream cheese mixture. It brightens up the flavor and adds a refreshing tartness that works beautifully with the sweetness of the cherries. I’ve tested this, and it makes the bars taste like summer in every bite!
You can also change up the crust! While graham crackers are classic, I’ve experimented with crushed Oreos and even almond flour for a gluten-free version. Each variation brings a unique dimension to the bars, so don’t hesitate to get creative in your kitchen!
How to Store, Freeze & Reheat
To store these delicious bars, simply place them in an airtight container and keep them in the refrigerator. They will last for 5 to 7 days, but I promise they won’t last that long—they’re just too delicious! For best results, avoid cutting them until you’re ready to serve; this helps maintain their texture.
If you’d like to prepare them ahead of time, Cherry Cheesecake Bars freeze beautifully. Just wrap them tightly in plastic wrap or aluminum foil, and place them in a freezer-safe container. They can be frozen for up to 3 months. When you’re ready to enjoy them, thaw them in the refrigerator overnight—slow and steady wins the race here!
Reheating isn’t necessary, but if you prefer them a bit warmer, you can set them out at room temperature for about 30 minutes before serving. The flavors will come alive once warmed slightly, and the texture will soften just enough for that melt-in-your-mouth experience.
Conclusion
I hope you’re as excited to try these Cherry Cheesecake Bars as I was when I first created them! They are always a hit in my home, whether at family gatherings or simply as an after-dinner treat. With the right balance of sweet, tart, and creamy, these bars are sure to bring joy to your kitchen too. Happy baking, and may your kitchen always be filled with love and delicious smells!