I cannot stress enough the importance of a good, powerful blender for this recipe. My first attempt was with a little personal smoothie blender, and it just coughed and stalled on the ice and frozen Coke mixture. I ended up with a chunky, uneven mess. My sturdy kitchen blender makes all the difference, pulverizing everything into a smooth, fluffy slush in seconds. If your blender is on the weaker side, a little trick I use is to let the canned Coke get very cold in the freezer for about 20-30 minutes first (don’t let it freeze solid!), so it’s already partially slushy when it goes in. Your machine will thank you.
Step-by-Step Instructions
First, I get everything ready—what we chefs call mise en place. I measure my rum and cherry liqueur directly into the jigger. I pop open my Cokes. I even get my garnishes ready so they’re waiting. This is a fast recipe once you start blending, and you don’t want your beautiful slush melting while you dig for the whipped cream. Then, I pour the rum, cherry liqueur, and one full can of Coca-Cola directly into the blender pitcher. The second can, I pour in only about three-quarters of the way, saving the rest. Why? Because blenders vary, and you might need that extra liquid to get things moving if your mix is too thick. I learned this the hard way by adding both full cans at once and ending up with a slushie soup.
Next, I add the two cups of ice. It looks like a lot, but it will blend down. Now for the key moment: I place the lid on tightly (a lesson learned from a very sticky, red kitchen incident) and start the blender on low, then quickly ramp it up to high. I let it run for a full 45-60 seconds. You’re listening for the sound to change from a loud crushing noise to a smoother, consistent whirl. When it looks like a thick, homogeneous frosty mixture with no visible ice chunks, it’s done. I always stop and poke a spoon in to check the consistency—it should be like a dense, drinkable snow cone.
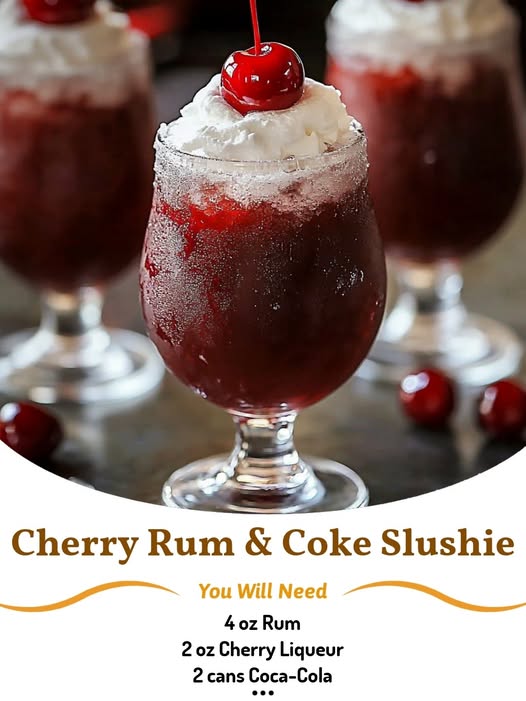
Finally, I immediately pour or scoop the slushie into my waiting glasses. It melts faster than you think! I then take that reserved bit of Coke from the second can and drizzle just a tiny bit over the top of each glass. This isn’t just for looks; that little hit of fresh, bubbly Coke adds a wonderful effervescence to the first few sips. Then, I swirl on a generous mound of whipped cream and crown it with a maraschino cherry or two. The contrast of the icy slush with the cool, creamy topping is pure bliss.
Pro Tips for Best Results
My biggest pro tip is all about temperature. I tested this three different ways: with room-temperature Coke, fridge-cold Coke, and Coke that had been in the freezer for 25 minutes. The freezer method wins, hands down. Chilling the Coke almost to its freezing point means the blender has less work to do, the slush sets up faster, and the final texture is significantly smoother and less watery. Just set a timer—you want it very cold but not frozen solid, or you’ll have a explosive mess on your hands.
Another lesson from my kitchen: pre-chill your glasses. This seems like a tiny detail, but it makes a massive difference in how long your slushie stays perfectly frosty. While I’m prepping my ingredients and chilling that Coke, I simply stash my serving glasses in the freezer. When you pour the slushie into an ice-cold glass, it doesn’t immediately start melting from the outside. You get more time to enjoy its ideal texture, and the glass gets beautifully frosted on the outside, which just looks magical.
(See the next page below to continue…)