Pro Tips for Best Results
Let your ice cream soften on the counter for about 15-20 minutes. It should be spreadable, like thick frosting, but not soupy. I made the mistake of letting it get too soft once, and it melted into the cake layers, making everything soggy. The ideal texture is malleable but still cold. Also, when breaking up the cookie dough, aim for pea-sized to marble-sized pieces. If they’re too large, they can be difficult to slice through when the cake is frozen solid.
Timing is everything with assembly. I prepare my cake layers and cookie dough the day before. On assembly day, I take the ice cream out to soften, layer everything in the springform pan, and let it freeze overnight. This no-rush method ensures every component is the perfect temperature and consistency, making the process calm and enjoyable instead of a frantic race against melting ice cream.
For the cleanest slices, I use a sharp chef’s knife that I run under very hot water and wipe dry between each cut. The heat helps glide through the frozen ice cream and cookie dough without cracking or shattering the layers. I tested this three different ways—with a cold knife, a serrated knife, and the hot knife method—and the hot knife was the undisputed winner for picture-perfect pieces.
Common Mistakes to Avoid
The biggest mistake I made the first time was not letting the cake layers cool completely. I was impatient and assembled while they were still slightly warm. The residual heat caused the bottom ice cream layer to melt instantly, creating a soggy, unstable mess. Don’t do what I did! Let the cakes cool in the pans, then on a wire rack, until they are truly room temperature. Touch the bottom of the cake pan—if it’s no longer warm, you’re good to go.
Another pitfall is using ice cream that’s either too hard or too soft. If it’s rock hard, you can’t spread it without tearing the cake. If it’s melted, it won’t refreeze with a creamy texture and will soak the cake. I’ve found the sweet spot is when you can press a spoon into the carton and leave an indentation that holds its shape. It should scoop easily but not be liquid. This consistency spreads like a dream and freezes back perfectly.
Serving Suggestions
I like serving this cake directly from the freezer, but I let it sit on the counter for 5-7 minutes before slicing. This brief rest makes the ice cream just soft enough to scoop easily while keeping the structure intact. For plating, a simple drizzle of hot fudge sauce and a dollop of whipped cream is my go-to. The contrast of the warm sauce against the frozen cake is absolutely divine.
For a fun party presentation, I set out small bowls of different toppings and let everyone customize their slice. Crushed peanuts, extra mini chocolate chips, caramel sauce, and even a sprinkle of sea salt are all fantastic additions. It turns dessert into an interactive event and lets guests play with their favorite flavor combinations.
If you’re serving a smaller crowd, you can easily slice the fully frozen cake, wrap individual portions tightly in plastic wrap, and store them in a freezer bag. Then, you can pull out a single slice whenever a craving hits. I’ve done this many times, and it’s a wonderful treat to have waiting for you after a long day.
Variations & Customizations
The beauty of this cake is how easily you can make it your own. For a cookies-and-cream version, I’ve substituted the vanilla ice cream with cookies-and-cream flavor and mixed crushed Oreos into the cookie dough instead of chips. The textural crunch was phenomenal. You could also use chocolate ice cream for an even more intense chocolate experience, though I’d recommend a lighter cookie dough, maybe without chocolate chips, to balance it.
Not a chocolate cake fan? I’ve seen a fantastic version using brown sugar cupcakes crumbled as a base for a “cookie dough truffle” layer. For this cake, you could try a vanilla or even a peanut butter cake as the base. If you do, consider adding peanut butter chips to your cookie dough and using chocolate ice cream. The flavor possibilities are truly endless and fun to experiment with.
For seasonal twists, in the fall, I’ve added a teaspoon of cinnamon to the cookie dough and used a pumpkin spice ice cream. Around the holidays, mint chocolate chip ice cream with a dark chocolate cake is a stunning combo. Don’t be afraid to play with the components—just keep the ratios and assembly method the same, and you’re likely to create something wonderful.
How to Store, Freeze & Reheat
Once assembled, this cake lives in the freezer. I wrap the entire springform pan tightly in a layer of plastic wrap, then a layer of aluminum foil to prevent freezer burn. It keeps beautifully for up to 2 weeks this way. For longer storage (up to a month), I don’t recommend it, as the ice cream can develop those unwanted icy crystals and the cake may start to dry out.
Since this is a frozen dessert, there’s no “reheating” in the traditional sense. If you find the entire cake is too hard to slice, just give it a few more minutes on the counter. For individual slices, let them sit on a plate at room temperature for 8-10 minutes before eating. Do not microwave it, as the ice cream will melt into a puddle and the layers will separate. The slow, gentle thaw is the only way to preserve that perfect layered texture.
Conclusion
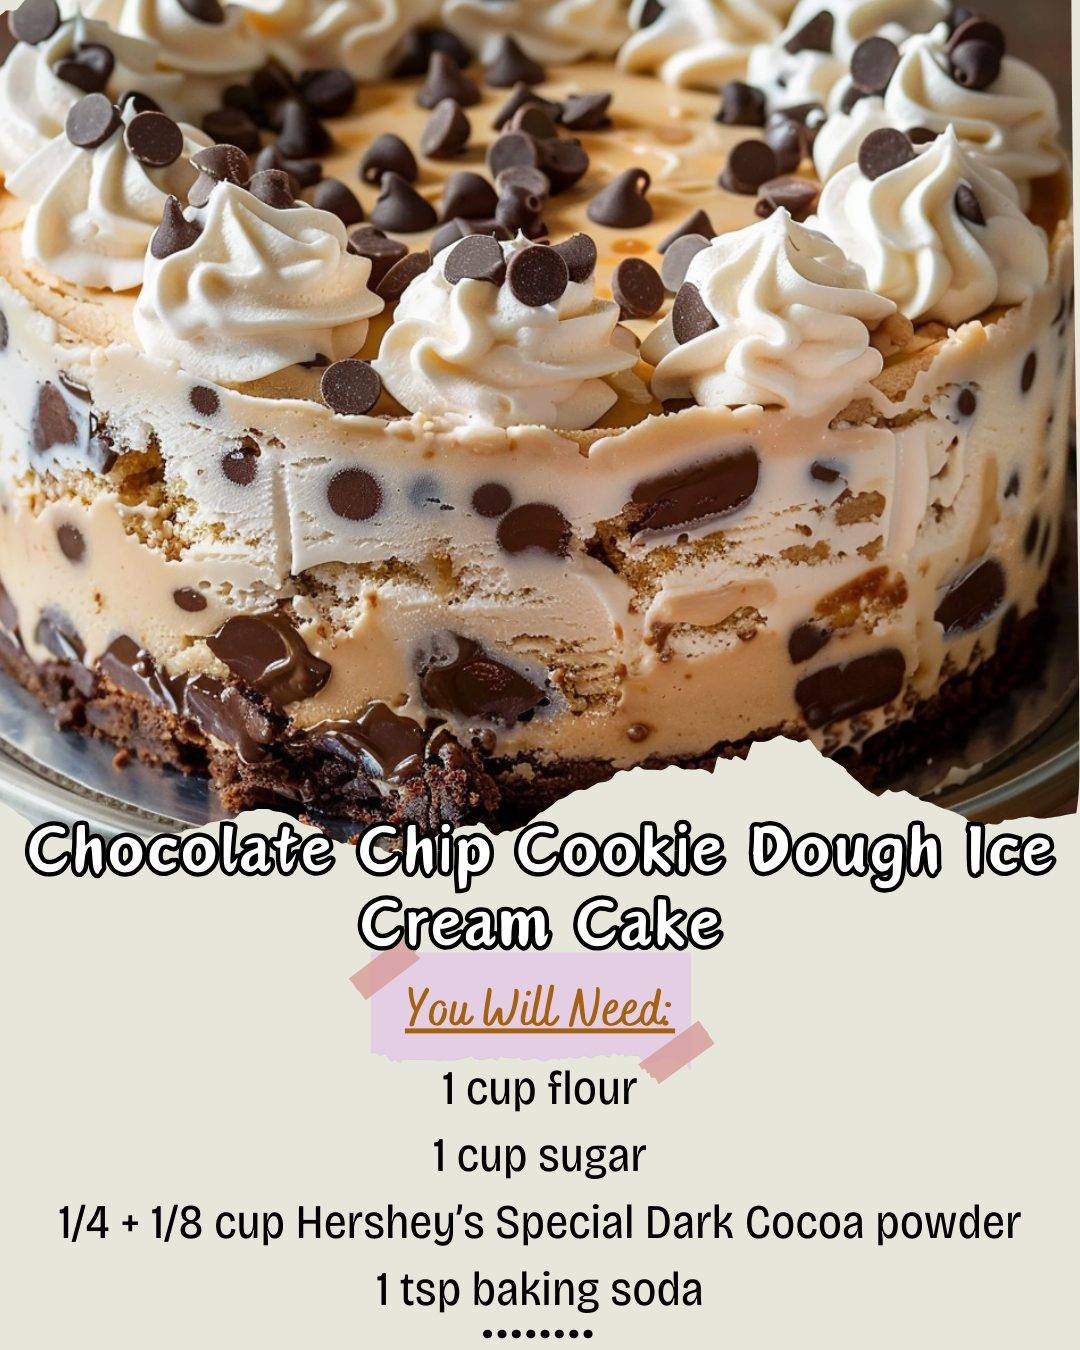
This Chocolate Chip Cookie Dough Ice Cream Cake is more than just a list of ingredients and steps—it’s a guaranteed memory-maker. From the moment you smell the chocolate cake baking to the chorus of “wows” when you present the final slice, every bit of the process is worth it. I hope you feel inspired to try it in your own kitchen and share it with people you love. Happy baking, and even happier indulging!