Pro Tips for Best Results
I tested the water temperature three different ways: boiling, hot from the tap, and just-under-boiling from a kettle. The kettle water, around 200°F, is the sweet spot. Boiling water can sometimes cook the top of the batter too quickly, preventing the layers from forming distinctly, while tap water isn’t hot enough to properly dissolve the sugar and cocoa into sauce. Letting your melted butter cool just slightly before adding it to the milk and vanilla prevents it from solidifying when it hits the cold milk, ensuring a smoother batter.
The most critical tip I learned through a couple of timid batches is to pour the water confidently and do not stir. That initial, horrifying “soup” stage is exactly what you want. The water needs to sit on top to work its way down and create that separate sauce layer. If you stir, you’ll just have a homogenous, gritty batter. Walk away, set your timer, and let the oven do its transformative work.
When you pull it from the oven, let it rest for at least 15-20 minutes. This was a hard lesson in patience for me. That sauce is molten lava hot, and this rest period allows it to thicken slightly and the cake layer to set enough to be served. It will still be wonderfully warm, but you won’t scorch your tongue, and your servings will hold their shape better on the spoon.
Common Mistakes to Avoid
My first time, I was so nervous about sticking that I lightly buttered the dish. Big mistake. The butter created a slick layer that prevented the cake from gripping the bottom, so when I poured the water in, parts of the batter floated and the whole structure was compromised. I ended up with a marbled mess instead of defined layers. Now I religiously use a clean, dry dish, and it releases perfectly every single time.
Another classic error I made was underbaking because the top looked done. At 35 minutes, the top was set and looked cakey, but when I spooned into it, the sauce was still too thin and runny, more like hot chocolate. That extra 5-10 minutes is crucial for the sauce to thicken and intensify in flavor. Wait for the edges to be actively bubbling with that dark sauce and for the top to have a firm, springy set. It’s better to err on the side of a slightly firmer cake than a watery sauce.
Serving Suggestions
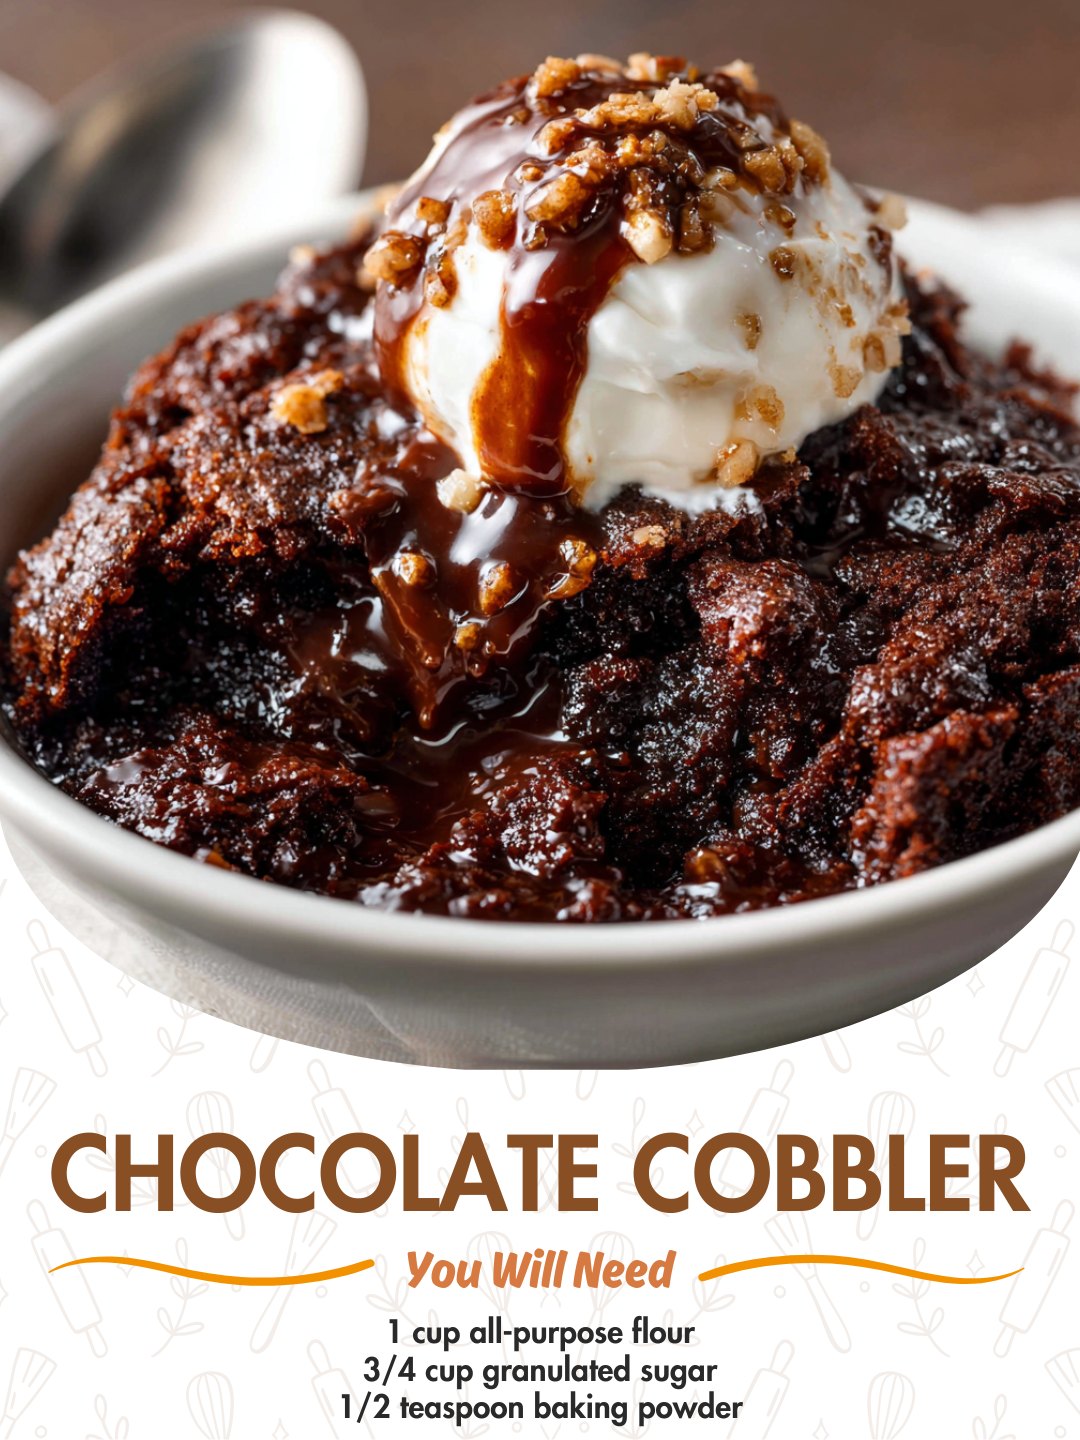
I adore serving this cobbler straight from the dish at the table, letting everyone see the glorious sauce pool as I scoop out the first portion. A scoop of high-quality vanilla ice cream is non-negotiable in my house. The contrast of the cold, creamy ice cream melting into the warm, fudgy cake and sauce is the entire point of the experience. The vanilla also perfectly balances the deep chocolate notes.
For a simpler, but still divine, option, I’ll dollop on some freshly whipped cream or a drizzle of cold heavy cream. The fat in the cream cuts the sweetness and adds a luxurious mouthfeel. Sometimes, if I’m feeling fancy, I’ll add a sprinkle of flaky sea salt and a few fresh raspberries on the side—the tart fruit provides a beautiful, bright counterpoint to the rich chocolate.
This dessert is best served warm. I like to reheat individual bowls in the microwave for about 20 seconds if it’s sat out too long. I always warn my guests that the dish and the sauce retain heat incredibly well, so to take a careful first bite. Pair it with a cup of strong black coffee or a glass of cold milk for the ultimate comfort-food moment.
Variations & Customizations
Once you master the basic recipe, it’s so fun to play with. My favorite twist is adding a teaspoon of instant espresso powder to the dry ingredients. It doesn’t make it taste like coffee; instead, it deepens the chocolate flavor to an almost mysterious level. I’ve also folded a handful of mini chocolate chips or chopped toasted pecans into the batter before spreading it for little bursts of texture.
For a mint-chocolate version, I swap the vanilla extract for peppermint extract (just 1/2 teaspoon, as it’s potent!). I then sprinkle chopped Andes mints on top with the sugar-cocoa layer. The result is like a warm, deconstructed thin mint. In the fall, I love adding a pinch of cinnamon and cayenne to the cocoa-sugar topping for a Mexican hot chocolate-inspired cobbler—the subtle warmth on the finish is incredible.
I’ve seen friends make a “blondie” version by omitting all cocoa powder, using all brown sugar, and adding butterscotch chips. The technique is identical, resulting in a buttery vanilla cake with a sticky butterscotch sauce. It’s proof that this magical method works beyond just chocolate, opening up a world of self-saucing pudding cake possibilities.
How to Store, Freeze & Reheat
Honestly, this cobbler is best enjoyed the day it’s made, but leftovers do exist in my house (rarely!). I let it cool completely, then cover the baking dish tightly with plastic wrap or transfer portions to an airtight container. It keeps in the fridge for up to 3 days. The sauce will thicken and absorb into the cake somewhat, making it more uniformly fudgy, which is still delicious.
To reheat, I strongly recommend the microwave. For a single serving, 45-60 seconds on medium power brings it back to a warm, saucy state. You can reheat the whole dish in a 300°F oven for 15-20 minutes, but it can dry out the edges a bit. I do not recommend freezing the assembled cobbler, as the sauce layer can become grainy and separate upon thawing. However, you can mix the dry ingredients for the batter and the sugar-cocoa topping separately, store them in bags, and have a nearly-instant dessert mix ready for weeks.
Conclusion
This chocolate cobbler is more than a recipe; it’s a little piece of kitchen magic that never fails to bring a smile. It has saved my tail when I needed a last-minute dessert and has created some of my coziest family memories. I hope it finds a permanent spot in your recipe box, ready to turn an ordinary evening into something sweetly special. Now, go preheat your oven—your new favorite dessert is waiting to be discovered.