Pro Tips for Best Results
My number one tip is all about temperature. I’ve tested this three different ways, and the success hinges on contrast: cold filling, room temperature crust, and lukewarm ganache. If your filling isn’t cold enough when you add the ganache, it can bleed together. If the ganache is too hot, it will melt the filling. I use an instant-read thermometer now and aim for the ganache to be between 85-90°F (29-32°C) before pouring. It’s the sweet spot.
For the cleanest slices, run your knife under very hot water and wipe it dry between each cut. The heat glides through the firm ganache and creamy filling without dragging or cracking the chocolate surface. I didn’t do this the first time and my slices looked rustic, to put it kindly. Doing this simple step makes each piece look like it came from a bakery case.
Don’t rush the whipping of the cream. Start on medium-low to incorporate air, then move to medium-high. You’re looking for peaks that hold their shape firmly when you lift the beaters. Under-whipped cream leads to a runny filling that won’t set. I also add the corn syrup to the ganache every single time. It’s not just for shine; it stabilizes the chocolate, giving it a smoother mouthfeel and preventing it from becoming too hard and brittle in the fridge.
Common Mistakes to Avoid
The biggest mistake I made the first time was not softening the cream cheese enough. I was impatient and tried to use it straight from the fridge, figuring my mixer could power through. It couldn’t. I ended up with a filling riddled with tiny cream cheese lumps that no amount of straining could fix. Don’t do what I did. Plan ahead and let that brick of cream cheese sit on the counter until it’s pillowy soft to the touch.
Another common pitfall is not letting the pie set fully. I know it’s tempting to cut into it after just two hours, but you’ll get a soupy, messy slice. The filling needs that full four hours, and ideally overnight, to achieve the perfect, firm-yet-creamy texture that holds its shape on a plate. Impatience here is the enemy of perfection. Set it before dinner for a dreamy dessert, or better yet, make it the day before you need it.
Serving Suggestions
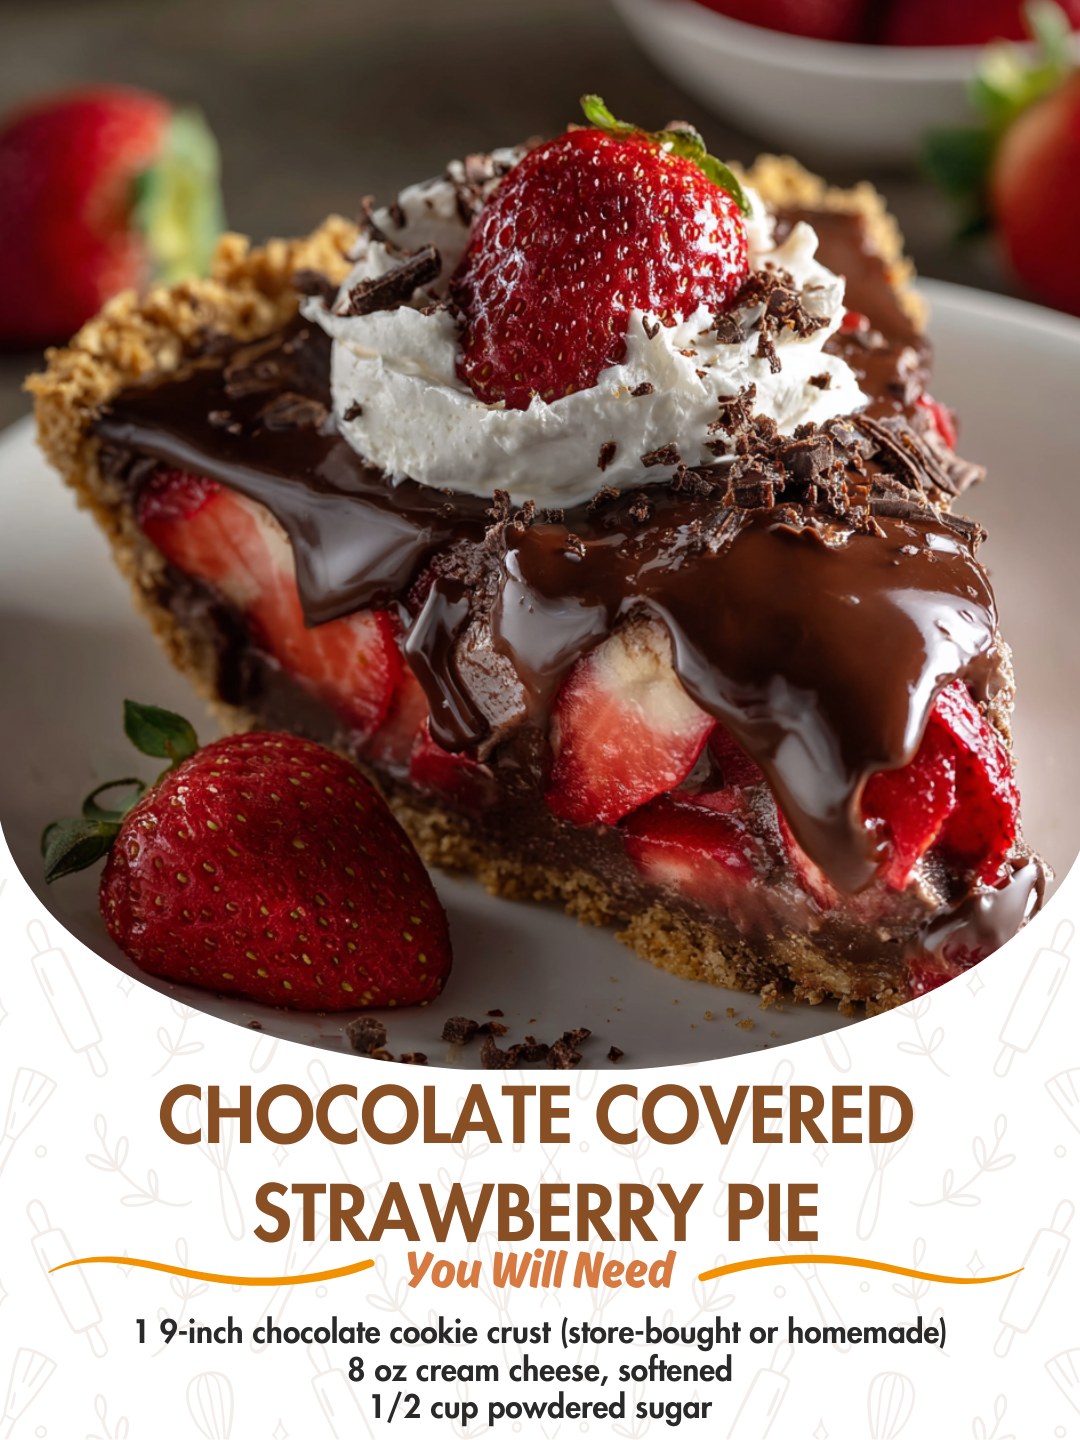
I like serving this pie straight from the fridge, where it’s cool and firm. A small slice is surprisingly rich, so I typically cut it into eight slender pieces. For an extra touch, I’ll add a small dollop of barely-sweetened whipped cream on the side and perhaps a single perfect, fresh strawberry. The contrast of the plain whipped cream with the chocolate and sweet berry filling is just divine.
In the summer, I love pairing it with a glass of sparkling rosé or a light-bodied, fruity red wine like a Pinot Noir. The acidity and bubbles cut through the richness beautifully. For a non-alcoholic option, a cold glass of milk or a sparkling berry-infused water is my go-to. It’s such a decadent treat that it deserves a little beverage companion.
If I’m bringing this to a gathering, I transport it in a cooler or insulated bag to keep it chilled, and I don’t garnish with the fresh strawberry halves until I arrive. That keeps them from weeping onto the beautiful chocolate surface. I once showed up to a picnic with a stunning pie that had slid into a sad, sweaty state on the car ride over—lesson learned the hard way!
Variations & Customizations
This recipe is a wonderful canvas for creativity. I’ve tried a version with a mix of strawberries and raspberries folded into the filling, which adds a lovely tangy complexity. You could even do a triple berry blend. For the crust, a graham cracker or Oreo crust works just as well if you can’t find a chocolate cookie crust. I’ve also crushed some freeze-dried strawberries and sprinkled them into the crust mixture for an extra berry punch.
For a decadent twist, layer sliced bananas between the crust and the filling before adding the cream cheese mixture. It tastes like a chocolate-covered strawberry-banana split! I’ve also seen friends add a tablespoon of liqueur to the filling—Chambord or a strawberry-flavored liquor would be incredible, or a bit of Grand Marnier for a subtle orange note. Just add it with the vanilla.
If you’re a chocolate purist, swap the semi-sweet chips for dark chocolate (70%) in the ganache for a deeper, less sweet flavor. For a white chocolate version, use white chocolate chips for the ganache and fold mini white chocolate chips into the filling. Top it with red strawberries for a stunning visual contrast. The possibilities are nearly endless.
How to Store, Freeze & Reheat
This pie stores beautifully covered tightly with plastic wrap or in an airtight container in the refrigerator for up to 4 days. The crust may soften slightly by day four, but the flavors are still fantastic. I do not recommend leaving it at room temperature for more than an hour or two, as the filling can soften and the ganache may sweat.
You can freeze the entire pie for up to a month. I wrap the chilled, set pie tightly in two layers of plastic wrap, then a layer of aluminum foil. Thaw it overnight in the refrigerator before serving. The texture of the filling may be a tad less fluffy after freezing, but it’s still delicious. Do not freeze slices with fresh strawberry garnish on top, as they will become mushy. The ganache may develop a slight bloom (white spots) from freezing, but it’s purely cosmetic and the taste is unaffected. There’s no need to reheat this pie—it’s meant to be enjoyed cold!
Conclusion
This Chocolate Covered Strawberry Pie has earned a permanent spot in my recipe repertoire. It’s more than just following steps; it’s about creating a little moment of joy, whether it’s for a quiet night in or a table full of loved ones. I hope you’ll give it a try and experience the same simple pleasure I do every time I pull that shimmering, berry-topped beauty out of the fridge. Happy baking, and I’d love to hear how yours turns out