Equipment Needed
- 9×13 inch baking dish
- Food processor or gallon-size ziplock bag and rolling pin
- Large mixing bowl and electric hand mixer (or stand mixer)
- Medium mixing bowl and whisk
- Rubber spatula
- Measuring cups and spoons
Step-by-Step Instructions
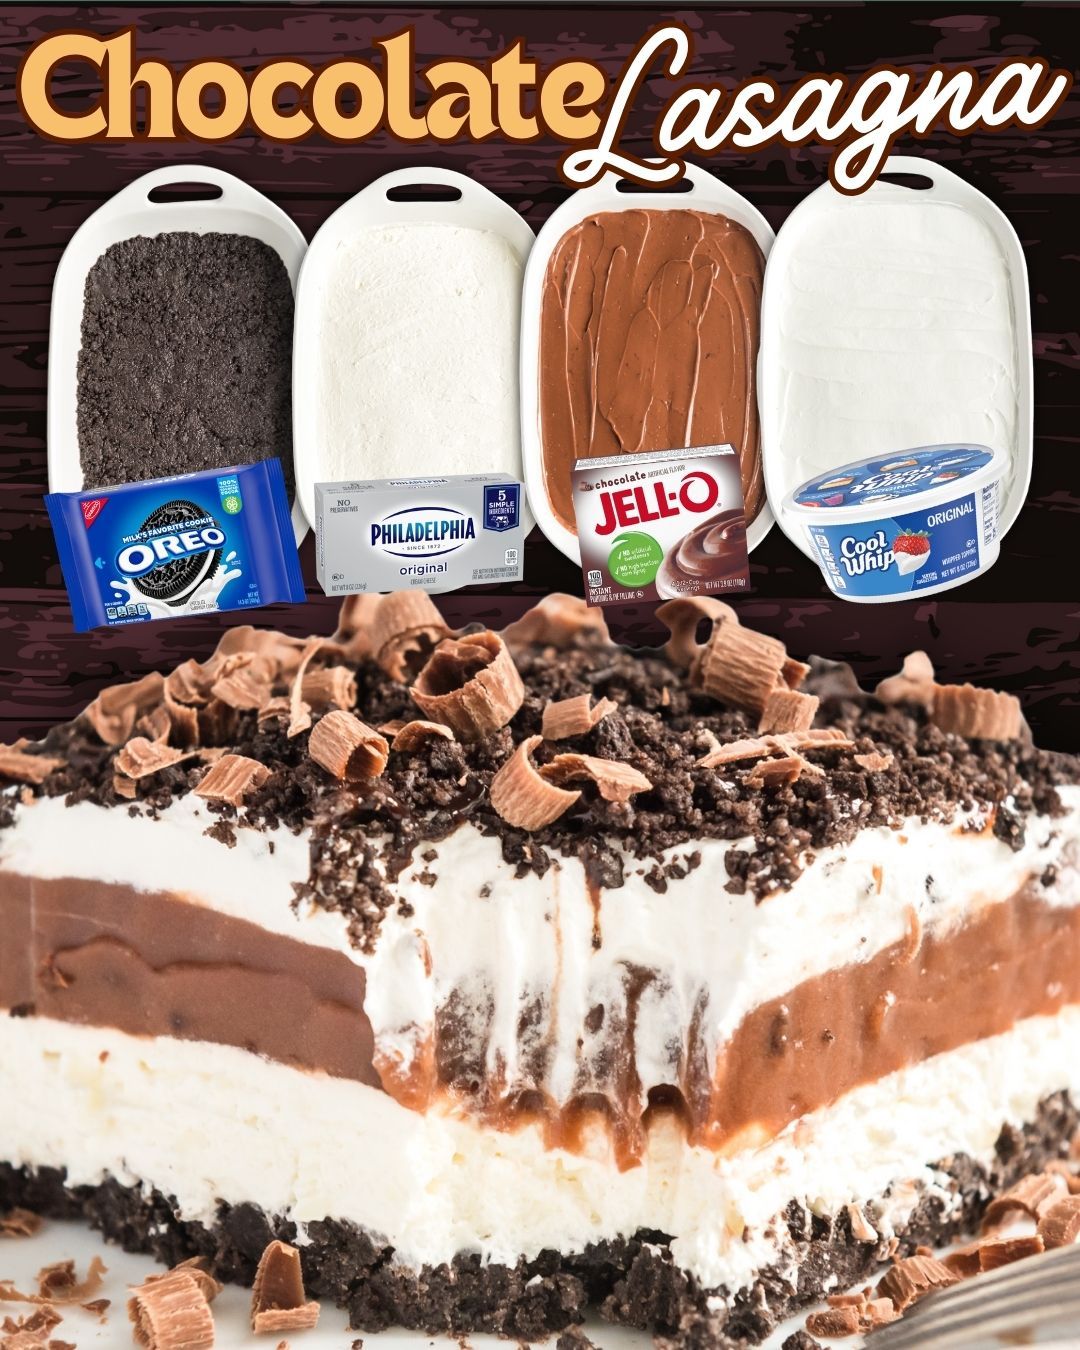
First, we tackle the crust. Don’t just crush the Oreos—pulverize them in a food processor until they resemble fine, dark sand. If you’re using the bag-and-rolling-pin method, channel any frustration into it; you want no big chunks left. Mix the crumbs thoroughly with the melted butter until it looks like wet sand. Press this firmly and evenly into your baking dish. I use the bottom of a measuring cup to really tamp it down. This base needs to be solid, so pop the whole dish in the freezer for 10 minutes while you make the next layer. This quick chill sets the butter and prevents the crust from mixing with the creamy layers later.
For the second layer, beat the softened cream cheese with the sugar and 2 tablespoons of milk until it’s completely smooth and fluffy. This takes a good 2-3 minutes with a mixer—don’t rush it. Now, gently fold in one cup of the thawed whipped topping with a spatula. Folding is key here; we want to keep it airy. Pull your chilled crust from the freezer and spread this creamy mixture evenly over the top. I find a slightly offset spatula works wonders. Once done, refrigerate this layer for another 10 minutes. This chill time is your secret weapon for defined, beautiful layers.
The chocolate pudding layer comes together in a flash. In your medium bowl, whisk the two packets of instant pudding mix with the 3 1/4 cups of cold milk. Whisk vigorously for a full two minutes until it’s very thick and pudding-like. It will seem thick almost immediately, but keep whisking—this ensures it sets perfectly. Immediately pour and spread this over the set cream cheese layer. The contrast of the white and deep brown is just gorgeous. Let this set in the fridge for 10 more minutes. I use this time to clean up; you’ll thank yourself later.
Finally, the grand finale. Take the remaining whipped topping and spread it gently over the completely set pudding layer. This is your blank canvas. I like to make little swoops and peaks with my spatula. Then, shower the top with your chosen garnish—I’m partial to chocolate shavings for elegance, but my nephew demands mini chocolate chips. Now, the hardest part: cover it and refrigerate for at least 4 hours, but ideally overnight. I know it’s tempting to dig in, but this time allows all the layers to firm up perfectly so you get a clean slice.(See the next page below to continue…)