Step-by-Step Instructions
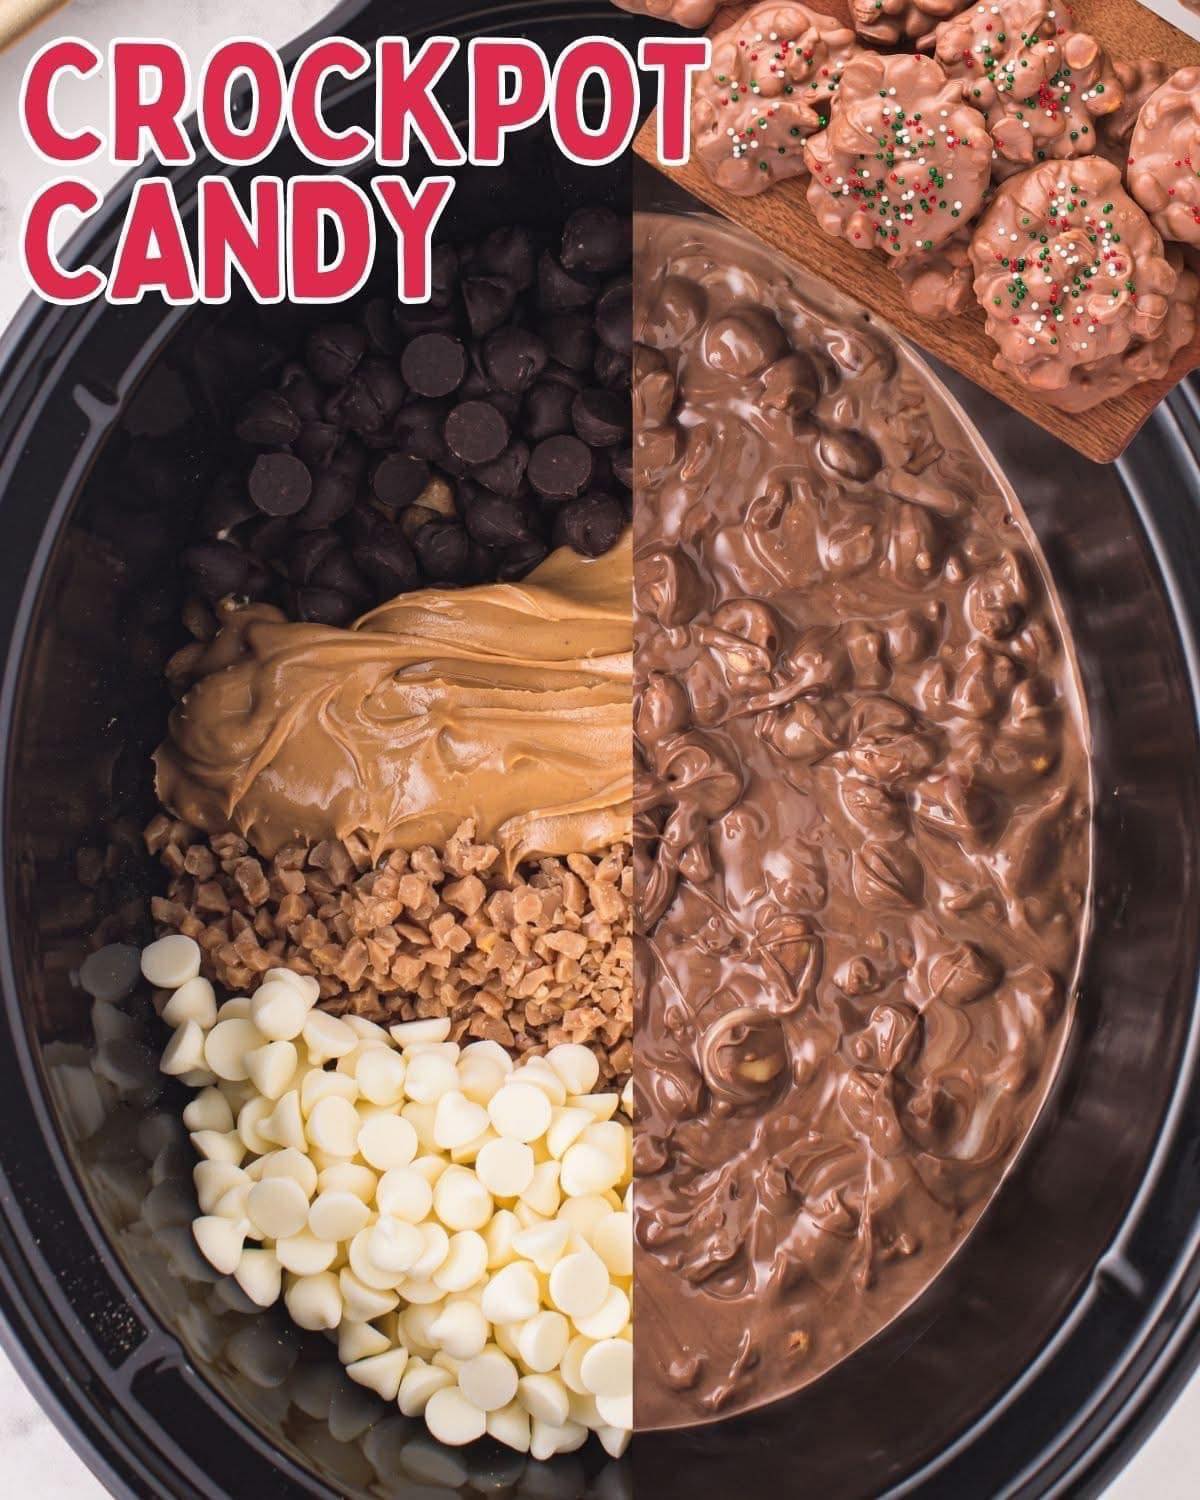
First, literally dump everything into the slow cooker in the order listed—peanuts first, then all the chocolates and chips, with the broken almond bark chunks on top. Do not stir yet. This was my biggest “aha” moment: layering lets the heat travel upward gradually, preventing the chocolate on the bottom from scorching. Put the lid on, set it to LOW, and walk away for a full hour. I know it’s tempting to peek, but trust the process. The first time I made this, I stirred every 20 minutes and got a grainy texture. Patience is key.
After that hour, remove the lid—your kitchen will smell incredible. Now, grab your wooden spoon and give everything one slow, thorough stir. You’ll see it’s just starting to melt together but is still very lumpy. Replace the lid and let it cook on LOW for another 30 minutes. When you stir again, it should be mostly smooth, with just a few small lumps of almond bark remaining. Stir in that teaspoon of vanilla extract. The vanilla’s aroma blooming in the steam is my favorite part.
Now, working quickly but carefully, drop large spoonfuls of the molten candy mixture onto your parchment-lined baking sheets. I like to make varied sizes, from bite-sized pieces to bigger chunks. You don’t need to shape them perfectly; just leave space between each dollop. Let the trays sit at room temperature until the candy is completely set and firm. This takes a few hours, but I sometimes speed it up by popping one tray in the fridge for 20 minutes if I’m impatient. The satisfying snap when you break a piece is the sound of success.
Pro Tips for Best Results
I tested this three different ways regarding timing, and here’s what I learned: the full 90-minute LOW heat method is perfect. I once tried the “high heat for 1 hour” shortcut I saw online, and the edges burned slightly, giving the whole batch a faint bitter note. Low and slow is the only way to go for a silky, smooth melt. Also, resist the urge to constantly stir. Those two undisturbed cooking periods are what allow for even, gentle heating without seizing the chocolate.
When it comes to the setting stage, don’t crowd the dollops on the baking sheet. If they’re too close, they’ll melt into one giant, unruly sheet that you’ll have to break apart later (which is messy!). I use two large baking sheets to give them plenty of room. And if your house is warm, the fridge is your friend for setting, but don’t leave it in there for more than 30 minutes, or condensation can form on the chocolate and cause spotting.
My biggest pro tip? Use a cookie scoop for portioning. I used a regular spoon for ages, but switching to a medium cookie scoop gave me perfectly uniform, two-bite pieces that look professional and are so easy to pack into tins or cellophane bags. It also keeps your hands much cleaner. This little change elevated my entire candy-making game.
Common Mistakes to Avoid
The first time I made this, I thought, “Stirring more must be better!” and lifted the lid to stir every 20 minutes. What a mistake. Each time you lift the lid, you let out a massive amount of heat, which dramatically increases the total melting time and can cause the ingredients to melt unevenly. I ended up cooking mine for over two hours, and the texture was off. Set a timer, leave the lid on, and only stir at the designated times. It feels wrong, but it’s so right.
(See the next page below to continue…)