Step-by-Step Instructions
The process starts with toasting your pecans. I scatter them on a dry baking sheet and pop them in a 350°F oven for 6-8 minutes, just until I can smell that warm, nutty aroma. Watch them like a hawk—they go from perfectly toasted to burnt in what feels like seconds. While they cool, I get my saucepan on the stove over the lowest heat possible. I pour in the sweetened condensed milk and chocolate chips together. Here’s my big tip: don’t turn the heat up to hurry it along. I did that once and the chocolate seized up into a grainy mess. Instead, I stir almost constantly with my wooden spoon until it transforms into a single, gloriously smooth and glossy river of dark fudge.
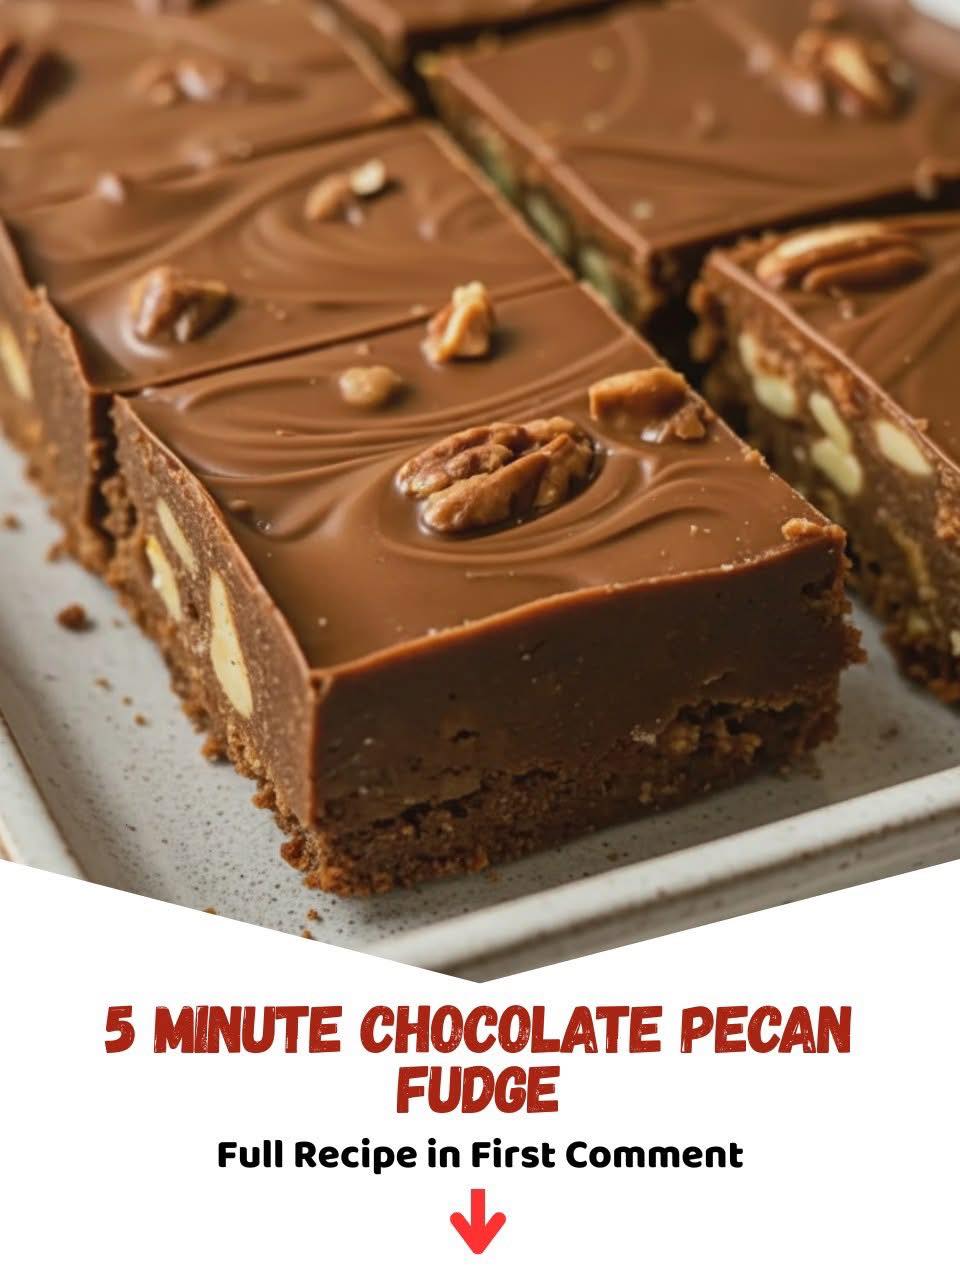
Once that perfect, velvety consistency is achieved, I pull the pot right off the heat. This is when I stir in the vanilla and that pinch of salt. The vanilla’s fragrance blooms instantly, mixing with the chocolate scent. Then, I fold in the toasted pecans, reserving a small handful for sprinkling on top. I stir until every nut is lovingly coated, and the mixture thickens just slightly from the residual heat. I can feel the resistance change in my spoon, which tells me it’s ready to set. It’s a satisfying, tactile moment.
Now, I quickly pour the thick fudge into my prepared, parchment-lined pan. I use the back of my spoon to push it into an even layer, getting it into the corners. Then, I press in those reserved pecan halves on top in a little pattern—it makes it look so professional. This is where patience is required. I used to try and slice it after an hour at room temperature, and it was a gooey, delicious mess. Now, I walk away and let it set completely in the refrigerator for at least two hours. The wait is agony, but the clean, sharp slices you get are worth every minute.
Pro Tips for Best Results
My first pro tip is all about the chop. When you chop your toasted pecans, make the pieces varied—some halves, some smaller bits. I tested this three different ways: all finely chopped, all halves, and a mix. The mix gave the best texture in every bite, with little bursts of pecan flavor and a satisfying crunch that isn’t uniform or boring. The variety makes it feel homemade in the best way possible.
Second, let’s talk about the setting stage. I’ve tried speeding up the process by putting the warm pan directly into the freezer. While it sets faster, it can cause condensation and sometimes makes the texture a bit crumbly when it comes back to room temperature. The slow, firm set in the fridge is superior. It gives the fats in the chocolate and milk time to crystallize properly, resulting in that classic fudge mouthfeel that’s firm yet melts luxuriously on your tongue.
Finally, for the cleanest cuts, run your sharp knife under very hot water and wipe it dry before each slice. I keep a tall glass of hot water and a towel right next to my cutting board. The heat glides through the fudge without dragging or cracking it. I also lift the entire slab out using the parchment paper overhang and place it on a cutting board before I start slicing. This saves your pan and gives you a stable surface to work on. These two little habits turned my fudge from homely to bakery-beautiful.
Common Mistakes to Avoid
The most common mistake, which I absolutely made the first time, is using low-quality chocolate or trying to melt it on too high a heat. Chocolate is a temperamental diva. If you apply too much direct heat, it will scorch or seize, turning from silky to a stiff, grainy mass in an instant. Low and slow is the only mantra for melting. If you’re nervous, you can even use a double boiler, but I find that with constant stirring over the lowest flame on a heavy pot, it’s perfectly foolproof.
(See the next page below to continue…)