Step-by-Step Instructions
First, we’ll make the brownie batter. Preheat your oven to 350°F (175°C) and line that pan. In your first bowl, whisk together the dry ingredients: flour, cocoa, sugar, salt, and baking powder. In a second bowl, whisk the two eggs, oil, and vanilla until they’re beautifully combined and slightly frothy. Pour the wet ingredients into the dry and stir until you have a thick, glossy batter—no streaks of flour, but don’t overmix. Trust me, the scent of this raw batter is already heavenly. Pour this into your prepared pan and spread it evenly.
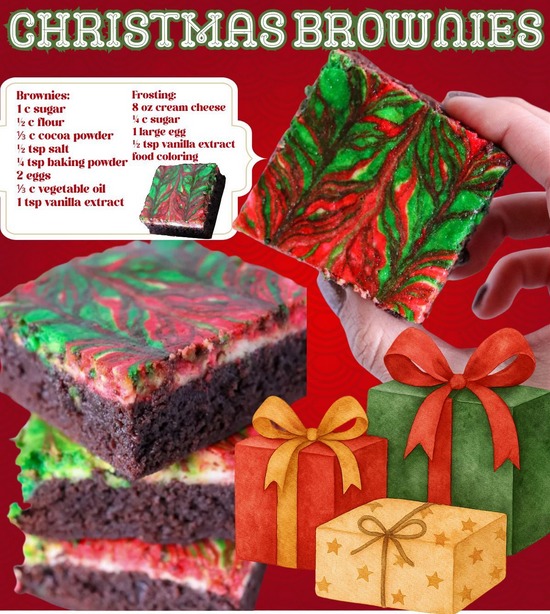
While the oven heats, tackle the frosting. In a clean bowl, beat the softened cream cheese until it’s completely smooth. This is where I learned my lesson: any little lumps now will stay lumps! Beat in the sugar, then the single egg and vanilla until it’s a creamy, dreamy mixture. Now, add your red food coloring. I start with a few drops, mix, and then add more until I get a bold, Christmas-red hue. Dollop this red frosting all over the top of your brownie batter in big, random spoonfuls.
Here comes the fun part: marbling. Take your toothpick or skewer and gently swirl it through the red and brown layers. Don’t overdo it! I make about 6-8 figure-eight motions across the pan. You want distinct ribbons of color, not a muddled pink mess. Bake for 30-35 minutes. The top will be set, and a toothpick inserted into a brownie section (not the cream cheese) should come out with moist crumbs, not wet batter. The smell as it bakes is incredible. Let it cool completely in the pan—this is crucial for clean slicing.
Pro Tips for Best Results
The single biggest game-changer for me was letting all ingredients, especially the eggs and cream cheese, come to room temperature. Cold cream cheese will never blend smoothly, and cold eggs can make the batter seize up. I take everything out about an hour before I start. It seems like a small thing, but it makes the mixing process so much easier and results in a far superior texture for both layers. Trust me on this; I’ve tried both ways.
Don’t be tempted to underbake the brownies too much. The cream cheese layer will stay a bit soft and jiggly, which is perfect, but the brownie underneath needs to be cooked. I test in a couple of spots in the brownie section. If the toothpick comes out with wet batter, give it another 3-5 minutes. If it comes out clean, it might be overbaked. You want those fudgy crumbs clinging to the pick. Setting a timer for 30 minutes and then checking is my foolproof method.
For picture-perfect swirls, your frosting dollops need to be generous and your swirl tool needs to be thin. I press the toothpick just down through the frosting into the brownie layer, then drag. When you swirl, lift the pick out of the batter after each stroke to create defined lines. I made the mistake of keeping the pick submerged and dragging it continuously on my first try, and the design vanished into a faint pink blur. Less is more with the swirling motion.
Common Mistakes to Avoid
My first-time mistake was impatience with cooling. I cut into these while they were still warm, and while they tasted amazing, I got a gooey, messy plate instead of neat squares. The cream cheese frosting layer needs time to set fully as it cools. I now wait at least two hours, and sometimes I even pop the cooled pan in the fridge for 30 minutes before slicing. It makes all the difference for getting those gorgeous, clean-edged pieces you see in the photos.
(See the next page below to continue…)