Pro Tips for Best Results
First, weigh your ingredients. I know it seems fussy, but I tested this three different ways: using cup measurements loosely, using cup measurements precisely (spooning and leveling), and using a kitchen scale. The scale method produced consistently perfect cookies every single time. Flour is especially tricky to measure by volume; too much and your cookies are dry and crumbly. A quick weigh ensures accuracy and takes the guesswork out.
Temperature is everything. I can’t stress this enough. If your butter is too warm, your cookies will spread into sad, flat puddles. If your dough is too warm when it goes into the oven, same result. After portioning the dough, I often pop the entire baking sheet into the fridge for a 15-minute chill before baking. This firms up the butter again, guaranteeing they hold their shape. It’s a simple step that elevates them from good to bakery-quality.
Finally, rotate your baking sheets halfway through the baking time. My oven has hot spots, and I learned this the hard way when one batch had cookies that were perfect on one side and overdone on the other. A simple 180-degree turn ensures even baking and color. Also, bake one sheet at a time on the middle rack for the most consistent heat circulation. Crowding the oven with multiple sheets leads to uneven baking and steamed cookies instead of crisp ones.
Common Mistakes to Avoid
The most common mistake is not creaming the butter and sugar long enough. I made this error the first time—I was in a rush and mixed them for maybe a minute until they were just combined. The resulting cookies were dense and greasy, lacking that airy, delicate crumb. Don’t do what I did. Give it a full three to four minutes of beating until it’s truly pale and fluffy. This incorporates tiny air bubbles that expand in the oven, creating lift and tenderness.
Another pitfall is overmixing after adding the flour. As soon as you see the last bit of flour disappear, stop the mixer. Even a few extra seconds can overwork the gluten. I sometimes finish incorporating the last bit by hand with a silicone spatula just to be safe. It feels more gentle and gives me better control. Remember, you’re not making bread; you want minimal gluten development for a tender bite.
Don’t skip the cooling step on the baking sheet. I know it’s tempting to move them right to the rack to make room for the next batch, but patience pays off. Those five minutes allow the cookie to set its structure. Moving them too early can cause them to collapse or break apart. Let them firm up on the sheet, then transfer. And always let the baking sheets cool completely between batches. Putting dough on a warm sheet will make the butter start melting before it even hits the oven, leading to excessive spread.
Serving Suggestions
I love serving these cookies still slightly warm from the oven with a cold glass of milk. It’s the classic pairing for a reason—the rich, buttery cookie alongside the cool, creamy milk is pure comfort. For a more festive presentation, I arrange a platter with these, some gingerbread people, and a few chocolate-dipped treats. The simplicity of the butter cookie really shines next to bolder flavors.
For an adult twist, I like pairing them with a cup of strong coffee or a glass of dessert wine like a Sauternes. The cookie’s sweetness is a perfect foil for the bitterness of the coffee or the honeyed notes of the wine. It turns a simple snack into a little moment of indulgence. Sometimes, I’ll even crumble one over a scoop of vanilla bean ice cream for an incredibly easy, decadent sundae.
Variations & Customizations
One of my favorite things about this base recipe is how adaptable it is. For a citrus twist, I’ve added the zest of one lemon or orange to the butter-sugar mixture. The bright, fragrant oils in the zest perfume the entire dough and give the cookies a wonderful, sunny lift. It’s a lovely alternative if you want something a little less traditional than pure vanilla.
You can also roll the dough logs in decorative sugars before slicing and baking for a sparkling edge. I’ve used coarse sanding sugar in red and green for Christmas, or a simple turbinado sugar for everyday sparkle. Just shape your dough into a log, chill it until firm, then brush the outside with a lightly beaten egg white and roll it in the sugar before slicing. It adds a lovely crunch and visual appeal.
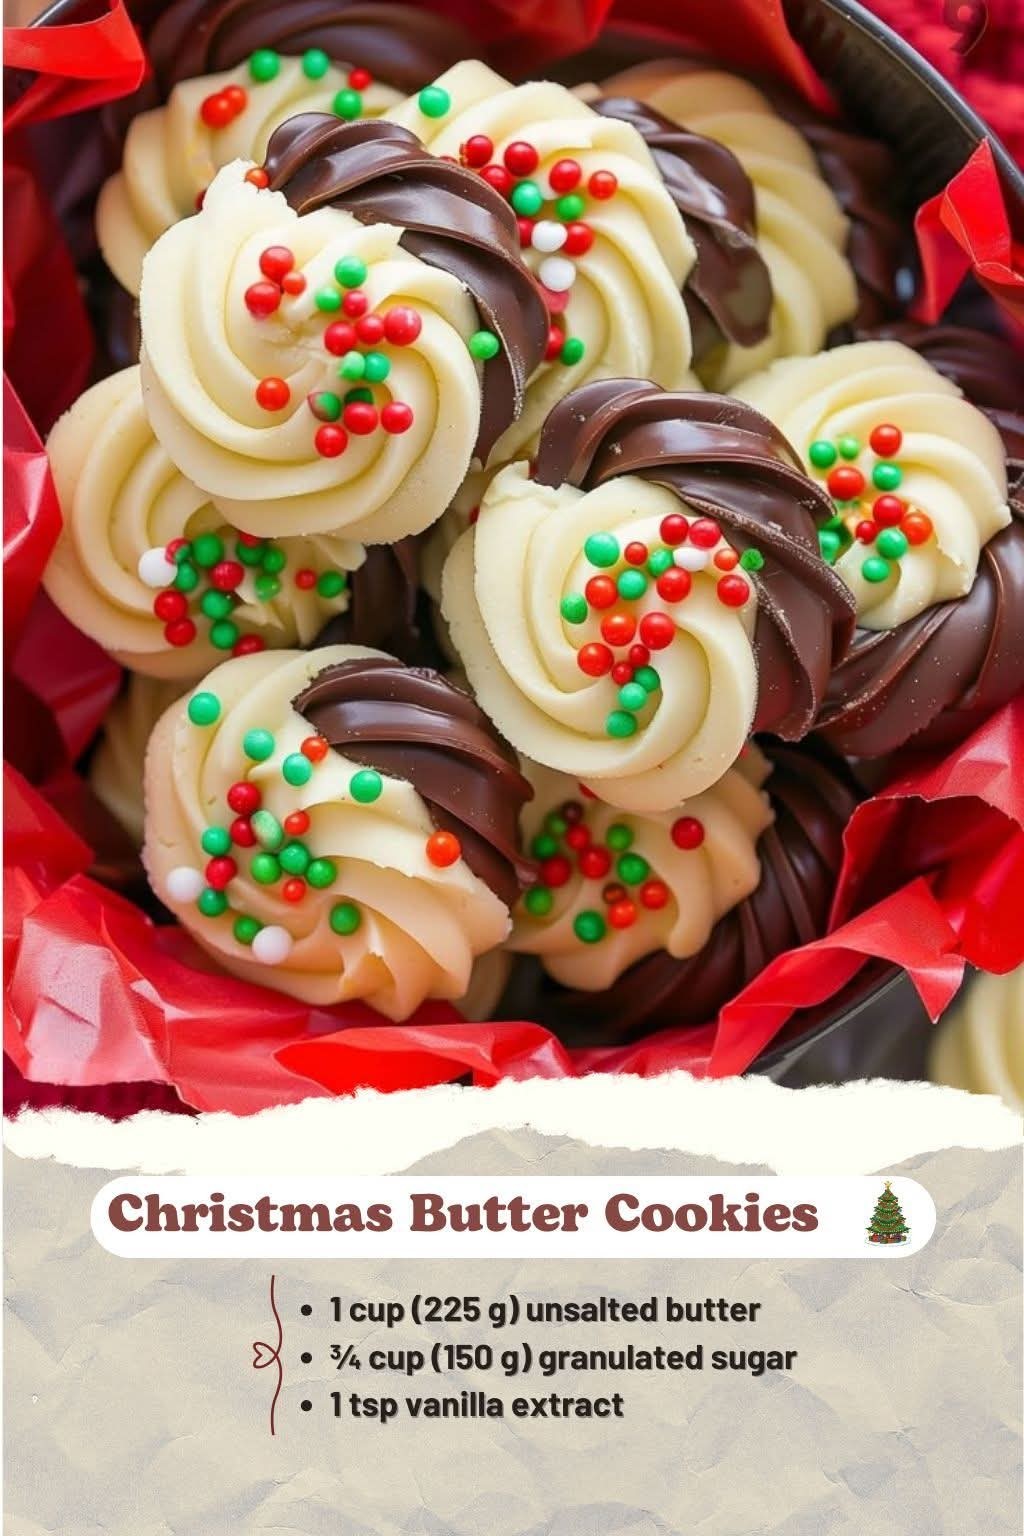
For a dressed-up version, after the cookies are completely cool, I sometimes dip half of each cookie into melted dark or white chocolate and then sprinkle with crushed peppermint, toasted nuts, or festive sprinkles. Let them set on parchment paper. It creates a stunning two-tone effect and adds another layer of flavor and texture. They look professionally made and are always the first to disappear from the platter.(See the next page below to continue…)