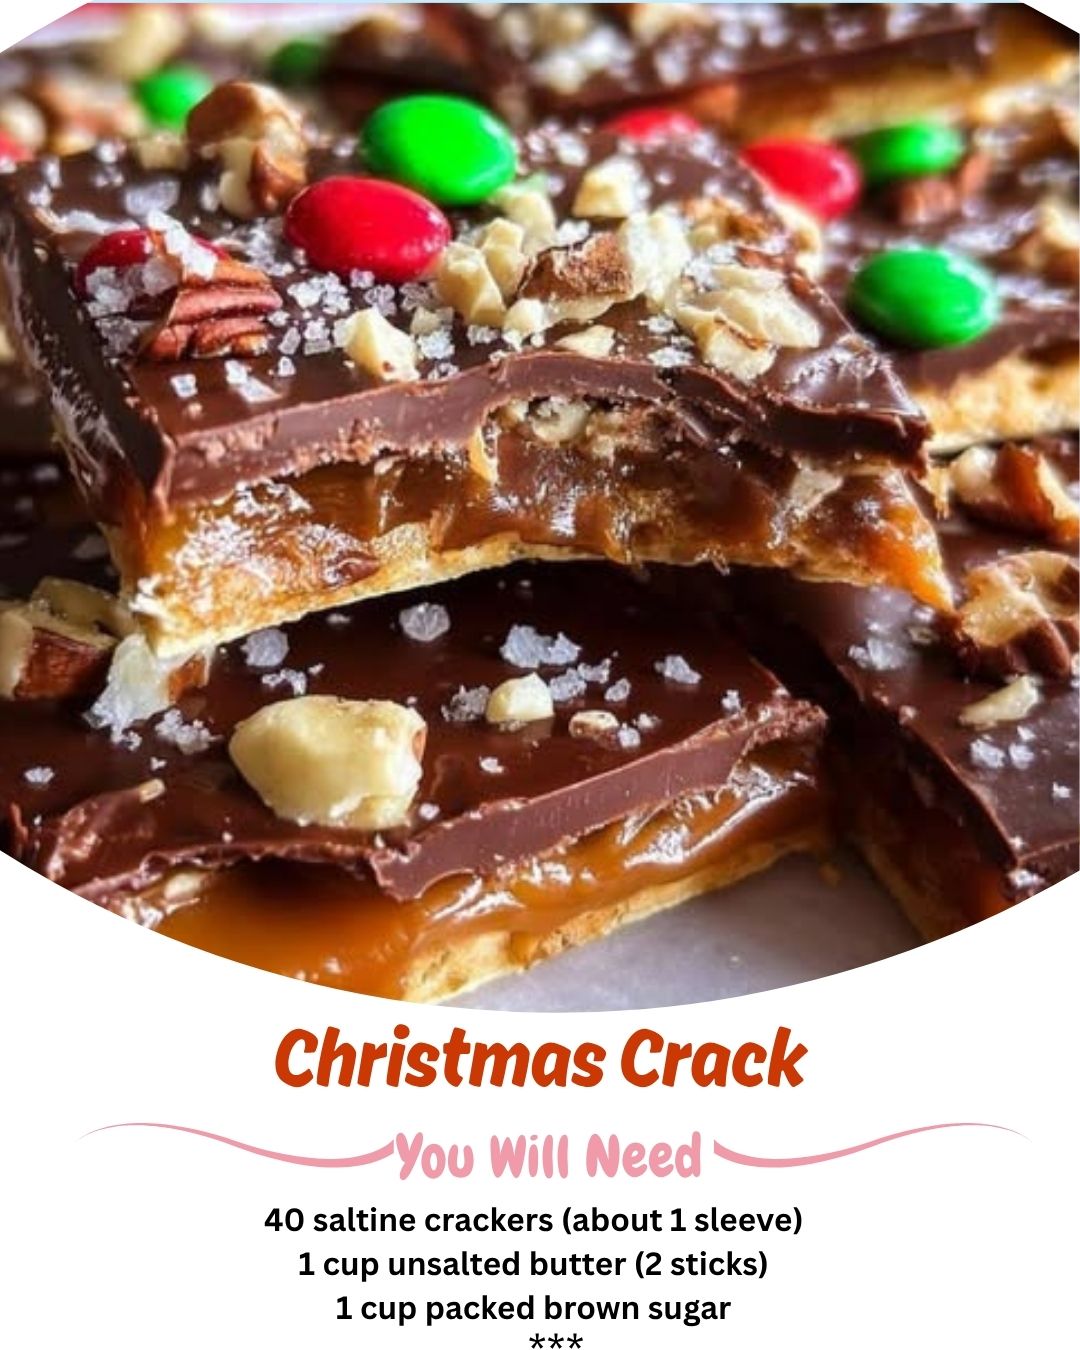
The final flourish! While the chocolate is still soft, sprinkle on your chopped nuts (if using) and a generous pinch of flaky sea salt. This salty-sweet contrast is everything. Now, the hardest part: you must let it cool completely. I transfer the pan to a wire rack and resist all temptation for at least two hours. I’ve tried speeding this up in the fridge, but it can cause the chocolate to sweat. For the cleanest break, let it set at room temperature. Then, use your hands or a knife to crack it into rustic, irresistible pieces.
Pro Tips for Best Results
I’ve tested this recipe more times than I can count, and the single most important tip is to respect the boil. That 3-minute timer is sacred. It allows just enough water to cook out of the butter and sugar for the toffee to set up properly. If you boil too little, it’s runny; too long, it becomes brittle and can separate. Use a timer and watch for the bubbles to become thick and slow. It should coat the back of your spoon.
My second tip is all about the chocolate. Don’t spread the chips the second you pull the pan from the oven. Letting it sit for those two minutes allows the residual heat to gently melt the chocolate so it spreads like a dream without seizing or becoming grainy. If your kitchen is cool and the chips aren’t melting well, you can pop the pan back into the turned-off oven for one minute. I’ve tried both ways, and patience works best.
Finally, for that professional touch, use a knife to score the chocolate lightly after you spread it but before it sets. It gives you guide lines for breaking later and looks beautiful. Also, a light hand with the sea salt makes a world of difference—you want little bursts of salinity, not an overwhelming salt lick. I use Maldon salt and crush it between my fingers as I sprinkle.
Common Mistakes to Avoid
My first-ever batch was a lesson in humility. I used a glass baking dish instead of a rimmed sheet pan. The toffee bubbled over in the oven, creating a smoky, sticky disaster on the bottom of my oven. Always use a rimmed pan! Also, I once tried to “healthify” it with margarine and it was a tragic, oily failure. The dairy solids in real butter are essential for the caramelization. Don’t do what I did—stick to real, unsalted butter.
Another classic mistake is moving too slowly after pouring the toffee. If you dawdle, the toffee starts to set before you get it into the oven, resulting in an uneven bake. Have your oven preheated, your chocolate chips measured and ready to go, and your toppings pre-chopped. This recipe is fast-paced once the toffee is done, so mise en place is your best friend. Being prepared turns a potentially stressful process into a smooth, enjoyable holiday ritual.
Serving Suggestions
I love serving Christmas Crack piled high on a vintage cake stand or in a rustic wooden bowl. It’s so visually stunning with the chocolate and nuts peeking through. For holiday parties, I often package small bundles in clear cellophane bags tied with twine—it makes the most heartfelt, homemade gift. Teachers, neighbors, and mail carriers adore it. I always make a double batch just for gifting.(See the next page below to continue…)