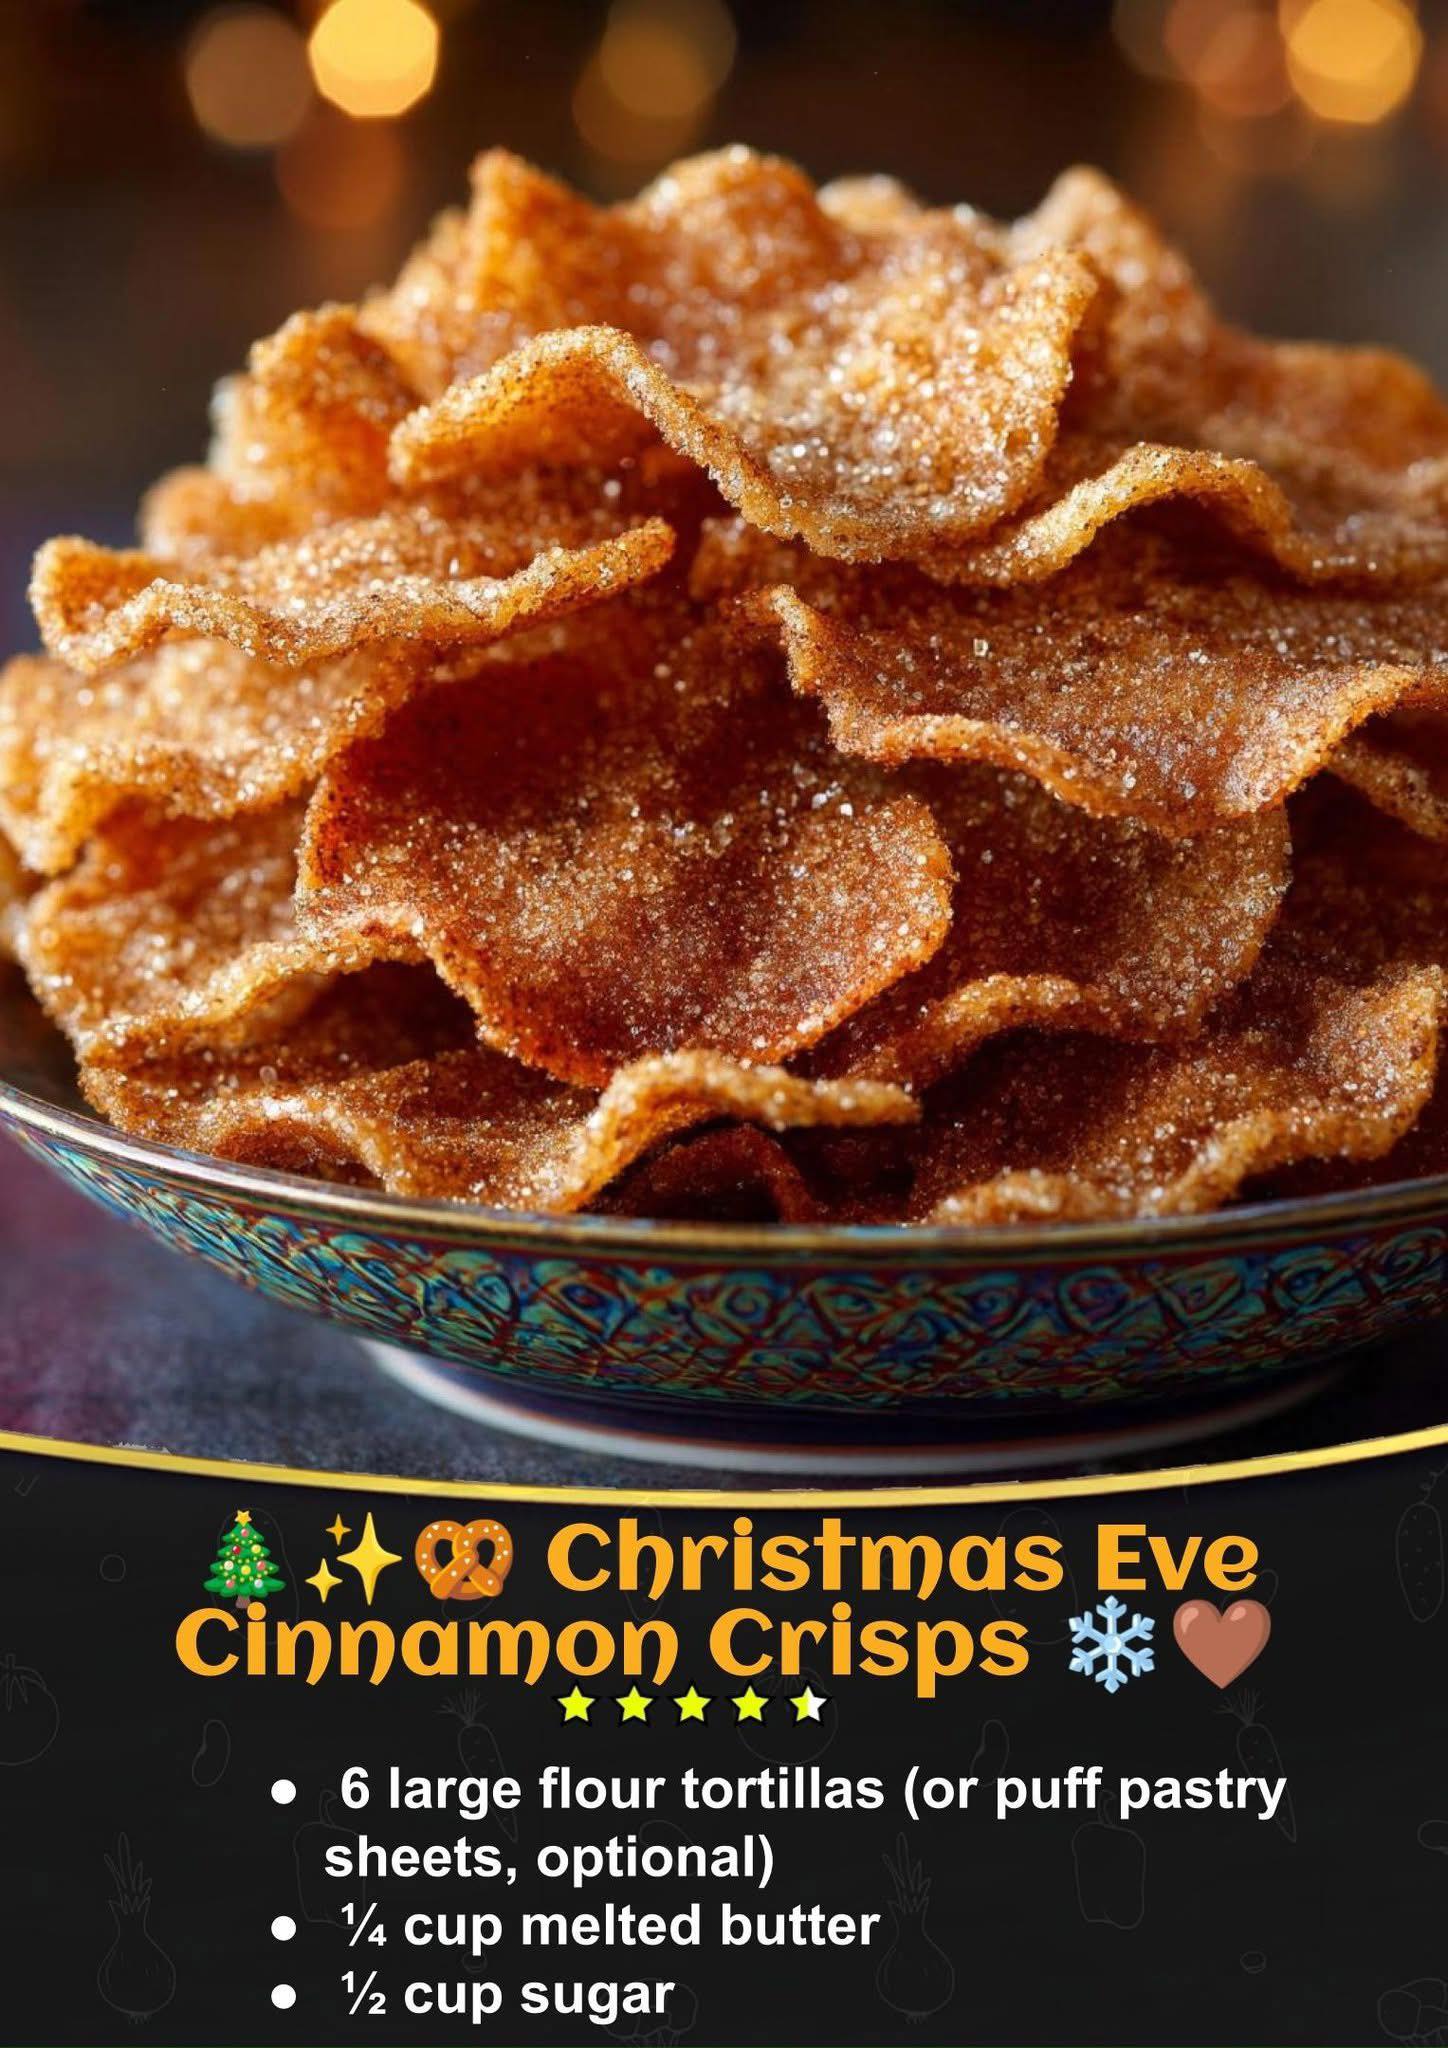
Finally, into the hot oven they go! I bake them for about 8-12 minutes, but I start watching like a hawk at the 7-minute mark. Ovens vary, and you’re looking for a beautiful golden brown color and for the edges to visibly curl and crisp up. They will still feel a bit soft when hot, but they crisp up wonderfully as they cool on the pan. The hardest part is letting them cool for 5 minutes before devouring them. That’s when they achieve their signature satisfying snap.
Pro Tips for Best Results
Let the butter be just melted, not hot. I’ve tested this three different ways: cold and solid, melted and hot, and melted and cooled slightly. Using butter that’s just barely liquid (cool enough to touch) gives you the perfect viscosity to brush on a thin layer that doesn’t make the tortilla soggy. If it’s too hot, it starts to cook the tortilla and creates a gummy layer underneath the sugar.
Watch your oven’s hot spots. My oven runs a little hotter in the back. The first batch I ever made had some perfectly golden strips and some that were… well, let’s call them “extra crispy” (burnt). I learned to rotate the baking sheet halfway through the baking time. This simple move ensures every single crisp gets that even, gorgeous color and perfect texture.
For an extra flavor boost, try adding a tiny splash of vanilla extract or a whisper of nutmeg or cardamom to your melted butter. I add about a quarter teaspoon of good vanilla to the butter, and it creates a deeper, more complex sweetness that people always notice but can’t quite place. It’s my little secret ingredient that takes them from great to “can I have the recipe?”
Common Mistakes to Avoid
The biggest mistake I made the first time was overcrowding the pan. I thought I could fit all the strips from two tortillas on one sheet. Don’t do what I did! They need space for air to circulate. When they’re too close, they steam instead of bake, resulting in chewy, slightly soggy crisps rather than light, shatteringly crisp ones. Use two baking sheets or bake in batches. It’s worth the wait.
Don’t skip the pressing step. After you sprinkle the cinnamon sugar, gently press it into the buttered tortilla with the palm of your hand. I learned this the hard way when a third of my sugar ended up as loose granules at the bottom of the oven, creating a smoky, burnt-sugar mess. Pressing ensures it adheres and becomes a beautiful caramelized coating, not loose sprinkles.
Avoid using margarine or a butter substitute spray. I tried it once thinking it would be lighter, and the flavor and texture were completely off. The crisps lacked that rich, toasty note and didn’t crisp up as well. Real melted butter is non-negotiable here. It’s the foundation of the flavor and the vehicle for that perfect crunch. Trust me on this one.
Serving Suggestions
I love serving these crisps warm in a big, rustic bowl right in the middle of the coffee table. They’re fantastic on their own, but for a real treat, I always offer a side of vanilla yogurt for dipping. The cool, tangy yogurt against the warm, sweet crisp is a combination my family goes wild for. It also balances the sweetness beautifully and feels a tad more festive than just plain.
For a Christmas Eve gathering, I turn them into a dessert charcuterie element. I’ll pile the crisps next to a bowl of softly whipped cream, some chocolate ganache for drizzling (or dipping!), and a bowl of fresh raspberries or clementine segments. It lets everyone build their own perfect bite and looks stunningly inviting. The red from the berries against the golden crisps is pure holiday cheer.
On a cozier night, I simply serve them with mugs of rich hot chocolate or spiced apple cider. There’s something so wonderfully simple about dunking a cinnamon crisp into a steaming mug. The crisp softens just slightly, absorbing the flavor of your drink, and it’s absolute bliss. It’s our favorite post-caroling or post-movie-night ritual.(See the next page below to continue…)