Step-by-Step Instructions
My process always starts with the foundational “dough.” I beat the room-temperature cream cheese and butter together until it’s completely smooth and fluffy—no lumps allowed! Then, I beat in the granulated sugar, corn syrup, and that glorious peppermint extract. This is when the magic scent starts. Now, here’s the part that feels like a snowstorm: I add the powdered sugar, one cup at a time, mixing on low speed. After about three cups, it will look like thick frosting. By the fifth cup, it becomes a cohesive, somewhat stiff dough that pulls away from the sides of the bowl. Don’t be tempted to add liquid; the dough firms up perfectly as you handle it.
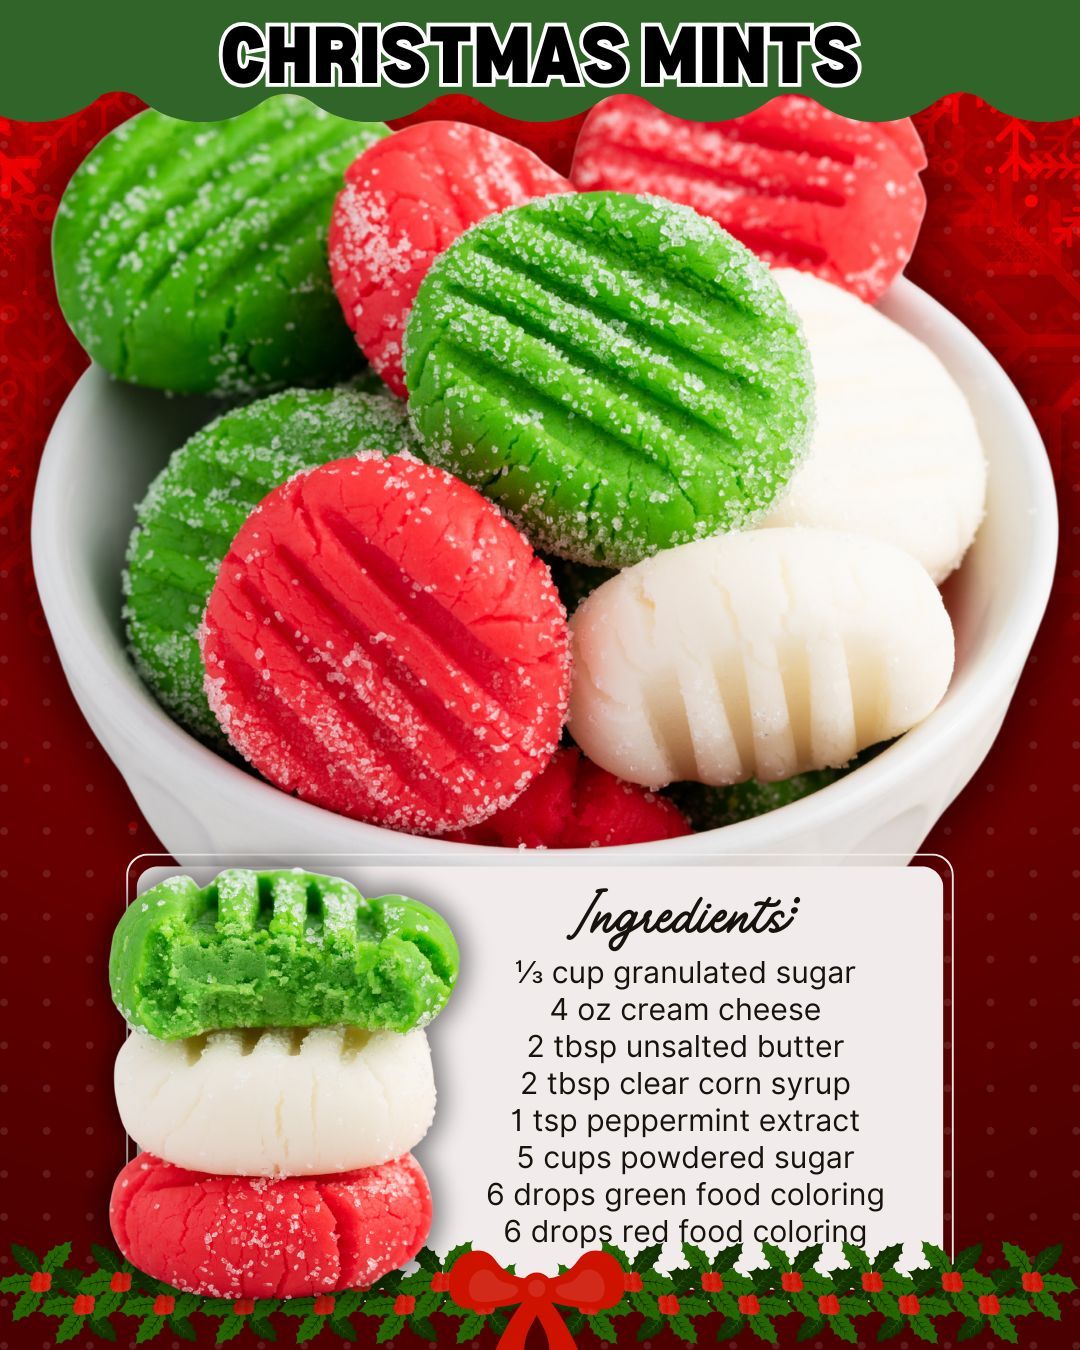
Dividing and coloring the dough is my favorite moment. I turn the dough out onto a surface and split it into two equal portions. I place each half into a separate bowl. In one, I knead in the green food coloring, and in the other, the red. I wear disposable gloves for this—a tip I learned the hard way after having festive-stained fingers for two days! Knead each color until it’s uniformly vibrant. If the dough feels sticky, a tiny dusting of powdered sugar on your parchment paper helps. Then, I roll each color out between two sheets of parchment to about a 1/4-inch thickness.
For cutting, I work quickly once the dough is rolled. Using my small cookie cutters, I press shapes close together to minimize scraps. I re-roll the scraps once, but more than that and the dough can get tough. I carefully transfer the cut mints to a parchment-lined tray. I used to let them set at room temperature for about 4 hours, turning them once, but now I just pop the tray in the fridge for an hour. They firm up beautifully, developing that classic, tender-yet-firm mint texture. The waiting is the hardest part!
Pro Tips for Best Results
The single most important tip is temperature control. If your dough feels too soft and sticky to roll, don’t add more sugar. Just wrap it in plastic and let it rest in the refrigerator for 20-30 minutes. This allows the butter and cream cheese to firm up, making it a dream to work with. I tested rolling it out immediately versus chilling it, and the chilled dough gave me much sharper, cleaner edges on my cutters without sticking.
When it comes to food coloring, gel coloring is superior to liquid. I learned this after my first batch turned out with faint, pastel colors. The gel is more concentrated, so you need less, and it doesn’t add unwanted moisture to your dough. Six drops of a good gel gives that perfect, deep holiday red and green. Also, add it gradually as you knead; you can always add more to deepen the shade, but you can’t take it away.
Timing matters for the perfect texture. Letting them set at cool room temperature gives the best, most consistent result. If your kitchen is very warm, the fridge is your friend. I made a batch and left it on the counter in my sunlit kitchen—they never fully firmed and stayed a bit tacky. A cool, dark spot is ideal. They should feel firm to the touch but still yield slightly when you press them gently.
Common Mistakes to Avoid
The biggest mistake I made my first time was not creaming the cream cheese and butter long enough. I was impatient and stopped when they were just combined. This resulted in tiny lumps of cream cheese throughout my finished mints, which affected the smooth texture. Now, I beat them for a full 2-3 minutes on medium-high speed until the mixture is utterly pale and fluffy. It makes all the difference in creating a velvety base.
(See the next page below to continue…)