Another classic error is misjudging the dough consistency. When you add the final cup of powdered sugar, it will seem very dry and crumbly, and you’ll think you’ve ruined it. Don’t reach for water or milk! I did that, and it created a sticky, unworkable paste. Just keep mixing on low, and then use your hands to knead it in the bowl. The heat from your hands and the residual moisture from the cream cheese will bring it together into a soft, pliable dough. Trust the process.
Serving Suggestions
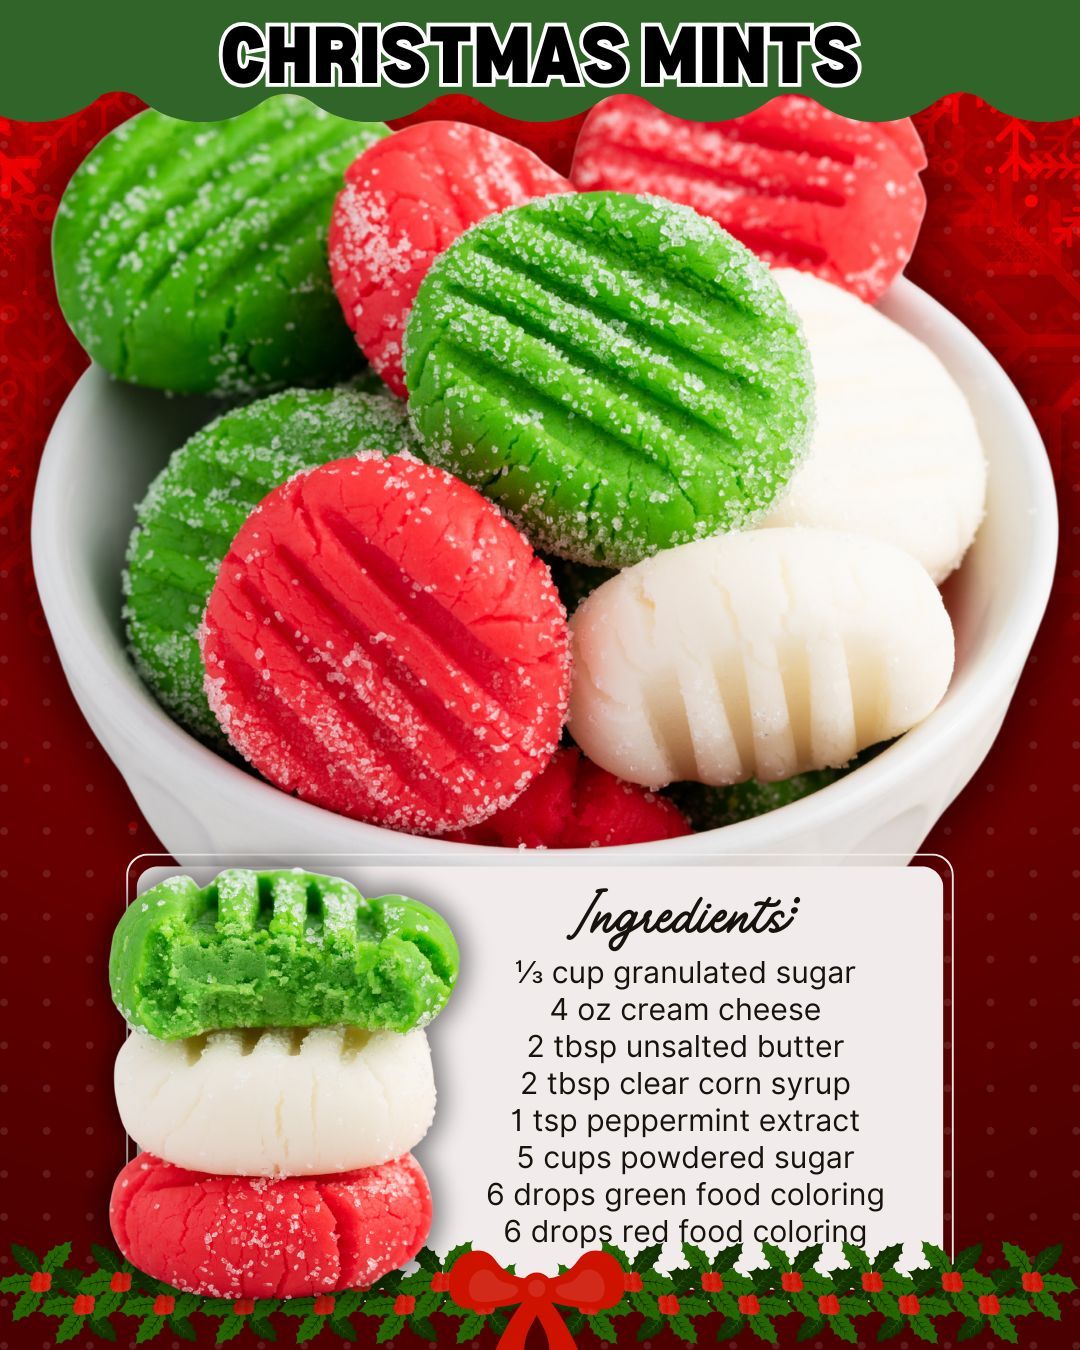
I love serving these mints on a tiered holiday platter, mixed in with other cookies and treats. Their vibrant colors really make a table pop. They’re also the perfect little “thank you” gift. I often place a few in a small cellophane bag tied with a ribbon and give them to neighbors, teachers, or postal workers. It’s a sweet, homemade gesture that’s always appreciated.
For a festive party, I create a dedicated “mint station.” I’ll arrange the red and green mints in alternating patterns on a beautiful plate, sometimes dusting them with a very light sprinkle of edible glitter for a snowy effect. They pair wonderfully with a cup of strong coffee after a big meal or with a glass of cold milk. I find their refreshing quality is the perfect palate cleanser amidst all the rich holiday flavors.
Variations & Customizations
If you want to get creative, the flavor and color possibilities are endless. Instead of dividing the dough, you can keep it white and use different extracts. I’ve made a batch with almond extract and a few drops of yellow food coloring for a “butter mint” version that was a huge hit. You could also try a dash of orange extract with orange coloring, or even a bit of cinnamon for a warm twist.
For colors, think beyond the classic. A mix of blue and white for a wintery theme, or purple and silver for New Year’s Eve. You can also roll the two colors together. Take a small piece of red and a small piece of green dough, twist them lightly, and then roll them into a ball before flattening with a glass for a beautiful marbled effect. I’ve done this with the scraps, and they always turn out stunningly unique.
How to Store, Freeze & Reheat
Storing these mints is simple. Once fully set, I layer them between sheets of parchment paper in an airtight container. They keep perfectly at cool room temperature for up to two weeks. I’ve found that the fridge can sometimes introduce unwanted moisture, making them slightly damp, so I avoid it unless my house is very warm. The corn syrup in the recipe helps them stay soft and not dry out.
Yes, you can freeze them! I often make a double batch in early December and freeze half for last-minute gifts. Place the set mints in a single layer on a parchment-lined baking sheet to flash freeze for an hour, then transfer to a freezer bag or container. They’ll keep for up to three months. To thaw, just spread them on a plate and let them come to room temperature for about an hour. Do not microwave them—they will melt into a puddle. I learned that disappointing lesson so you don’t have to.
FAQ Section
Can I make these without a mixer?
You can, but be prepared for a serious arm workout. I tried it once when my mixer broke. Use a very sturdy wooden spoon and mix in the powdered sugar gradually. It will be crumbly for a long time before it suddenly comes together. It’s possible, but the mixer saves a lot of time and effort, especially when the dough gets stiff.
Why are my mints cracking when I cut them?
This usually means your dough is too dry. This can happen if you added extra powdered sugar during rolling or if the dough wasn’t kneaded enough to distribute the fat evenly. Next time, try kneading the divided dough a bit more before rolling. For this batch, you can try gently pressing the cracks together with your fingers.
My food coloring is staining everything. Help!
Welcome to the club! My first batch left my countertop and hands looking tie-dyed. The solution is simple: disposable food-safe gloves for kneading in the color, and always roll your dough out on parchment paper. For cleaning bowls, a paste of baking soda and dish soap usually gets the last of the color stains out.
Conclusion
Making these Christmas Mints has become one of my most cherished holiday traditions. There’s something so satisfying about creating these beautiful, flavorful little candies from scratch and sharing them with the people I love. I hope this recipe brings as much sweetness and joy to your kitchen as it has to mine. Give it a try, embrace the playful mess of coloring the dough, and get ready to impress. Happy holidays and happy baking