Next, I melt the chocolate chips in the microwave or a double boiler, which is always a fun part for me; the rich smell of melting chocolate fills the kitchen, and who can resist that? Once the chocolate is fully melted, I carefully pour it into the banana mixture and add in the vanilla extract and salt. Using my spatula, I gently fold everything together until it’s creamy and smooth. It’s always a little tricky not to eat the batter right then!
After that, I line my 8×8 inch baking pan with parchment paper for easy removal later on. I pour the fudge mixture into the pan and spread it out evenly, which is a bit of an art, giving it some nice little swirls if I’m in the mood. Then I sprinkle chopped nuts on top if I’m feeling adventurous—this adds a nice crunch! Lastly, I pop the pan in the fridge for about 2 to 3 hours, or until the fudge is set.
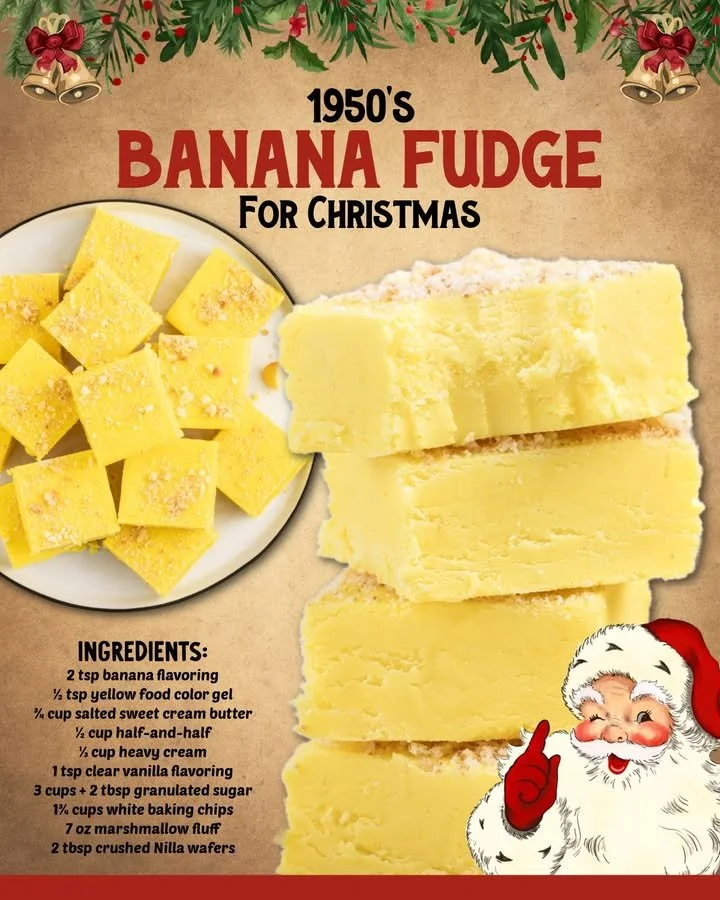
Once my fudge is firm, I like to cut it into small squares, allowing that chocolaty banana goodness to shine through. The moment you bite into one, the creamy texture melts in your mouth, making it hard to resist grabbing another piece. I usually share these with family and friends, but sometimes I keep a secret stash "for later.”
Pro Tips for Best Results
After some experimenting, I’ve realized that using super ripe bananas elevates the flavor significantly. They should be speckled and soft, almost overripe. I once made the mistake of using bananas that weren’t quite ripe enough, and the fudge turned out lacking that deep banana flavor I crave.
I also recommend letting your fudge chill overnight if you want a firmer texture. When I was in a rush, my fudge was delicious but a bit soft, which is great for immediate indulgence, but for storage and sharing, a firmer bite is ideal.
Lastly, don’t skip the pinch of salt! It might seem small, but it balances out the sweetness beautifully. I learned this after making a batch without salt and realizing something was just a bit "off." A little salt goes a long way in enhancing those sweet flavors!
Common Mistakes to Avoid
A common mistake I’ve made while making this fudge is not properly melting the chocolate. It’s easy to overheat it, which can lead to a gritty texture rather than the smooth confection I desire. I learned this the hard way when my first batch turned out less than ideal! Now, I heat my chocolate in short intervals and stir frequently. (See the next page below to continue…)
Another pitfall is not letting the fudge set long enough in the fridge. Rushing this step can lead to runny fudge, which, while tasty, doesn’t cut well and makes for a messy serving situation. I typically set a timer to prevent myself from digging in too soon!
Lastly, I’ve found that using a metal pan instead of glass can affect the cooling time and texture. Metal pans cool quicker, helping the fudge set appropriately, whereas glass retains heat longer, leading to a softer fudge. It’s a little quirk I picked up along the way.