Pro Tips for Best Results
The temperature of your ingredients truly matters. I tested this with cold eggs and butter straight from the fridge once, and my dough took forever to rise and wasn’t as smooth. Having your egg yolks and butter at room temperature helps everything emulsify beautifully and leads to a faster, more even rise. Trust me on this.
When adding the butter during kneading, resist the urge to speed up the process. Adding it slowly is what allows the fat to be perfectly incorporated into the gluten network, giving you that signature tender-yet-strong ensaymada texture. I’ve tried dumping it all in at once, and it resulted in a greasy, difficult-to-handle dough that baked up denser.
For the final proof after shaping, don’t look just at the clock—look at the dough. The coils should look noticeably puffed and feel airy-light to the touch. In a very warm kitchen, this might happen in 30 minutes; on a cooler day, it might take 75. Baking under-proofed ensaymadas was my first big mistake—they were small and dense. Waiting for that perfect puff is everything.
Common Mistakes to Avoid
My biggest first-time error was using bread flour because I thought “bread = better.” It created too much gluten, resulting in a dough that was tough to roll and a final product that was more chewy than soft and tender. I’ve tried this both ways, and trust me, all-purpose flour is the way to go for the perfect classic texture.
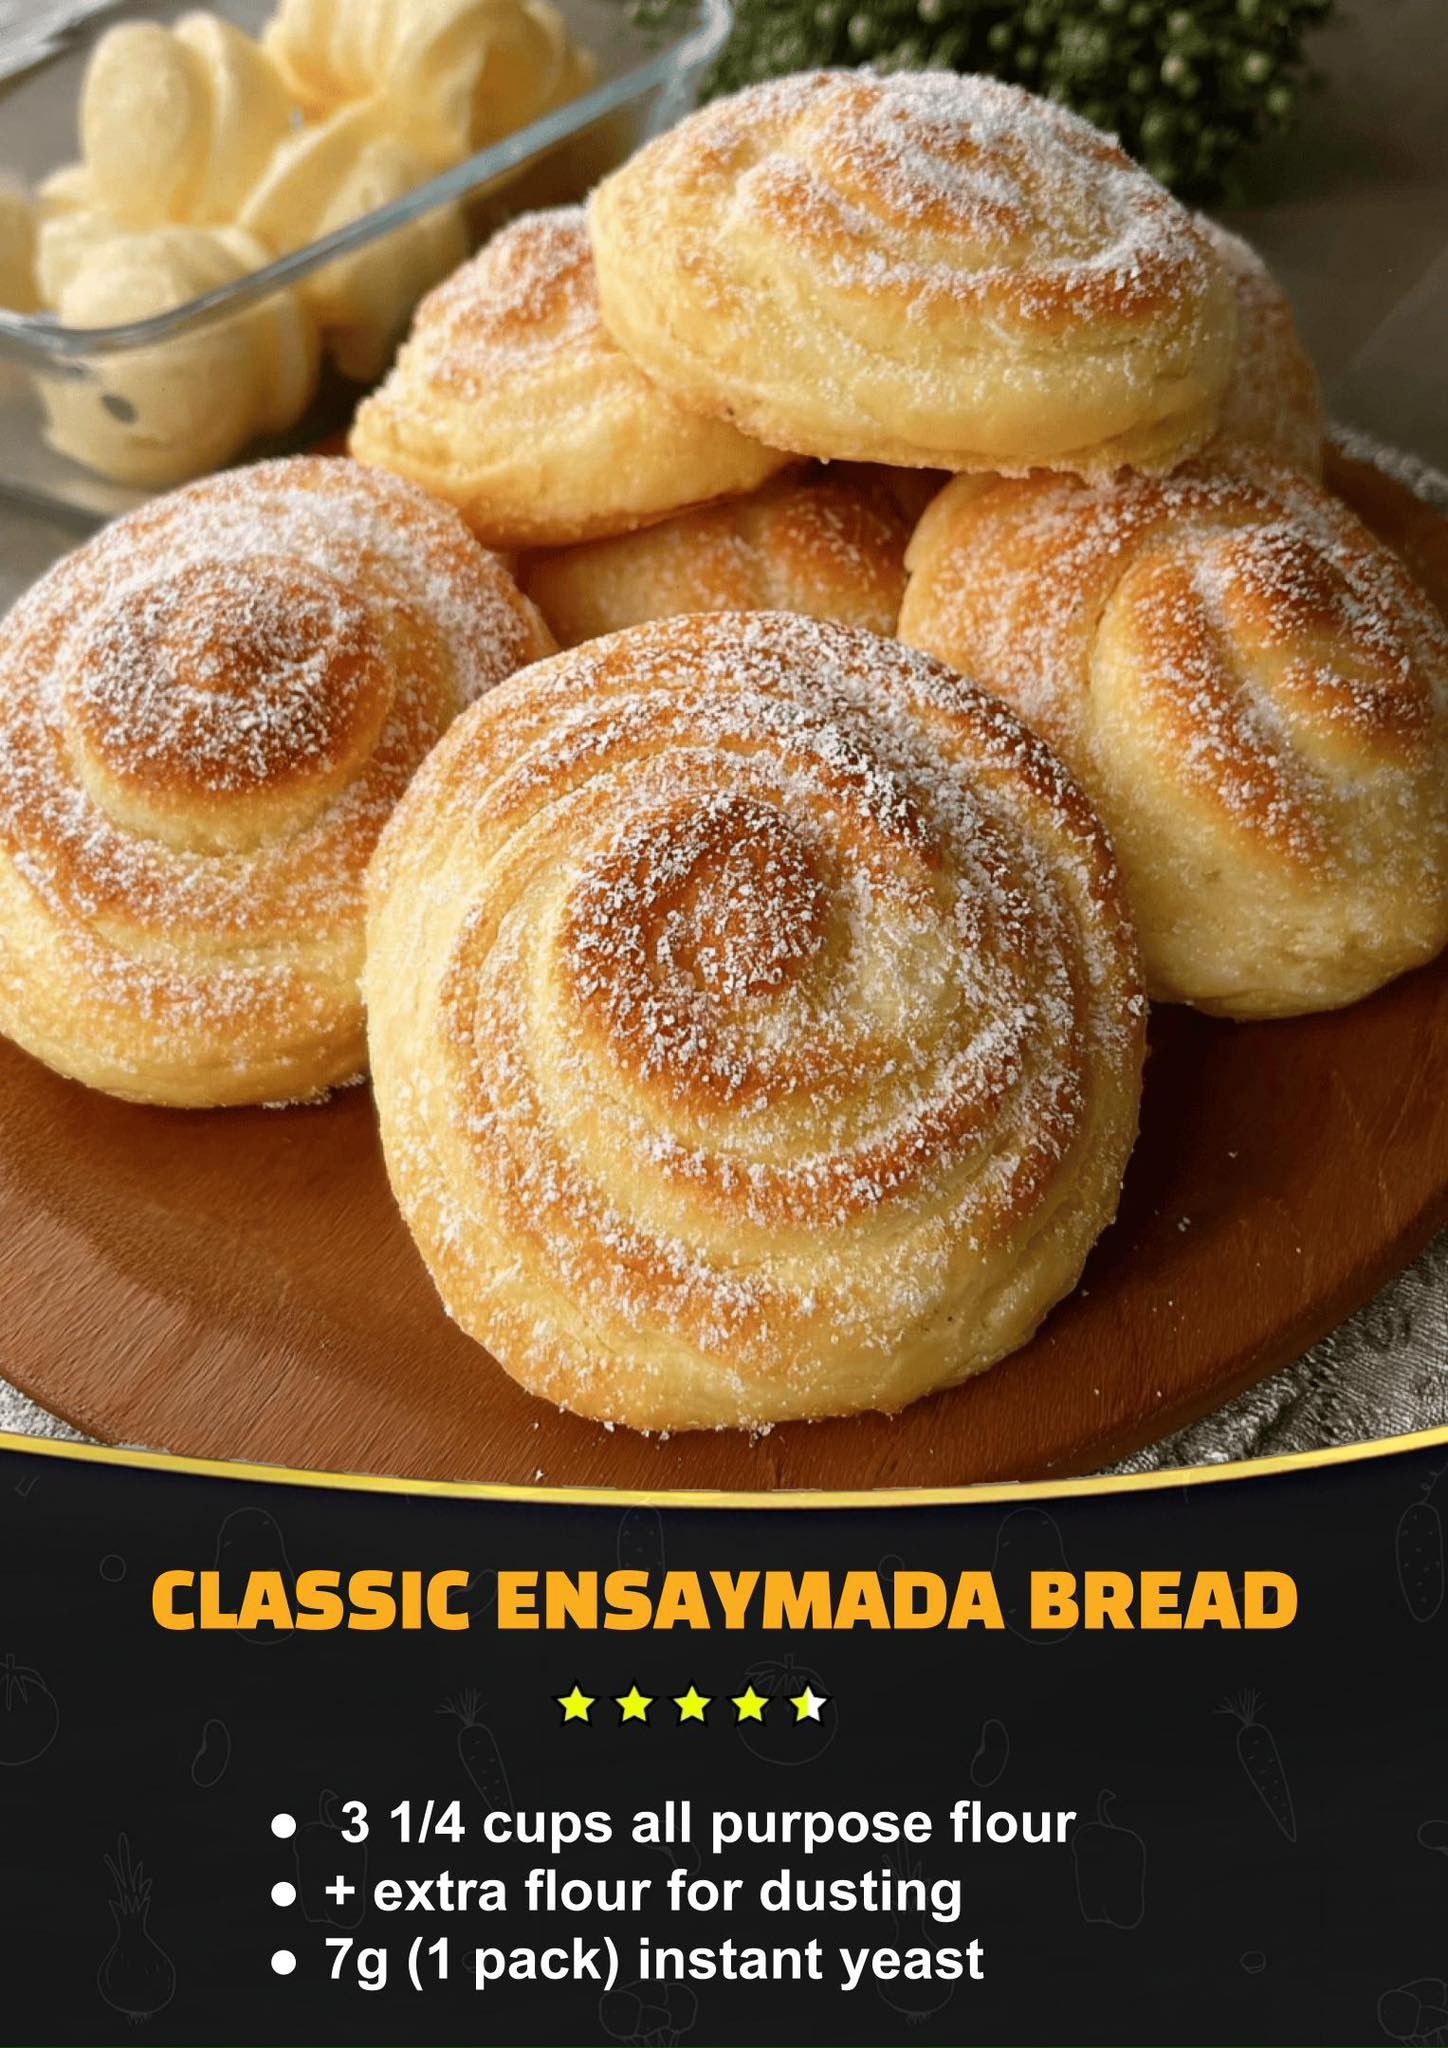
Another pitfall is over-baking. These are not meant to be dark brown. You want them just lightly golden. I left my first batch in for 22 minutes, chasing a deeper color, and they dried out. Pull them at 18 minutes max, even if they look pale—they continue to cook on the tray. That light color ensures the inside stays supremely soft and moist.
Serving Suggestions
I love serving ensaymada warm, when the cheese is just starting to melt into the buttery sugar topping. A cup of strong, hot tsokolate or coffee is the absolute perfect pairing—the bittersweet drink cuts through the richness beautifully. It’s my favorite weekend breakfast ritual.
For a more decadent treat, I sometimes split one horizontally, toast it lightly, and add a thin slice of salted butter or a dollop of ube jam in the middle before putting the top back on. It’s indulgent and completely heavenly. For gatherings, I arrange them on a wooden board and let people grab one alongside fresh fruit, which adds a nice, fresh contrast.
If you have any leftovers (a rare occurrence in my house), they make for an incredible bread pudding base the next day. The richness of the ensaymada soaks up a custard mixture like a dream, creating the most luxurious dessert.
Variations & Customizations
Once you master the classic, it’s fun to play! My favorite variation is adding a teaspoon of good quality ube extract to the dough and filling each coiled rope with a spoonful of ube halaya (purple yam jam) before baking. The vibrant color and floral-sweet flavor are stunning. I’ve also brushed the baked rolls with sweetened condensed milk instead of butter for an even richer finish.
For a festive twist, I’ll knead a handful of finely chopped dried mango or pineapple into the dough during the last minute of mixing. The little bits of sweet-tart fruit create delightful bursts of flavor. A friend of mine swears by adding a tablespoon of citrus zest (calamansi or lemon) to the dough for a bright, aromatic note.
Savory-sweet is another route. I’ve topped them with crumbled, crispy bacon along with the cheese and sugar—sounds wild, but the salty-smoky contrast is incredible. You can also roll a thin slice of Filipino longganisa sausage into the rope before coiling for a completely different, meal-worthy take.
How to Store, Freeze & Reheat
To store, I place cooled ensaymadas in an airtight container at room temperature for up to 2 days. Do not refrigerate them, as the fridge will dry them out and make the texture stale. I made that mistake once and had to revive them as bread pudding.
For longer storage, freeze them. I wrap each cooled ensaymada individually in plastic wrap, then place them all in a heavy-duty freezer bag. They keep beautifully for up to 2 months. To reheat, I don’t even thaw them. I unwrap a frozen one, place it on a baking sheet, and warm it in a 300°F (150°C) oven for 10-12 minutes until heated through. This method restores that fresh-baked softness far better than a microwave, which can make them tough.
Conclusion
Baking this Classic Ensaymada has become more than just following a recipe for me; it’s a joyful, sensory experience that ends with sharing something made with my own hands. I hope this recipe brings the same warmth to your kitchen and the same happy, satisfied smiles to your table. Don’t be intimidated by the process—embrace it. Once you pull that first tray of golden, cheesy coils from your oven, you’ll understand why this bread is so beloved. Happy baking