Step-by-Step Instructions
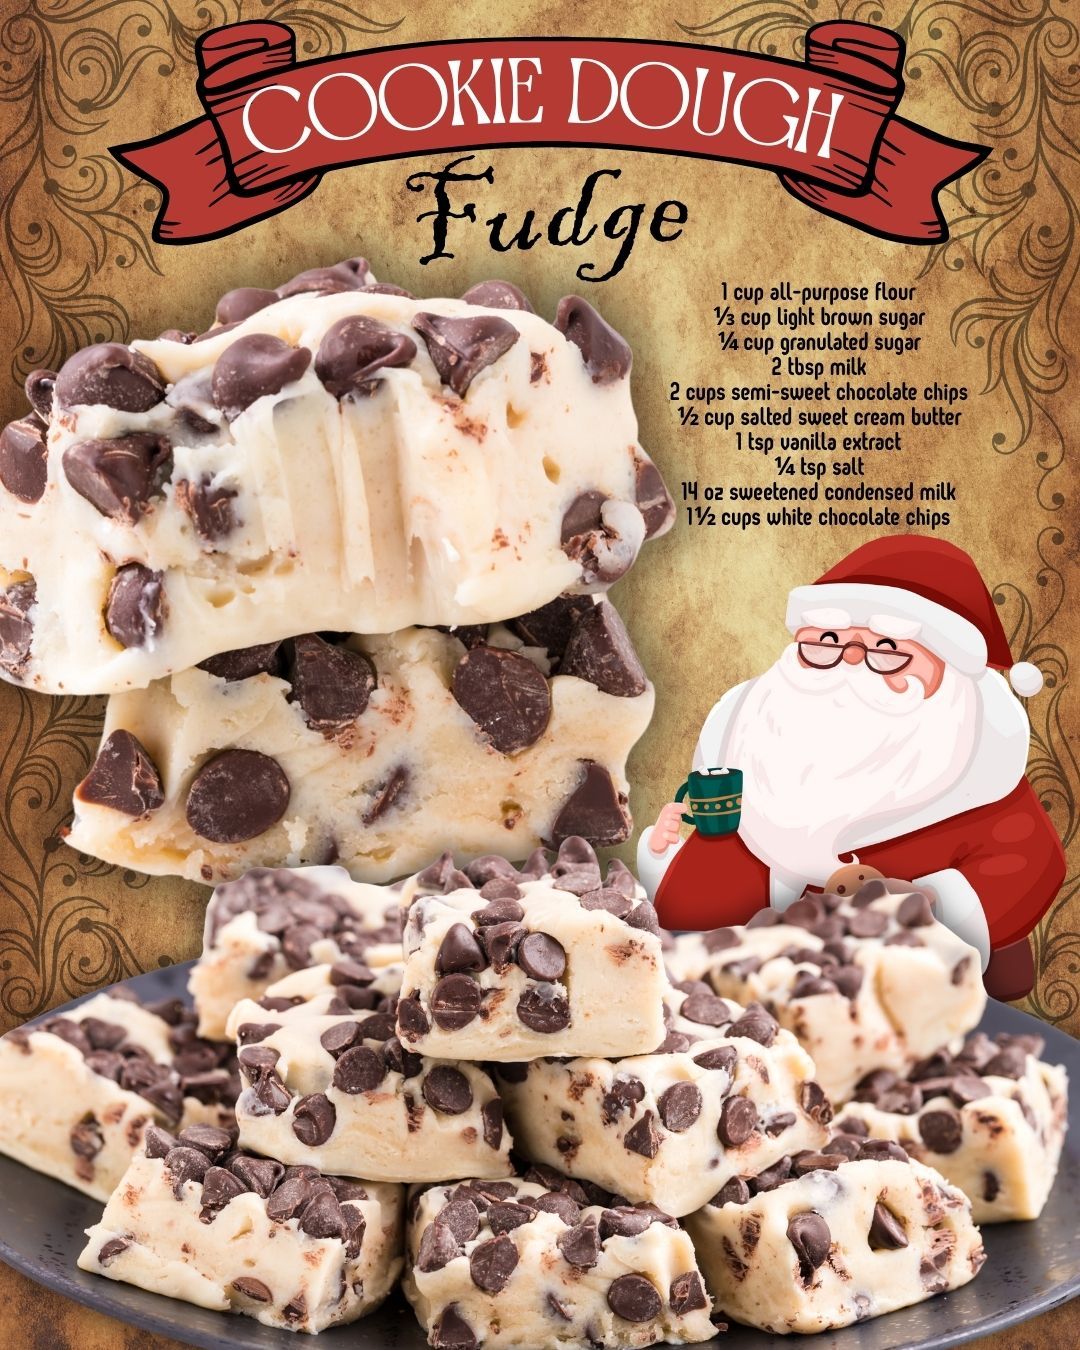
The magic begins by creating our safe-to-eat cookie dough. In your large bowl, combine the heat-treated, cooled flour with both sugars and salt. Whisk it well to break up any clumps of brown sugar—this ensures every bite is evenly sweet. In your saucepan, melt the butter over low heat just until it’s liquid. Pour this warm butter over the dry ingredients, add the milk and vanilla, and stir until it comes together into a crumbly, fragrant dough. The smell at this stage is pure nostalgia. Now, fold in the semi-sweet chocolate chips. I like to reserve a small handful to sprinkle on top later for a pretty finish.
Next, we build the fudge foundation. Without even washing it (one less dish to clean!), use that same saucepan to combine the white chocolate chips and the entire can of sweetened condensed milk. Melt this over the lowest possible heat, stirring almost constantly with your spatula. Patience is key here. If the heat is too high, the chocolate can separate and become grainy. You’re aiming for a glossy, completely smooth, lava-like consistency. Once achieved, immediately remove it from the heat. This mixture is the glue that holds our dreamy fudge together.
This is my favorite part: the marriage. Pour about two-thirds of the luscious white chocolate fudge base into your prepared parchment-lined pan. Spread it into a thin, even layer. Now, take globs of your cookie dough mixture and dot them evenly all over this base. Don’t press down hard. Then, carefully pour and spread the remaining third of the white chocolate mixture over the top, coaxing it to seep into all the nooks and crannies. It’s okay if some cookie dough peaks through—it looks rustic and wonderful. Sprinkle with those reserved chocolate chips and gently press them in.
Pro Tips for Best Results
My first test batch was good, but my third was phenomenal because of a few key lessons. First, let your melted butter cool for just a minute before adding it to the dry ingredients. I poured it in piping hot once, and it slightly melted the sugars into a paste that made the final texture a bit greasy. Warm is perfect; hot is not. Second, when melting the white chocolate and condensed milk, low and slow wins the race. I’ve tried rushing this step, and it results in a fudge that’s a bit gritty. Stir patiently until no solid chocolate bits remain.
Another game-changer is the chill time. I know it’s tempting to cut into it after two hours, but I promise, waiting a full four hours, or even overnight, is worth it. The fudge sets up firmer, cleaner, and the flavors truly meld. I set a timer and hide it in the back of the fridge so I’m not tempted to peek! Finally, for picture-perfect squares, I run my sharp knife under very hot water, wipe it dry, and make a single confident cut. Wipe the blade and repeat for each cut. It gives you those stunning, sharp edges you see in bakeries.
(See the next page below to continue…)