Another critical misstep is overheating your chocolate, either for the center or the coating. Chocolate is delicate. When you microwave, always use short bursts and stir vigorously in between. If you see it getting thick and clumpy (a state called “seizing”), it’s likely gotten too hot. For the coating, adding the vegetable oil directly with the wafers before melting helps prevent this, but you still need to be gentle. Burnt or seized chocolate has a bitter taste and will ruin the smooth, lush texture we’re aiming for. Patience and low heat are your best friends here.
Serving Suggestions
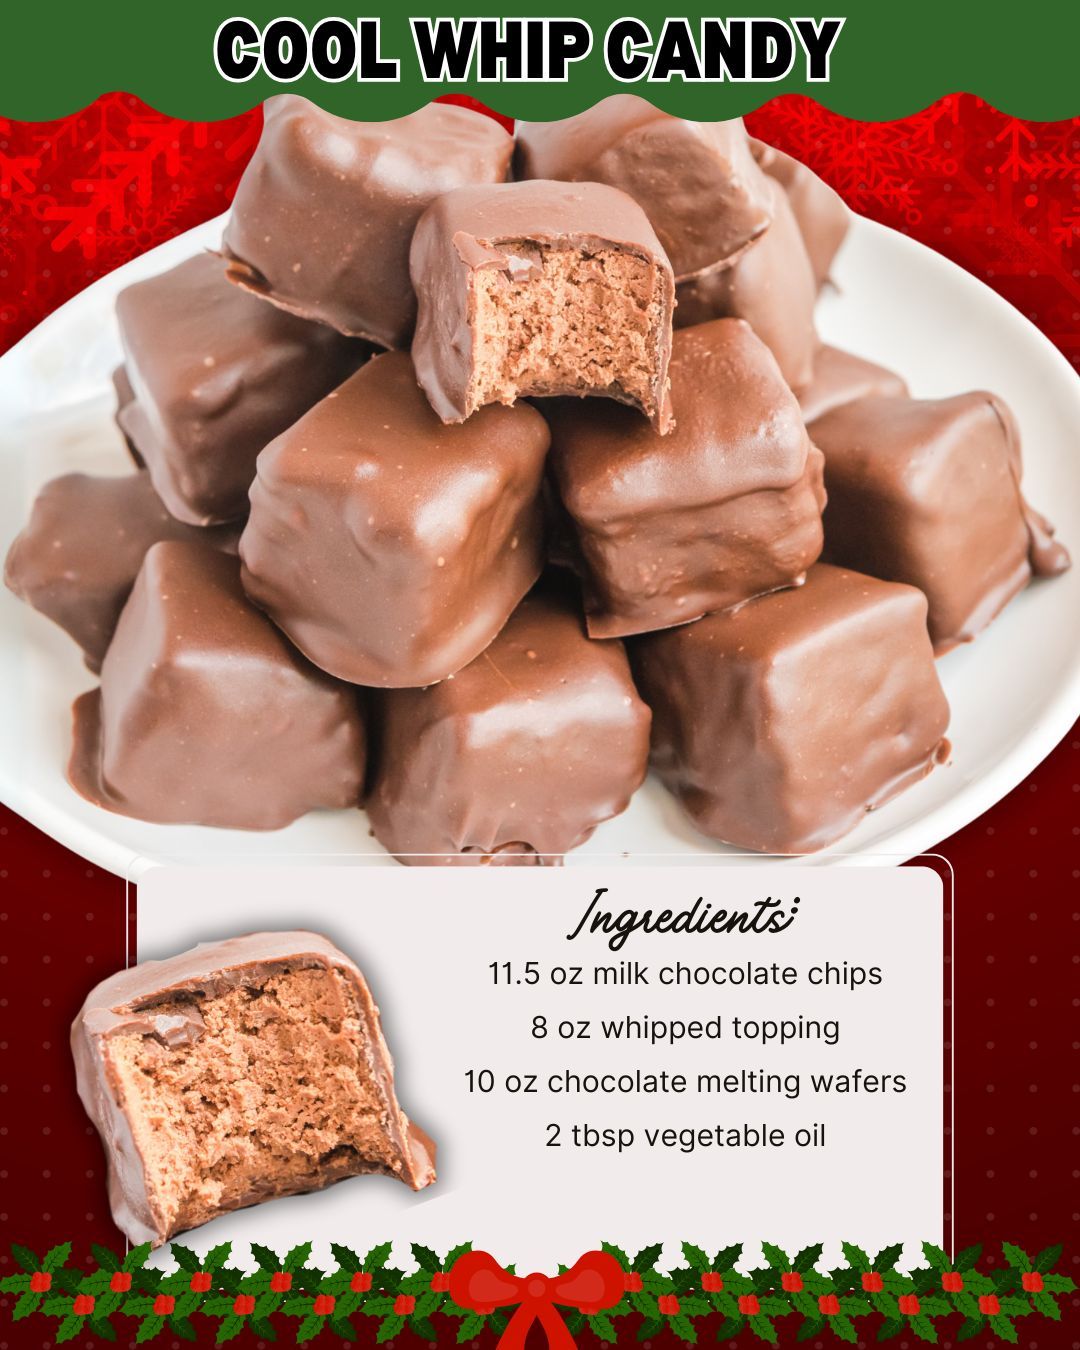
I love presenting these candies on a simple white platter or in a decorative candy box. They look so elegant and store-bought, which always brings me a secret joy. For a holiday gathering, I might arrange them in mini paper candy cups on a tiered stand. They pair wonderfully with a strong cup of black coffee, cutting through the sweetness, or with a glass of chilled dessert wine or port. I’ve also served them alongside a cheese board for a dinner party—the rich chocolate is a fantastic contrast to sharp cheeses and salty nuts.
For gifting, these are absolutely perfect. I’ve tucked them into clear cellophane bags tied with a ribbon for teacher gifts, hostess gifts, and neighborly holiday hellos. They travel well (as long as it’s not a hot day) and always, always receive rave reviews. I like to include a little note that says “Keep refrigerated,” because they are best enjoyed cold. It feels so special to give a homemade treat that looks and tastes this luxurious.
Variations & Customizations
The beauty of this candy is its blank canvas potential. One of my favorite variations is using dark chocolate chips for the center instead of milk chocolate. It creates a deeper, less sweet bite that chocolate purists adore. I’ve also folded in a handful of very finely chopped toasted nuts, like pecans or almonds, into the center mixture for a subtle crunch. Just be sure they’re chopped small so they don’t puncture the shell when dipping.
You can have even more fun with the coating. Swap the chocolate wafers for peanut butter or mint-flavored melts. After dipping, immediately roll the wet candy in sprinkles, crushed toffee bits, or even mini chocolate chips for a festive look. A friend of mine swears by adding a drop of peppermint extract to the center mixture during the holidays. I tried a version with orange zest in the center and a dark chocolate shell, and it tasted just like a chocolate orange truffle. Don’t be afraid to play and make it your own!
How to Store, Freeze & Reheat
Storage is straightforward but important. Because of the whipped topping, these candies must be stored in an airtight container in the refrigerator. They will keep beautifully for up to 5-7 days. I always place a sheet of parchment paper between layers to prevent them from sticking together. Let them sit out at room temperature for just a minute or two before serving—this lets the center soften slightly for that perfect, creamy texture. Do not leave them out for hours, as they can become too soft.
Yes, you can freeze them! I often make a double batch and freeze half for last-minute guests. Place the fully set candies in a single layer on a baking sheet to flash freeze for an hour, then transfer them to a freezer-safe bag or container. They’ll keep for 2-3 months. Thaw them overnight in the refrigerator before serving. I do not recommend trying to reheat or microwave these candies, as the structure will completely break down. They are meant to be enjoyed cold or cool.
FAQ Section
Can I use real whipped cream instead of Cool Whip?
I get this question a lot, and I strongly advise against it. I tried it once out of curiosity, using stabilized whipped cream. The resulting centers never firmed up enough to dip properly and had a much shorter shelf life in the fridge. The non-dairy whipped topping has stabilizers that give the candy its unique, stable, and melt-in-your-mouth texture that holds up to dipping. For this recipe, it’s a key ingredient.
My coating chocolate is too thick. What did I do wrong?
You likely just need to add a touch more oil! The consistency should be like a thin glaze. If it’s pooling thickly on the candy, stir in another ½ teaspoon of vegetable oil at a time until it flows smoothly. Also, make sure you’re not overheating it, as that can cause it to tighten up. Gentle heat and a bit of oil are the solutions.
Can I make these dairy-free or vegan?
You can certainly experiment! I’ve had good results using dairy-free chocolate chips and a vegan whipped topping (like the soy or coconut-based versions in the freezer aisle). For the coating, use dairy-free melting wafers. The process is identical. I brought a vegan batch to a party, and no one could tell the difference—they were just as delicious and creamy.
Conclusion
This Cool Whip Candy recipe is more than just a treat; it’s a little kitchen miracle that never fails to impress. It’s proof that the most delightful things can come from the simplest processes and a bit of patience. From my kitchen to yours, I hope this recipe brings you as much joy, surprise, and sweet satisfaction as it has brought me. Now go grab that whipped topping from the freezer—your new favorite homemade candy awaits. Happy dipping