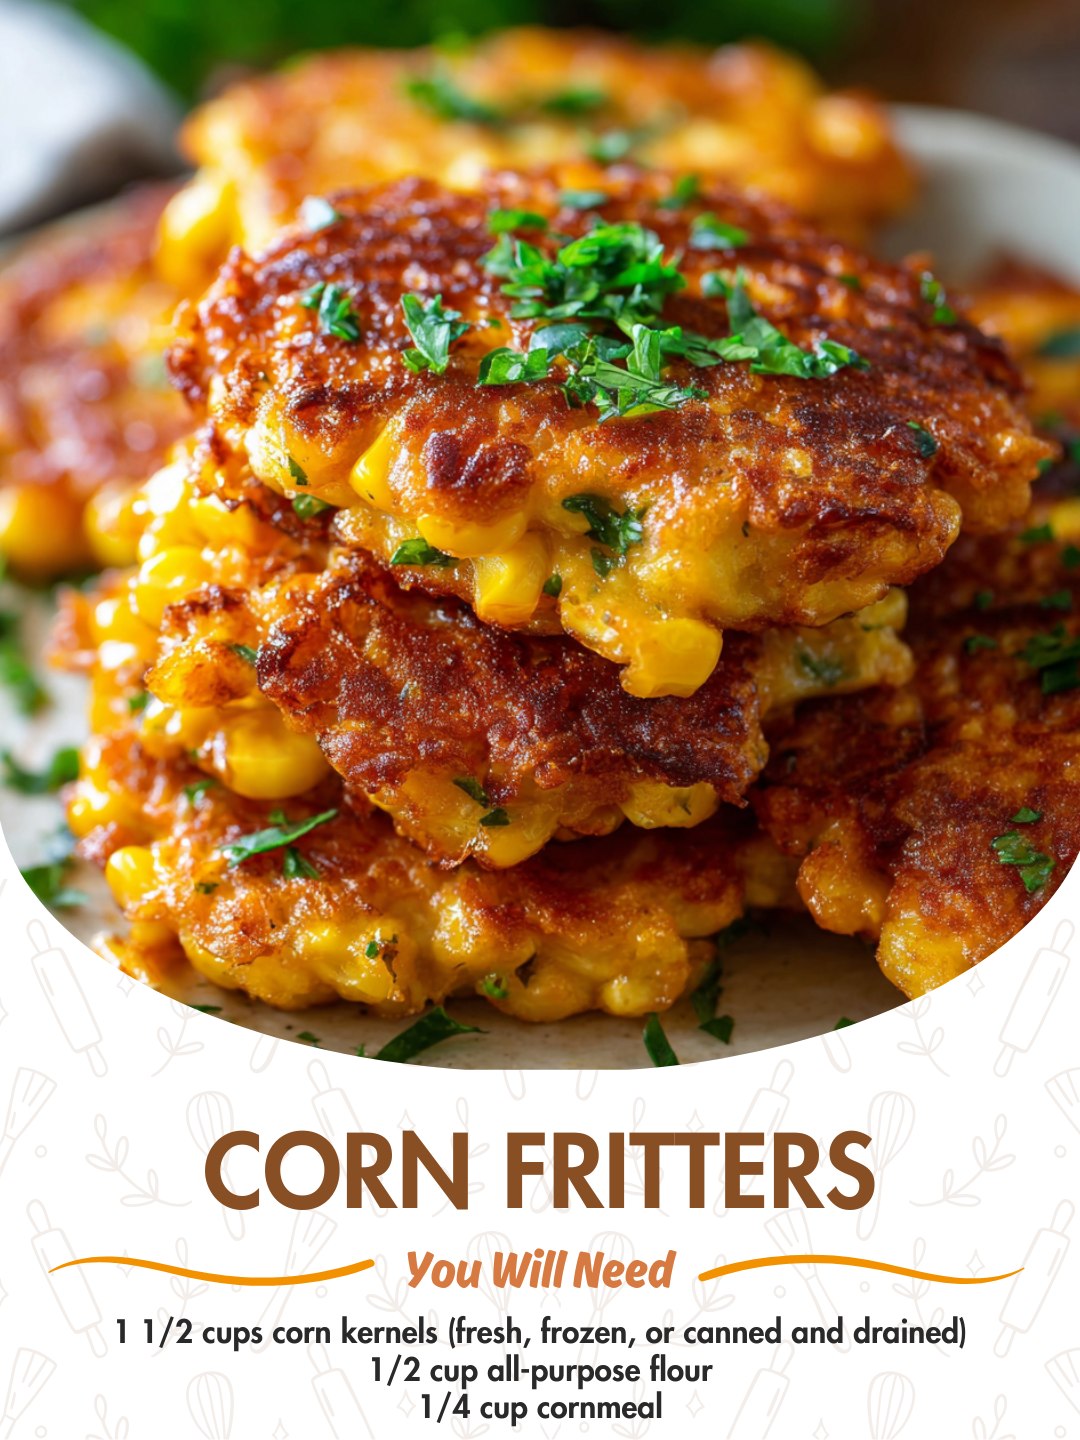
Pro Tips for Best Results
My number one tip is all about oil temperature. If the oil isn’t hot enough, the fritters will greedily soak it up and become greasy. If it’s too hot, they’ll brown before the inside cooks through. I keep my stove knob at a solid medium-high and do the little batter test every single batch. It seems fussy, but it’s the difference between a good fritter and a great one. I also use a thermometer when I’m being extra precise—aim for 350°F to 375°F.
The resting period for the batter is a game-changer I discovered after a few lackluster batches. Letting it sit for those five minutes allows the cornmeal to soften just enough so it doesn’t have a gritty texture. It also gives the baking powder a moment to start working, resulting in a slightly lighter fritter. I use this time to clean up my prep bowls and get my wire rack ready, so it’s not wasted time at all.
Finally, resist the urge to press down on the fritters with your spatula while they’re cooking. I did this for years, thinking I was helping them cook faster. All I was doing was squeezing out the moisture and compressing them into dense little hockey pucks. Let them be! The hot oil will do its job, creating a perfect crust that seals in all the sweet, steamy corn goodness inside.
Common Mistakes to Avoid
The most common mistake is overloading the batter with too much flour. When you first mix it, it will look too wet, and your instinct will be to add another tablespoon of flour. Fight that instinct! As it sits, the corn releases moisture and the flour hydrates. I made this mistake the first time and ended up with dry, bready pucks instead of fritters. The batter should be thick but not doughy; it should just hold together when scooped.
Another pitfall is using a flimsy pan. If your pan is too thin, it won’t hold heat consistently, leading to hot spots and uneven cooking. I’ve tried this in a non-stick skillet and my trusty cast iron, and the difference is night and day. The cast iron maintains a perfect, steady temperature for even browning. If you don’t have one, use the heaviest-bottomed skillet you own. It makes all the difference in achieving that flawless, crispy exterior.
Serving Suggestions
I most often serve these straight off the wire rack, piled high on a platter with a big bowl of cool, creamy dipping sauce in the center. My absolute favorite is a quick mix of sour cream, a squeeze of lime juice, some chopped cilantro, and a pinch of salt. The cool tang against the hot, savory fritter is a match made in heaven. For a simpler option, a drizzle of hot honey or a side of chipotle mayo is fantastic.
For a full meal, I love turning these into a casual dinner. I’ll serve them alongside a big, crisp salad loaded with avocado and cherry tomatoes, or with a pot of hearty black bean soup. They add a satisfying, carb-like element without feeling heavy. My partner loves when I slide a couple inside a soft bun with some shredded cabbage and a swipe of aioli for an incredible vegetarian sandwich.
And let’s not forget breakfast! On lazy weekend mornings, I’ll make a slightly smaller batch and serve them with sunny-side-up eggs and crispy bacon. The runny yolk becomes another delicious sauce for dipping. They’re also a huge hit at brunch gatherings; I just keep a warm oven going to hold batches until everyone is ready to eat.
Variations & Customizations
This recipe is a wonderful blank canvas. One of my favorite savory twists is adding about 1/4 cup of finely diced ham or crumbled cooked bacon right into the batter. It adds a salty, smoky punch that’s irresistible. For a Southwest vibe, I’ll fold in a diced jalapeño (seeds removed if you don’t want too much heat) and swap the Parmesan for pepper jack cheese. A little sprinkle of cumin in the dry mix completes the transformation.
In the summer, when fresh herbs are taking over my garden, I love adding chopped fresh chives, parsley, or dill. The dill, in particular, with a squeeze of lemon zest in the batter, makes them taste incredibly fresh and bright. I’ve also successfully made a “everything bagel” version by replacing the smoked paprika with everything bagel seasoning and using a cream cheese-based dipping sauce.
For a completely different direction, you can easily make them sweeter. I’ll omit the green onions, garlic, and paprika, and add a tablespoon of sugar and a teaspoon of vanilla extract to the wet ingredients. I’ll still use the corn and maybe add some blueberries. Served with a dusting of powdered sugar and maple syrup for dipping, they become a delightful breakfast fritter that feels like a treat.
How to Store, Freeze & Reheat
These are truly best eaten immediately, but if you have leftovers, let them cool completely on the wire rack. Then, store them in a single layer (if possible) in an airtight container in the fridge for up to 2 days. Do not stack them while they’re still warm, or they’ll get soggy from their own steam—another lesson from my early cooking days.
To reheat, never use the microwave. It will turn your once-crispy exterior into a soft, sad shell. Instead, I reheat them in a 375°F oven or air fryer for 5-7 minutes until they’re hot and crisp again. They also freeze surprisingly well! Freeze the cooled fritters in a single layer on a baking sheet, then transfer to a freezer bag. Reheat straight from frozen in the oven or air fryer for about 10 minutes. They won’t be quite as perfect as fresh, but they’re a fantastic quick fix.
Conclusion
At the end of the day, this corn fritter recipe is more than just a list of ingredients and steps. It’s about creating little moments of comfort and delight with simple, honest food. I hope you give it a try and make it your own. Share them with people you love, experiment with the add-ins, and most importantly, enjoy the process and that incredible first bite. Happy cooking