Step-by-Step Instructions
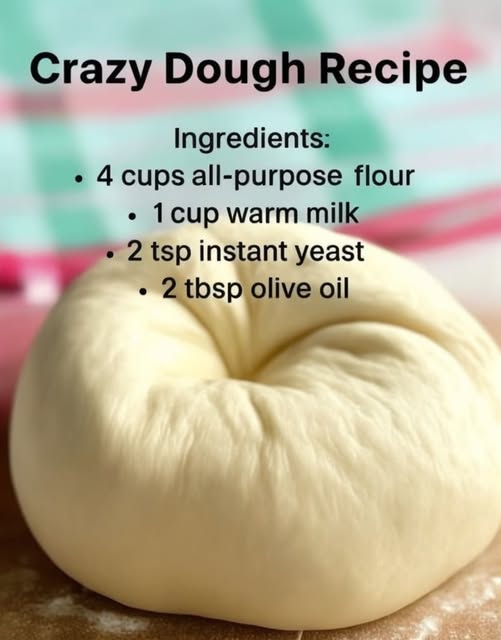
First, we bring the dough to life. In your large bowl, I combine the flour, instant yeast, sugar, and salt, giving it a quick whisk to distribute everything evenly. Then, I make a well in the center and pour in the warm milk, olive oil, and crack in the egg. Using a wooden spoon or my dough hook on low speed, I mix until a shaggy dough forms. This is when I ditch the spoon and use my hands. I turn it out onto a lightly floured surface and knead for about 7-8 minutes. You’re looking for a change in texture—it starts sticky but becomes smooth, elastic, and springs back slowly when poked. Don’t rush this; I did once, and my rolls were dense.
Once your dough is a soft, smooth ball, place it back in the lightly oiled bowl, turning it once to coat. This prevents a dry skin from forming. Cover it with that trusty damp kitchen towel and let it rise in a warm, draft-free spot. In my kitchen, this takes about 1 to 1.5 hours. I like to tuck it into my oven with just the light on for consistent warmth. You’ll know it’s ready when it’s nearly doubled in size and holds an indentation when you gently poke it. This slow, patient rise is where the flavor develops, so please give it the time it asks for.
After the first rise, the fun begins! I gently punch down the dough to release the air—this is strangely satisfying—and turn it out onto my surface. Now, it’s ready for its destiny. For pizza, I divide it in half, roll it thin, and par-bake. For cinnamon rolls, I roll it into a rectangle, spread on the filling, slice, and proof. For dinner rolls, I shape small balls and let them snuggle together in a pan for a second, shorter rise. No matter the shape, I always let the shaped dough rest for 20-30 minutes before baking. This “proofing” step is non-negotiable for light, airy results.
Pro Tips for Best Results
Temperature is your secret weapon. I tested this dough rising in a cold kitchen versus a warm one, and the difference is night and day. If your house is cool, create a proofing box: place the covered bowl over a larger bowl filled with warm water, or use the oven-light trick I mentioned. The dough should feel warm to the touch, not cold. Also, when rolling out the dough for things like cinnamon rolls, resist the urge to add too much extra flour. A light dusting is all you need. Too much flour worked in at this stage will make your final bake dry.
My biggest “aha!” moment came with the butter. For recipes that call for a butter layer, like for flaky pull-apart bread, using very soft, but not melted, butter is key. I spread it with my hands or a silicone spatula. Melted butter soaks in too much and can make the dough greasy, while cold butter is impossible to spread and tears the dough. I also learned to always, always brush the top of my unbaked creations with a little milk, cream, or an egg wash (just a beaten egg with a splash of water). This gives you that gorgeous, professional-looking glossy, golden-brown finish.
Patience is truly the most important ingredient. I’ve rushed the second proof because I was hungry or had guests coming, and the baked goods were always heavier and smaller. Set a timer and let the dough do its thing. Finally, invest in an inexpensive oven thermometer. I discovered my oven runs 25 degrees hot! Baking at the wrong temperature was the culprit behind my early batches that were brown outside and doughy inside. Knowing your oven’s true temperature is a game-changer for perfect baking every single time.
(See the next page below to continue…)