I’ll never forget the first time these Dark Chocolate Maple Buttercream Candies set in my kitchen. The rich, earthy scent of melted dark chocolate mingled with the warm, caramel-like aroma of pure maple syrup, creating a perfume so decadent it felt like a hug. I’d been dreaming of a candy that was both luxuriously smooth and deeply flavorful, not just sweet. When I finally pulled the chilled tray from the fridge and took that first silky, complex bite, I knew I’d found my new favorite treat to make and share. It’s a little piece of edible elegance that’s surprisingly simple to create, and I can’t wait for you to experience it, too.
Ingredients
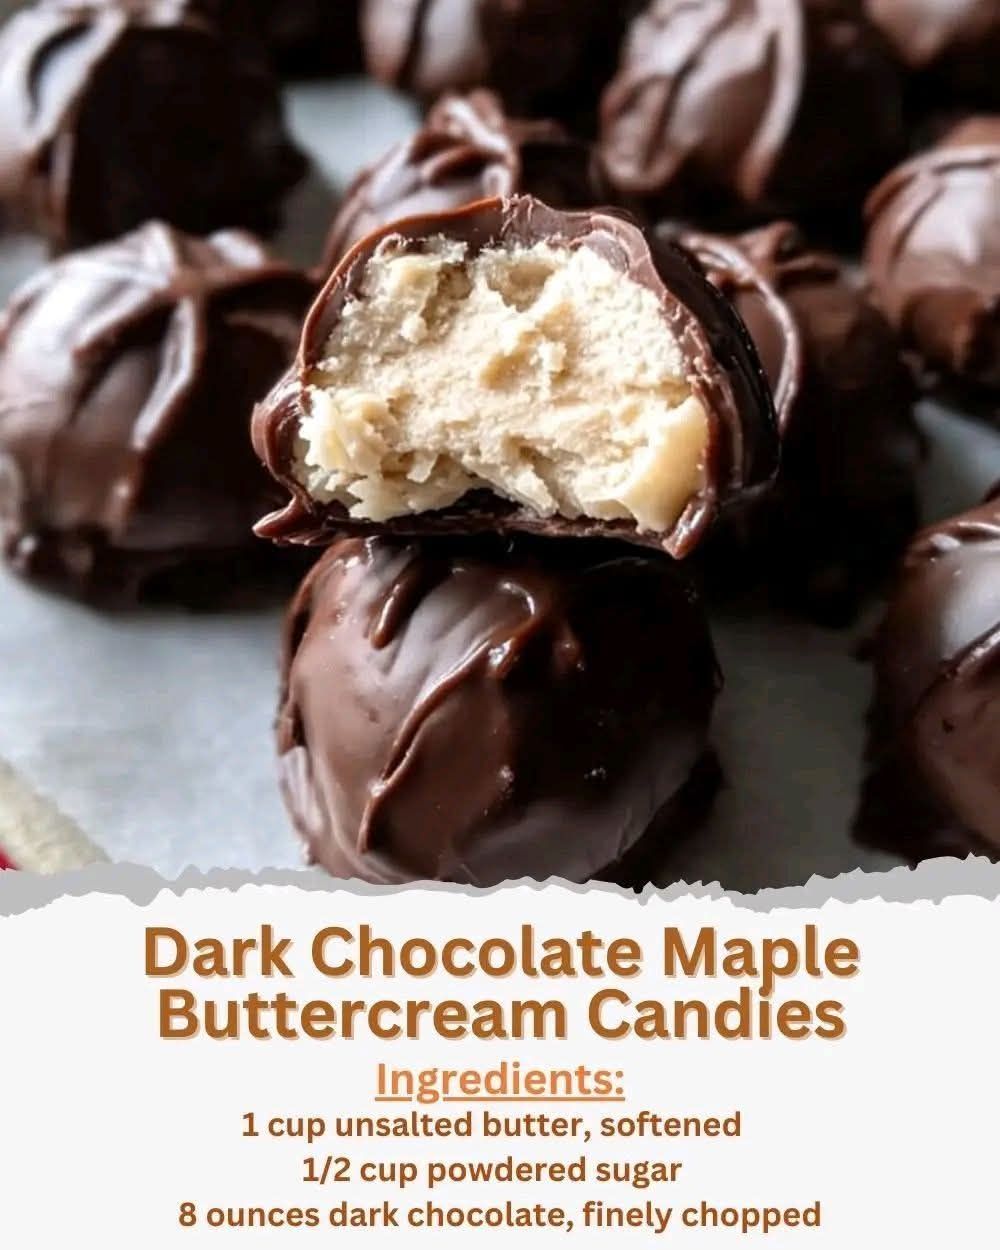
- 1 cup unsalted butter, softened
- 1/2 cup powdered sugar
- 8 ounces dark chocolate, finely chopped
- 1/3 cup pure maple syrup (preferably Grade A Dark or Very Dark)
- 1/4 cup unsweetened cocoa powder
- 1 teaspoon pure vanilla extract
- 1/4 teaspoon fine sea salt
Now, let’s talk about why these specific ingredients matter so much. That pure maple syrup is non-negotiable for me; the fake pancake syrup will make your candies sickly sweet and lack that beautiful, nuanced depth. Trust me, it makes a huge difference. For the chocolate, I’ve learned the hard way that quality is key. Use a dark chocolate bar you love eating on its own, around 60-70% cacao. Don’t use chocolate chips—they have stabilizers that can make the texture less silky. And that pinch of fine sea salt? Don’t you dare skip it. It’s the secret weapon that makes all the other flavors sing.
Equipment Needed
- Stand mixer or hand mixer
- Medium heatproof bowl
- Small saucepan
- Whisk and silicone spatula
- Candy molds or a parchment-lined loaf pan
- Piping bag (optional, but helpful)
You don’t need any fancy specialty gear here, but a few tools are lifesavers. My stand mixer is the MVP for getting that buttercream impossibly light and fluffy, but a good hand mixer works perfectly—just be prepared to hold it for a few minutes. I’ve tried using a glass bowl over a pot for the chocolate, but I find a heatproof bowl that snugly fits on top of a small saucepan (as a double boiler) gives me the most control to prevent scorching. As for molds, I’ve used everything from fancy silicone chocolate molds to a simple loaf pan lined with parchment. The loaf pan makes slicing into squares easy, but the molds give you those gorgeous, professional-looking shapes that feel extra special.
(See the next page below to continue…)