Pro Tips for Best Results
I tested this recipe three different ways with the boiling time, and here’s what I learned: under-boil, and your fudge won’t set; over-boil, and it becomes crumbly and sugary. That 5-6 minute rolling boil from the first bubble is your sweet spot. If you’re nervous, the cold water test is your best friend. Have the cup of ice water ready before you even turn on the stove.
Another game-changer I discovered is in the stirring. When you first add the peanut butter, the mixture will look wrong—separated and oily. Don’t despair! This is normal. Just keep stirring vigorously and consistently. The heat from the sugar syrup will fully incorporate everything, and suddenly, before your eyes, it will emulsify into that perfect, smooth consistency. It’s a little moment of kitchen magic every single time.
Finally, be prepared. Have your pan lined and your peanut butter measured and ready to go before you start cooking sugar. The process moves quickly once it’s boiling, and you don’t want to be scrambling for ingredients. Having everything mise en place makes the experience relaxed and ensures your fudge sets up with the ideal texture.
Common Mistakes to Avoid
The first time I made this, I made a classic mistake: I stirred the sugar and milk while it was coming to a boil. This encourages the sugar to crystallize on the sides of the pan, which can then fall back in and make your final fudge grainy. I ended up with a slightly sugary texture instead of that melt-in-your-mouth smoothness. So, trust me—mix it initially to wet the sugar, then leave it alone until it’s fully boiled.
Another pitfall is not using a heavy-bottomed pot. I tried it once in a thin saucepan, and the bottom scorched before the sugar was fully cooked, giving the whole batch a bitter, burnt undertone. A good, thick pot distributes the heat evenly and protects your precious fudge. It’s a small equipment detail that makes a huge difference in the outcome.
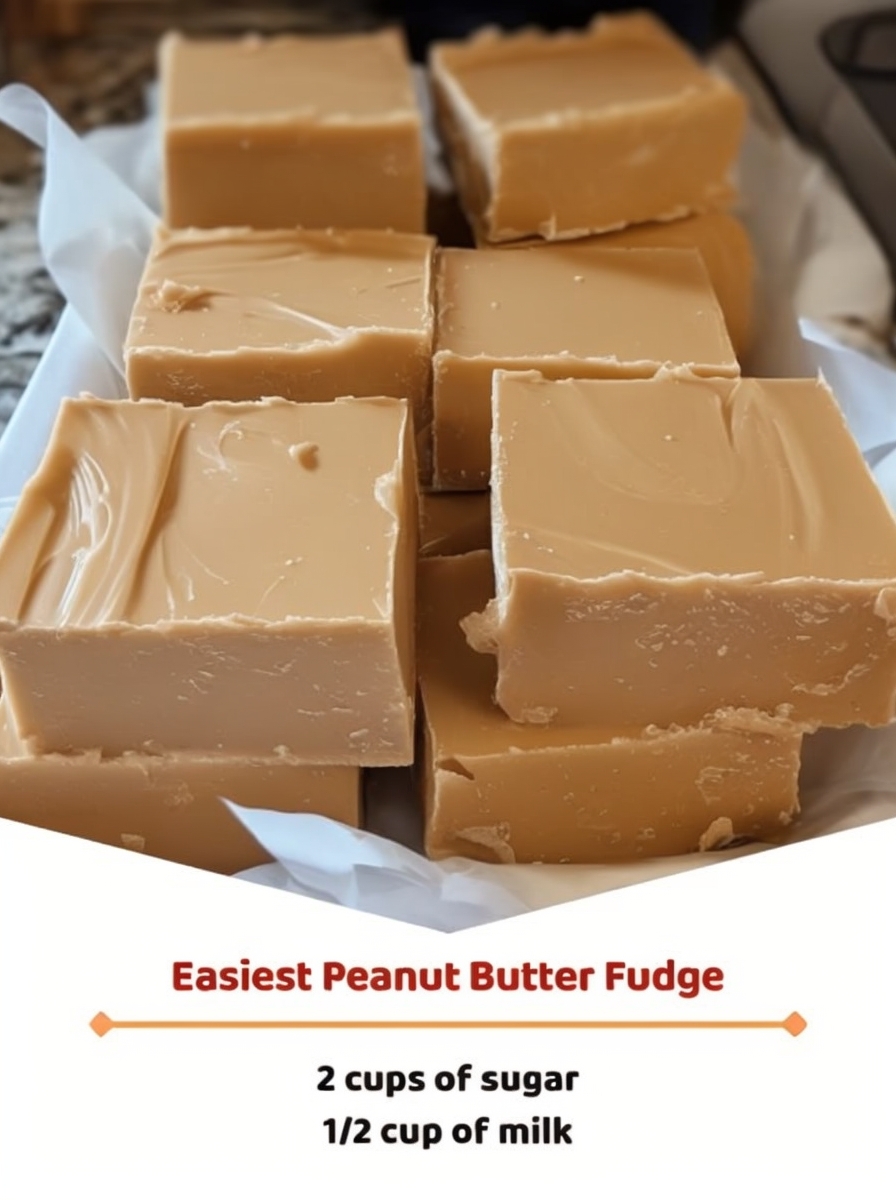
Serving Suggestions
I like serving this fudge straight from the fridge, cut into small, rich squares. The cool temperature makes it extra firm and satisfying to bite into. For a simple, elegant touch, I sometimes sprinkle a little flaky sea salt over the top just after pouring it into the pan. The salty crunch against the sweet creaminess is absolutely divine.
When I’m feeling festive, especially during the holidays, I’ll place a single, roasted peanut or a tiny piece of pretzel on top of each square before it sets. It looks adorable and adds a lovely textural contrast. For a party platter, I arrange the fudge squares alongside some dark chocolate pieces and fresh berries—it creates a beautiful and balanced dessert spread.
For a truly decadent experience, I’ve been known to gently warm a square in the microwave for just 8-10 seconds and plop it on top of a scoop of vanilla ice cream. It creates a warm, peanut buttery sauce that is nothing short of heavenly. It’s my favorite “I need a treat right now” dessert.
Variations & Customizations
Once you’ve mastered the classic, the fun really begins. One of my favorite variations is adding a big handful of semi-sweet chocolate chips to the hot fudge right after I mix in the peanut butter. The residual heat melts them into a beautiful peanut butter-chocolate swirl. You don’t even need to stir it completely—just a few folds for a marbled effect.
For my crunchy peanut butter friends, you can absolutely use crunchy peanut butter, or stir in 1/4 cup of chopped, salted peanuts after you’ve achieved the smooth emulsion. I’ve also tried mixing in crushed graham crackers or pretzel pieces for a sweet-and-salty vibe, which is always a huge hit. Just fold them in right before pouring.
If you want to get really creative, try swapping the vanilla for a different extract. A 1/2 teaspoon of almond extract adds a wonderful depth. For a “Buckeye” style fudge, after it’s set, I sometimes melt chocolate chips with a teaspoon of coconut oil and drizzle it lavishly over the top in zig-zags. It looks professional and tastes incredible.
How to Store, Freeze & Reheat
From my experience, this fudge stores brilliantly. Once fully set, I lift the whole slab out using the parchment paper, cut it into squares, and store them in an airtight container in the refrigerator. It keeps its perfect texture for up to two weeks this way. You can also layer squares between sheets of parchment paper to prevent sticking. I don’t recommend leaving it at room temperature for more than a day, as it can become too soft.
Yes, you can absolutely freeze this fudge! I wrap individual squares tightly in plastic wrap, then place them all in a heavy-duty freezer bag. They freeze solid and keep for up to 3 months. When a craving hits, I just pull out a square and let it thaw in the fridge for an hour or on the counter for about 20 minutes. The texture comes back perfectly—it’s like having instant homemade dessert on demand. There’s no need to reheat it, but if you do for that ice cream topping, just use very short bursts in the microwave.
Conclusion
This easy peanut butter fudge recipe is more than just a dessert; it’s a little jar of kitchen confidence and a whole lot of joy. It has saved me countless times when I needed a last-minute gift, a potluck contribution, or just a sweet moment for myself. I hope it finds its way into your recipe box and becomes a cherished, go-to treat for you, too. Now, go warm up that saucepan—your perfect batch of fudge is waiting.