Pro Tips for Best Results
Let the casserole rest for about 10 minutes after pulling it from the oven. I know it’s tempting to dive right in, but I learned this the hard way. That resting time allows the creamy layers to set just enough so you get clean, beautiful slices instead of a delicious but soupy scoop on your first serving. It makes all the difference in presentation and texture.
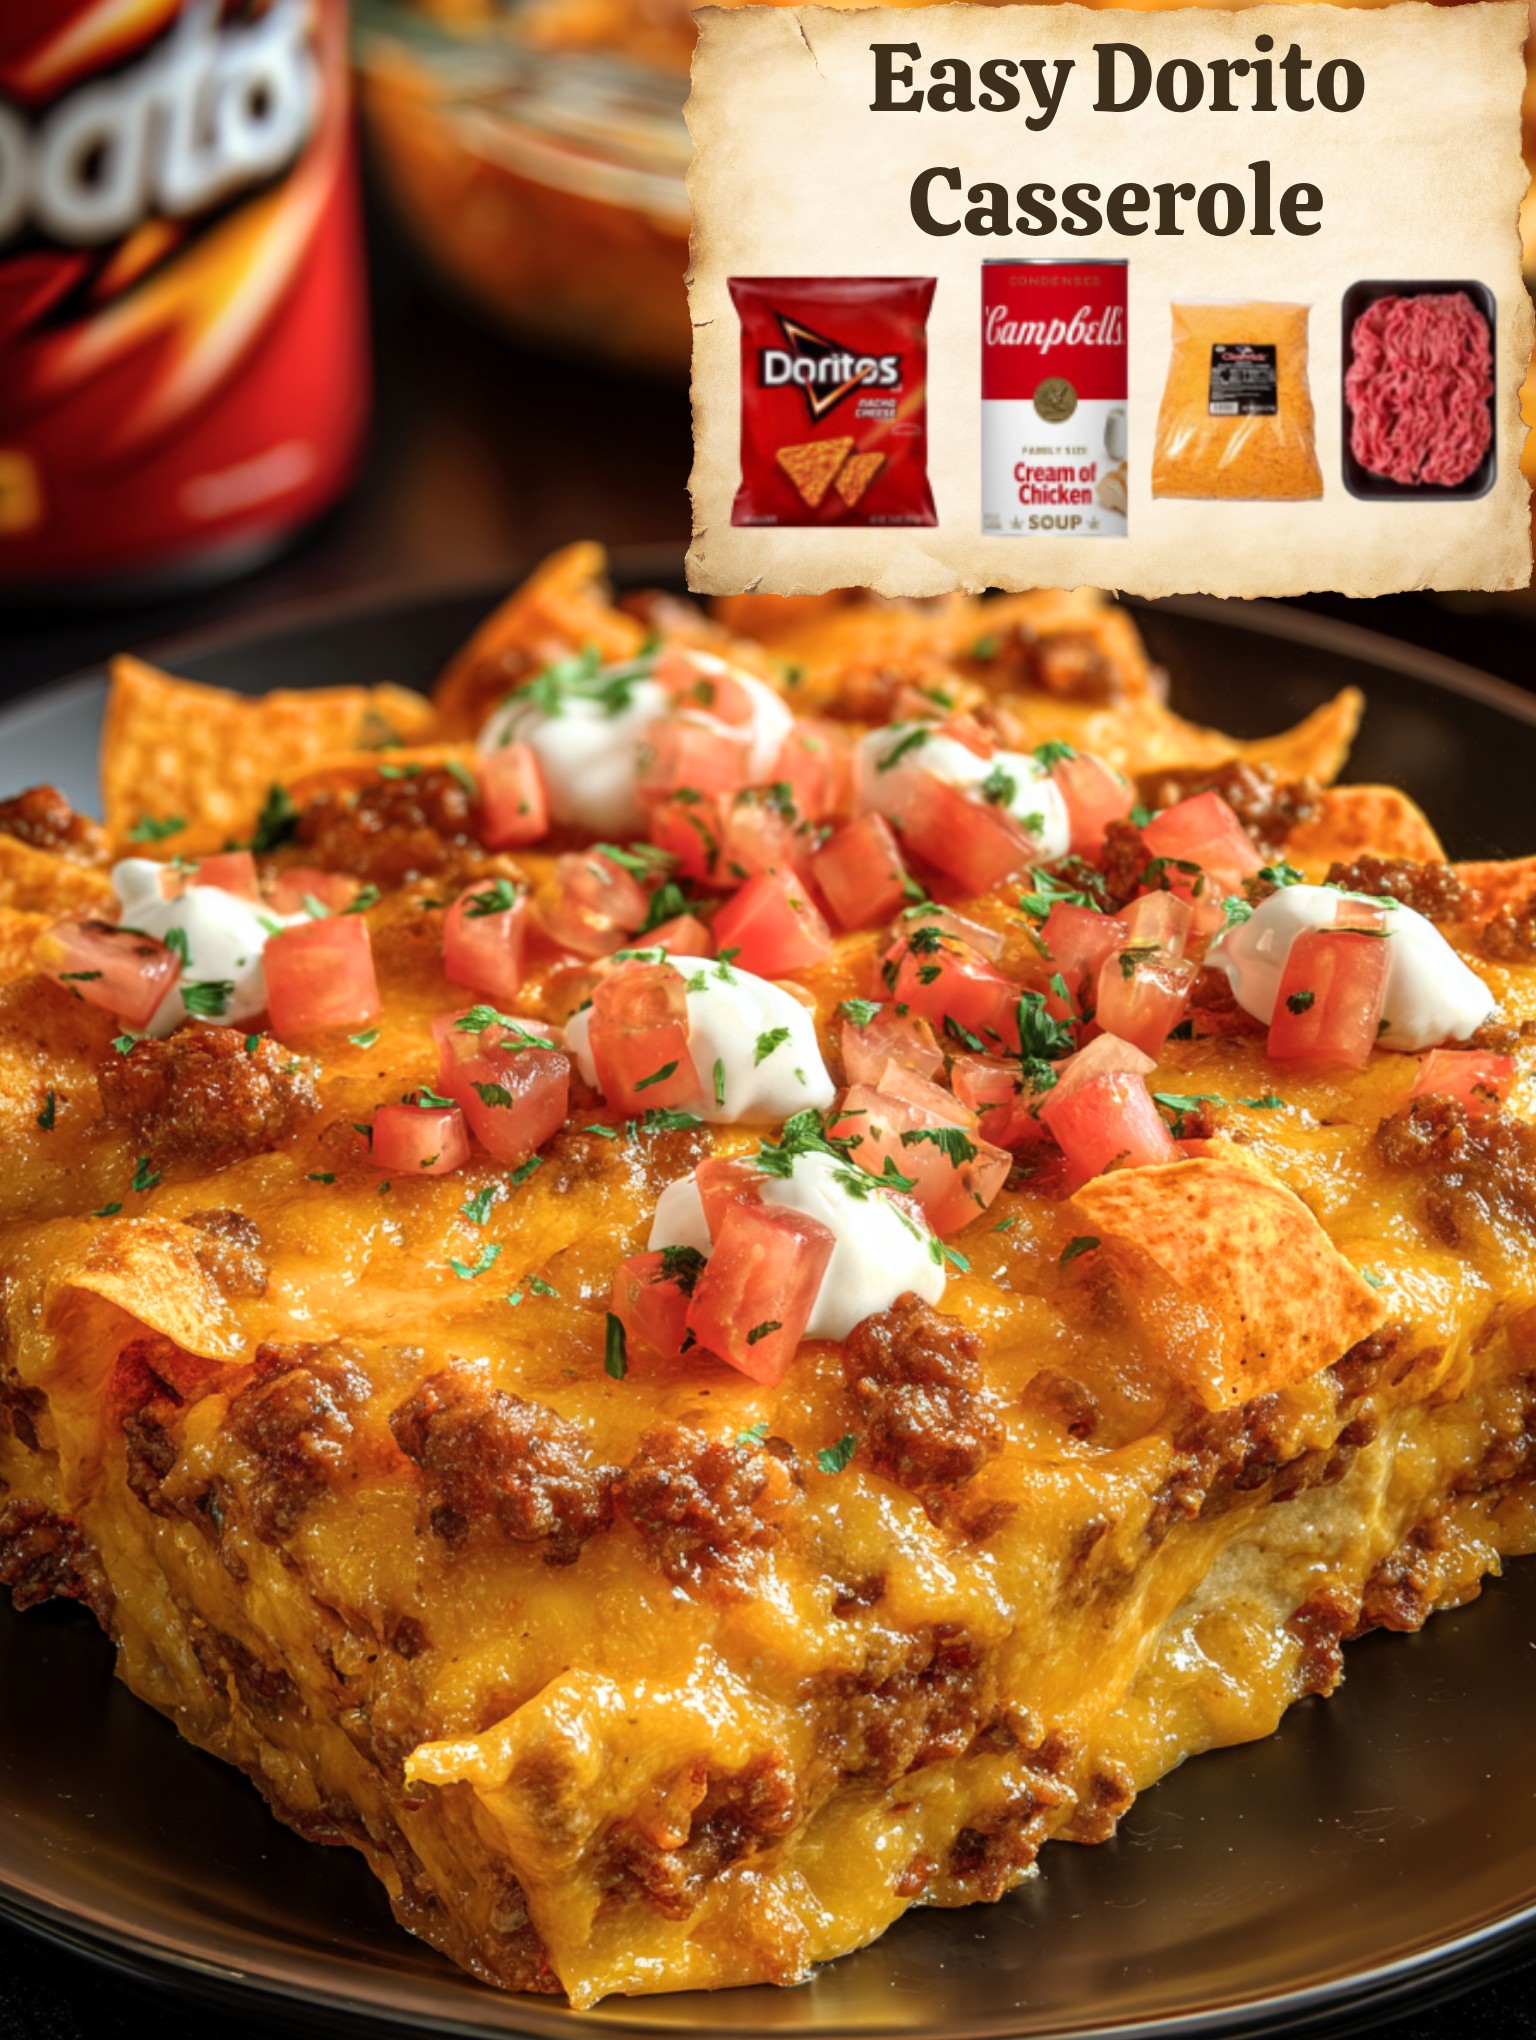
For the ultimate texture contrast, reserve a small handful of your Doritos for a final garnish. After the casserole has rested, sprinkle a few extra freshly crushed chips on top right before serving. This adds one last hit of that signature bold crunch that hasn’t softened at all in the oven, which is a game-changer for us crunch-lovers.
I tested the sour cream variable three different ways: full-fat, low-fat, and Greek yogurt. Full-fat sour cream is the winner by a mile. It doesn’t break or separate during baking, and it provides a richer, tangier creaminess that holds up to the bold Dorito flavor. The lower-fat versions tended to make the sauce a bit grainy. Trust me on this one—use the real deal.
Common Mistakes to Avoid
The first time I made this, I was in a rush and forgot to drain the canned tomatoes and green chilies. Big mistake. The extra liquid made the entire casserole far too wet, resulting in a soggy chip layer that lost its satisfying crunch. Now, I always press the lid down on the can and tip it over the sink until no more juice drips out. It’s a simple step, but it makes a huge difference in the final texture.
Another mistake I see people make is crushing the Doritos into oblivion. You want pieces, not powder. If they’re too fine, they’ll just dissolve into the sauce and you’ll lose that wonderful layered texture entirely. I give the bag a few good squeezes and shakes to get a mix of sizes. Some small bits are fine and will thicken the sauce, but you want plenty of pieces about the size of a quarter for structure.
Serving Suggestions
I love serving this casserole straight from the dish, family-style, in the middle of the table. It’s a complete meal on its own, but I always set out a little topping bar. A bowl of cool, creamy sour cream, some freshly diced tomatoes or pico de gallo, sliced jalapeños for those who want heat, and a big handful of chopped fresh cilantro or green onions. Letting everyone customize their plate makes it even more fun.
For sides, I keep it simple. A crisp, refreshing iceberg lettuce salad with a zesty lime vinaigrette is my go-to. It cuts through the richness of the casserole perfectly. Sometimes, if we’re extra hungry, I’ll warm up a can of refried beans or make a quick pot of Mexican rice. But honestly, this casserole is so hearty that it rarely needs much more than those fresh, cool toppings.
When it comes to leftovers (if you’re lucky enough to have any!), my favorite way to repurpose them is for lunch the next day. I’ll scoop some into a bowl, add a fresh squeeze of lime juice, and maybe a few extra chips on the side. It reheats like a dream and somehow tastes even more flavorful after the ingredients have had more time to mingle.
Variations & Customizations
This recipe is a fantastic canvas. I’ve tried it with ground turkey or shredded rotisserie chicken instead of beef for a lighter version, and both are delicious. Just be sure to season the poultry well. For a vegetarian twist, a can of rinsed black beans or lentils mixed with the sauce is wonderful. You might need a touch less milk if using beans, as they thicken the mixture.
Get creative with the chips! While Nacho Cheese is the classic, I’ve made this with Cool Ranch Doritos for a tangy, herby twist, and it was a huge hit. I’ve even seen friends use spicy nacho or sweet chili flavors. The soup base can also be swapped—a cheese soup or poblano soup can add a fun new dimension. Don’t be afraid to play with the cheese blend, too. A Monterey Jack and cheddar mix or adding a bit of pepper jack are my favorite upgrades.
For those who love extra veggies, this is a great way to sneak them in. I’ve finely diced bell peppers and onions and sautéed them with the ground beef. I’ve also folded in a cup of frozen corn (thawed and drained) into the creamy mixture. It adds color, nutrition, and a little sweetness that balances the spice. The recipe is wonderfully forgiving, so make it your own.
How to Store, Freeze & Reheat
To store leftovers, I let the casserole cool completely, then cover the baking dish tightly with aluminum foil or transfer portions to an airtight container. It will keep in the refrigerator for 3-4 days. When reheating, the microwave is quick and easy for single portions—just cover with a damp paper towel to keep it from drying out. For larger portions, I prefer to reheat it in the oven at 325°F until warmed through, which helps preserve the texture better.
You can freeze this casserole either before or after baking. To freeze unbaked, assemble it right up to the point of baking, but use a foil baking dish. Wrap it tightly in several layers of plastic wrap and then foil. It will keep for up to 2 months. Thaw overnight in the fridge before baking as directed, adding a few extra minutes if needed. You can freeze baked portions, too, though the top chip layer will lose some crunch. Reheat frozen baked portions in the oven, covered, until hot all the way through.
Conclusion
This Easy Dorito Casserole is more than just a recipe; it’s my secret weapon for busy days, potlucks, and whenever my family needs a surefire dose of comfort. It’s humble, incredibly satisfying, and always brings everyone to the table with smiles. I hope it finds a place in your recipe rotation and brings you as much joy and easy dinnertime wins as it has brought to my kitchen. Give it a try this week, and don’t forget to let me know how it turns out for you!