Equipment Needed
- A small bowl for mixing the garlic butter
- A spatula
- A large non-stick skillet or griddle (my trusty cast-iron works wonders here)
- A cheese grater (if you’re shredding your own cheese)
Step-by-Step Instructions
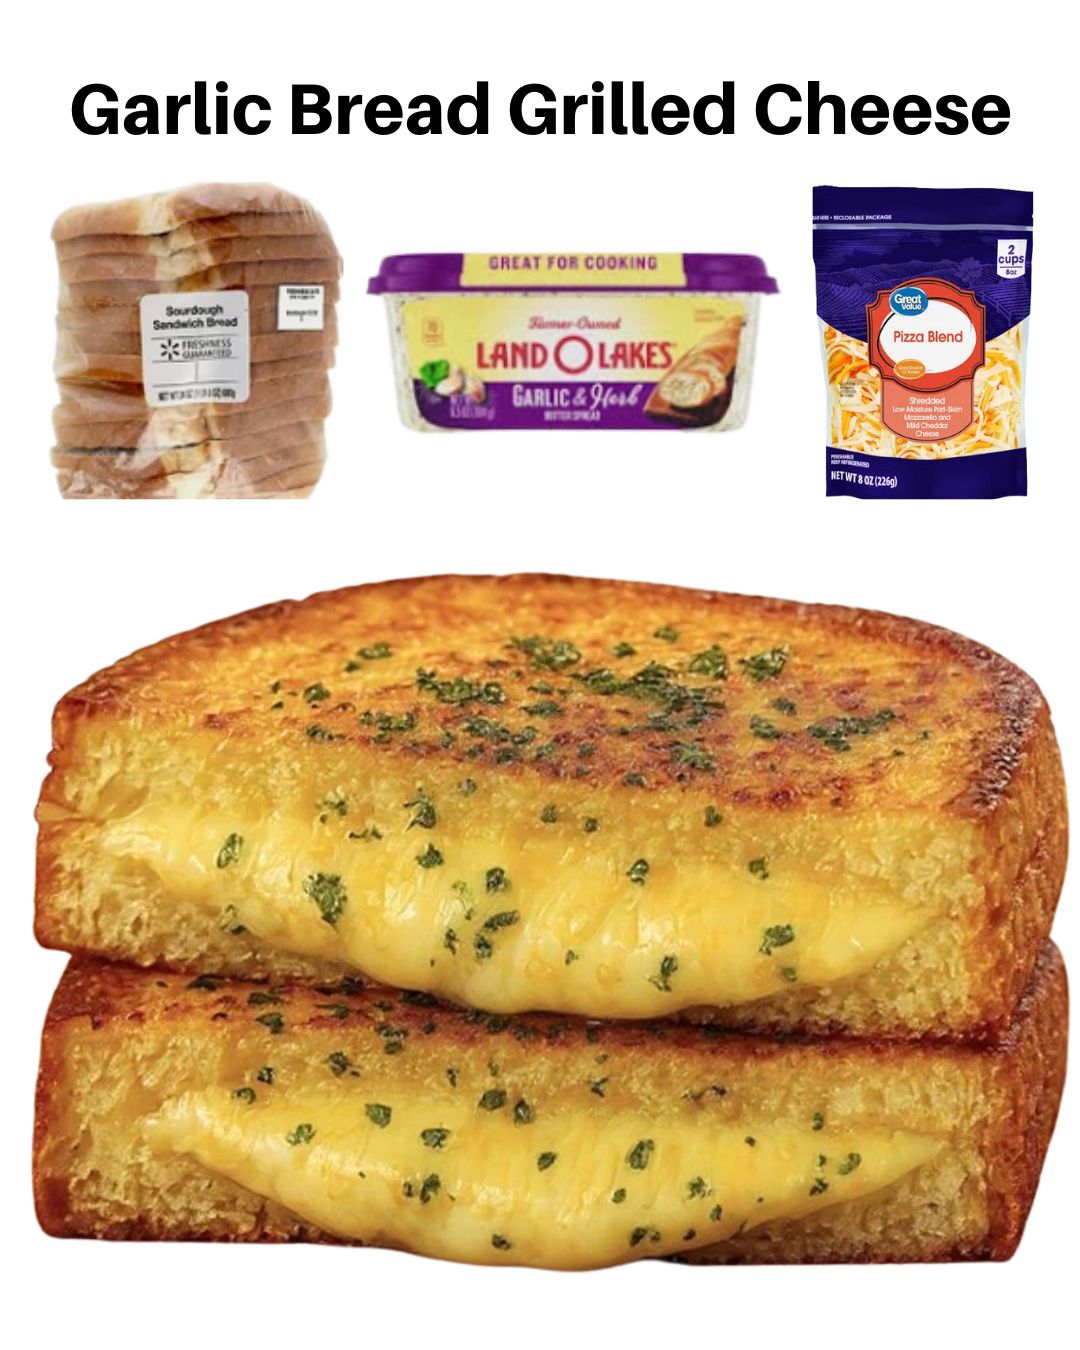
First, let’s make our magic garlic butter. In a small bowl, I mash together the softened butter, minced garlic, and parsley until it’s a fragrant, homogenous paste. The smell alone is worth it. I then generously spread this mixture on one side of each slice of bread—this will become our gorgeous, crispy exterior. On the unbuttered side of two slices, I pile on the cheese. I do a mix of the pizza blend first, then sprinkle the Parmesan over the top before capping it with the other slice of bread, buttered side facing out. This layering ensures every bite is cheesy.
Now, for the cooking. I preheat my skillet over medium-low heat. This is my biggest learned-by-mistake tip: medium-low is your friend. You want the bread to turn a deep, golden brown and the garlic to toast without burning before the cheese inside has fully melted. If your heat is too high, you’ll have charcoal-black garlic and cold cheese—I’ve been there, and it’s a tragedy. I gently place the sandwiches in the pan and let them cook, undisturbed, for about 3-4 minutes. I listen for that gentle, steady sizzle.
When I peek underneath and see a perfect, chestnut-brown crust with little freckles, I know it’s time to flip. I get my spatula fully under the sandwich, lift with confidence, and flip it over. The second side always seems to cook a touch faster, so I keep a closer eye. I’ll often press down lightly with the spatula to ensure even contact, which also helps melt the cheese a bit more. You’ll know it’s done when both sides are gloriously crisp and the cheese is visibly gooey when you press the edges.
Finally, the most important step: resting. I know the urge to dive right in is overwhelming, but I always transfer the sandwiches to a cutting board and let them sit for exactly two minutes. This brief pause allows the molten cheese to settle slightly, so when you cut into it (diagonally, always diagonally), it doesn’t all rush out onto the plate. It’s a lesson in delayed gratification that pays off in every perfectly contained, cheesy bite.(See the next page below to continue…)