Pro Tips for Best Results
Let the sliders rest for about 5 minutes after they come out of the oven. I know it’s torture with that amazing smell filling your kitchen, but this rest time lets the cheese set just enough so that when you slice them (I use the serrated knife again), they hold their shape beautifully instead of oozing out everywhere. It makes for a much neater serving experience.
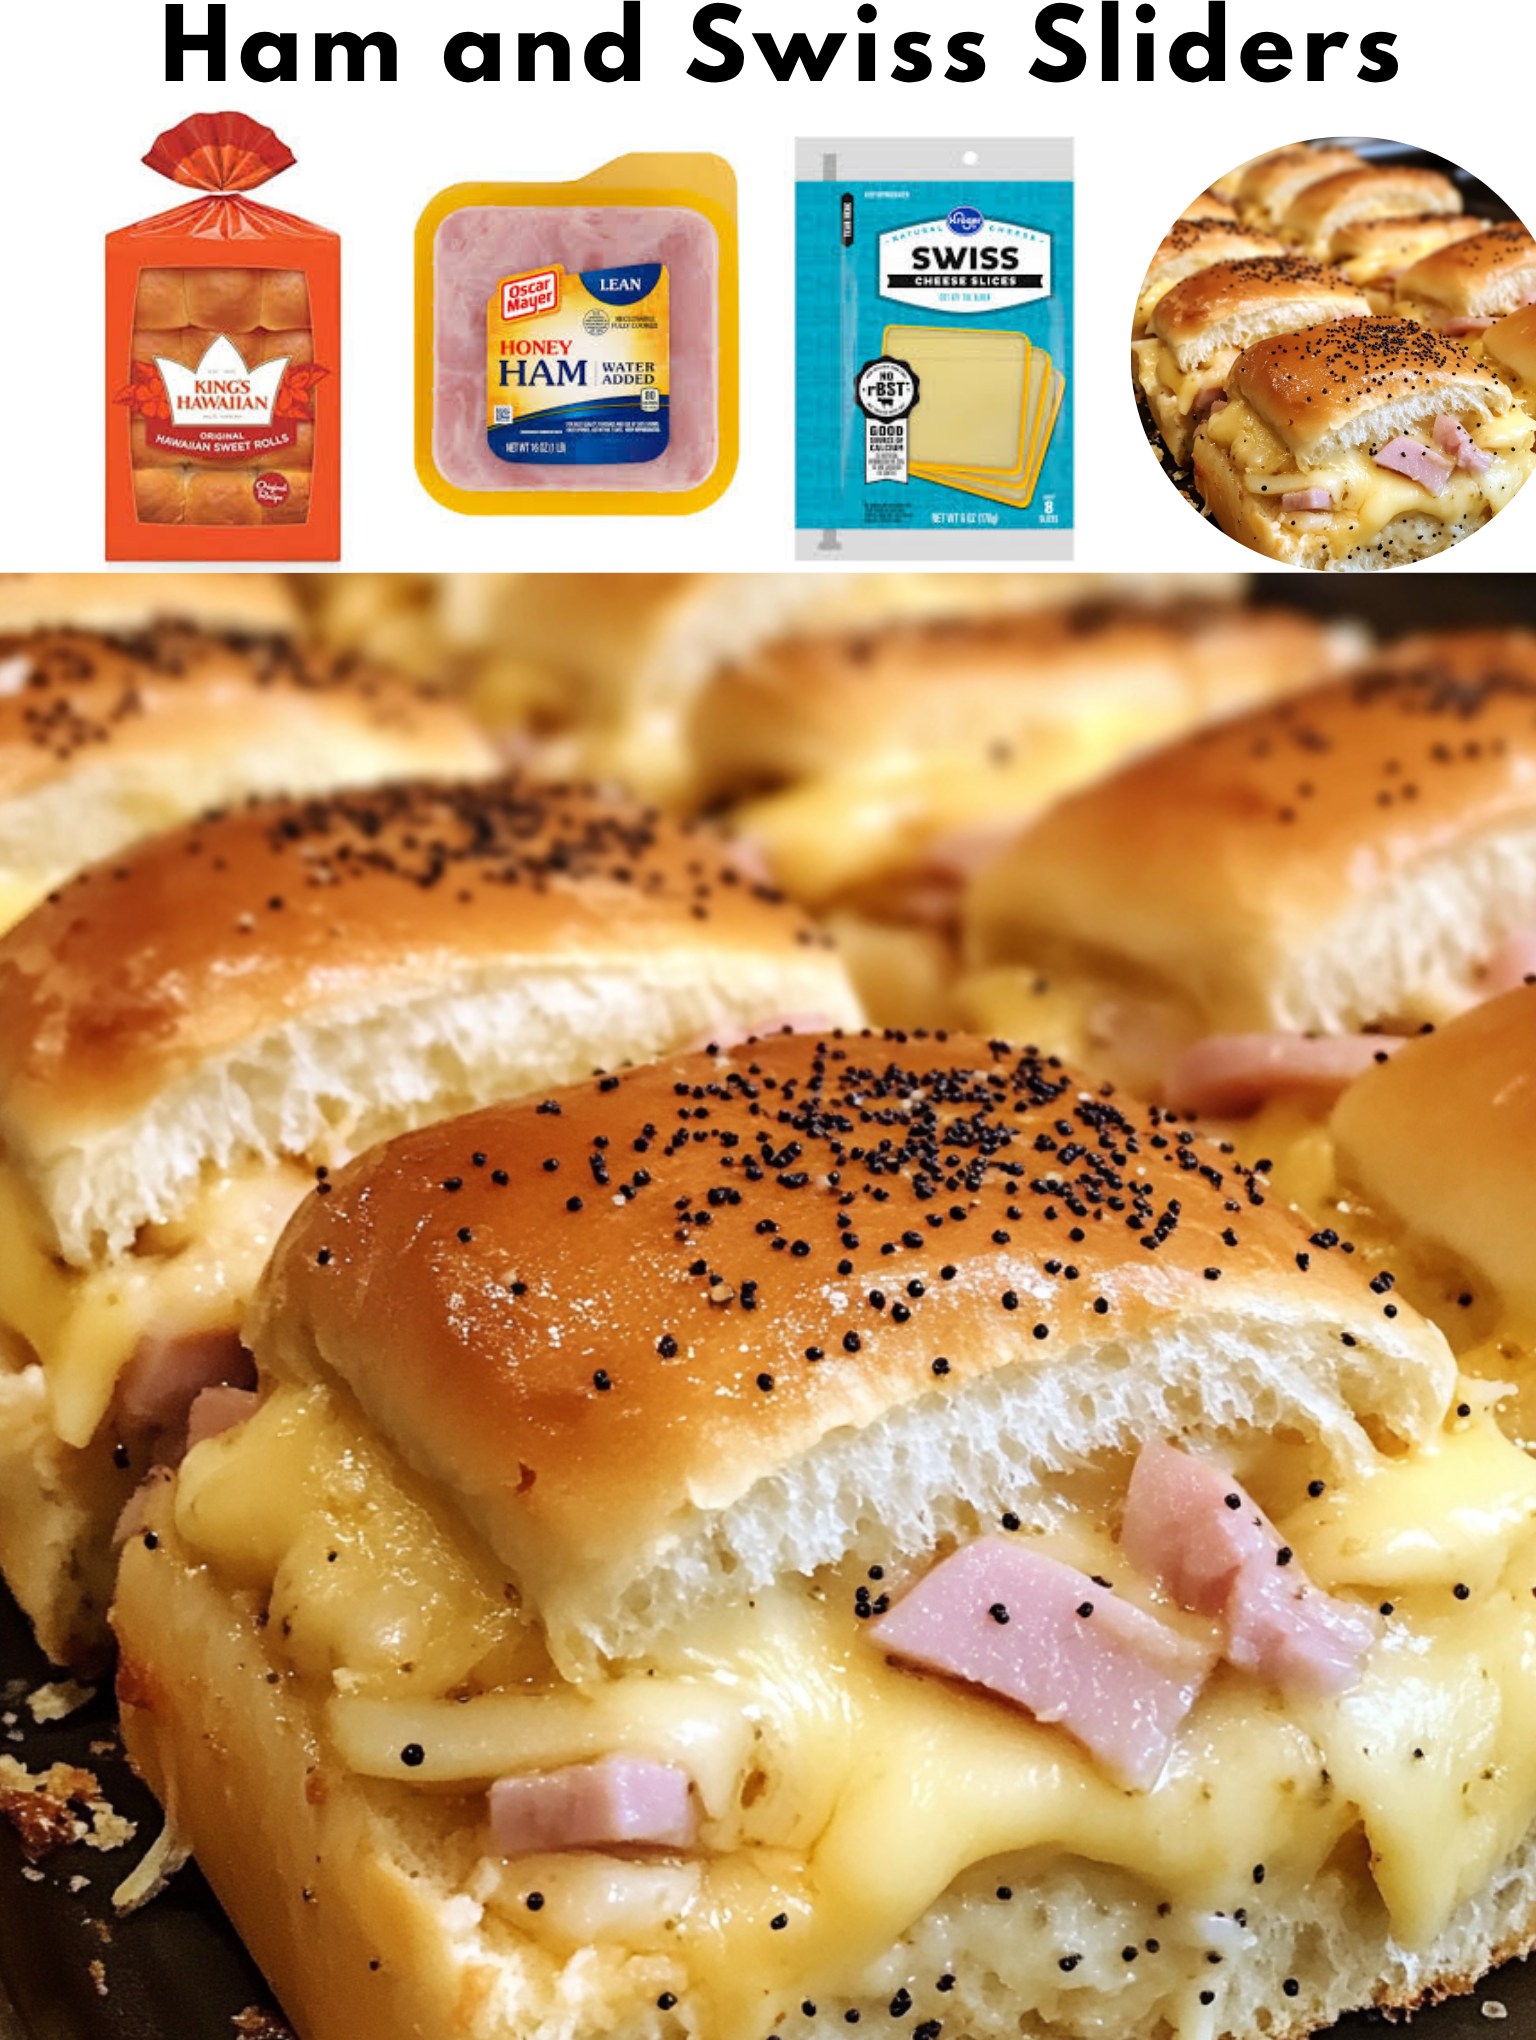
I tested the glaze application three different ways: just brushing the top, brushing before and after baking, and my recommended method of poking holes and drenching them before baking. The poke-and-drench method wins by a landslide. The rolls become unbelievably flavorful and tender all the way through, not just on the surface. The moisture from the glaze keeps them from getting dry or bready.
If you have a little extra time, a quick 30-minute covered rest on the counter before baking can work wonders. It lets the glaze really start to penetrate the rolls. I don’t always have the foresight to do this, but on the occasions I have, the sliders were even more cohesive and flavorful. It’s a great do-ahead trick if you’re planning for a party.
Common Mistakes to Avoid
The biggest mistake I made the first time was using cold, hard butter and trying to spread it on the rolls. Don’t do what I did! It tears the soft rolls and creates a greasy, uneven layer. Melting the butter and turning it into a seasoned glaze is the only way to go. It distributes the flavor evenly and gives you that gorgeous, glossy finish.
Another easy misstep is over-baking once the foil is off. We’re going for golden brown, not dark brown and crunchy. Watch them closely during that final 5-10 minute window. The edges will turn a perfect toasty color, and that’s your cue to pull them out. They continue to cook a bit in the hot pan, so erring on the side of slightly under-toasted is better than ending up with hard tops.
Serving Suggestions
I love serving these sliders straight from the baking dish, nestled in their own buttery juices. For a casual meal, I put the whole pan in the center of the table with a stack of napkins and let everyone dig in. The communal, hands-on feeling is part of the fun. It feels like a special treat, even though the work was so simple.
For a more complete plate, I always pair them with something fresh and crunchy to balance the rich, savory flavors. A simple tossed green salad with a bright vinaigrette is my go-to. The acidity cuts through the butter and cheese perfectly. A bowl of crisp pickle spears or some tangy marinated olives on the side are also fantastic, low-effort additions.
When I’m serving these for game day or a bigger gathering, I turn them into part of a spread. I’ll make a big pot of tomato soup for dipping (it’s a heavenly combo), put out a bowl of potato chips, and maybe a veggie platter. They are substantial enough to be the star, but they play very nicely with other casual fare.
Variations & Customizations
The beauty of this recipe is its flexibility. My favorite savory twist is the “Reuben” version. I swap the ham for thinly sliced corned beef, use Swiss cheese, and add a layer of well-drained sauerkraut. For the glaze, I mix a tablespoon of Thousand Island dressing into the butter mixture. It’s absolutely phenomenal and always gets rave reviews.
For a breakfast or brunch slider, I’ve had great success using scrambled eggs and cooked breakfast sausage patties (or crumbled bacon) inside, with cheddar cheese. I use the same butter glaze but sometimes add a dash of maple syrup to it. You assemble them the same way and bake until hot. They’re a fantastic make-ahead option for holiday mornings.
Don’t be afraid to play with the glaze, either. A friend of mine adds a tablespoon of brown sugar for a caramelized touch, and it’s delicious. I’ve stirred in a teaspoon of everything bagel seasoning instead of poppy seeds for a different flavor profile. If you want a kick, a few dashes of hot sauce in the butter blend works wonderfully. The basic method is your canvas.
How to Store, Freeze & Reheat
To store any leftovers (a rare occurrence in my house!), I let the sliders cool completely, then place them in an airtight container. They will keep in the refrigerator for up to 3 days. To reheat, I’ve found that the oven or a toaster oven is best to revive the texture. I wrap them in foil and warm at 300°F for about 10-15 minutes. The microwave works in a pinch, but it will make the rolls a bit soggy.
These sliders freeze surprisingly well! I assemble them completely, right up to pouring the glaze over, but I do not bake them. I wrap the entire dish tightly in a layer of plastic wrap and then a layer of heavy-duty foil before freezing for up to 2 months. When ready to bake, I don’t even thaw them. I just remove the plastic wrap, cover with the foil, and bake straight from frozen, adding about 10-15 minutes to the covered baking time. It’s the ultimate lifesaver for easy entertaining.
Conclusion
These Ham and Swiss Sliders have earned a permanent spot in my recipe rotation for their sheer reliability and crowd-pleasing power. They remind me that the best food doesn’t have to be complicated—it just has to be made with a little love (and a very good butter glaze). I hope you give them a try in your own kitchen and that they bring the same warmth, delicious smells, and happy, full bellies to your table as they have to mine. Happy cooking