Pro Tips for Best Results
I tested the water temperature three different ways. A kitchen thermometer is foolproof, but if you don’t have one, aim for water that feels warm to your wrist, like pleasant bath water. Too cold and the yeast sleeps; too hot and it dies. This is the single most common point of failure, so get this right. Also, don’t skip the second rise after shaping the balls. I once got impatient and baked them right away, and they were much denser and didn’t have that beautiful, open crumb texture. That final proof lets the gluten relax and gives the yeast one last burst of activity for an airy interior.
When it comes to kneading, time is a guideline, but texture is the law. You’re looking for that smooth, elastic, “windowpane” stage. To test, take a small piece of dough and gently stretch it. If you can stretch it thin enough to see light through it without it tearing immediately, you’re done. If it tears right away, knead for another 2-3 minutes and test again. This gluten development is what traps the gas from the yeast, creating those lovely air pockets.
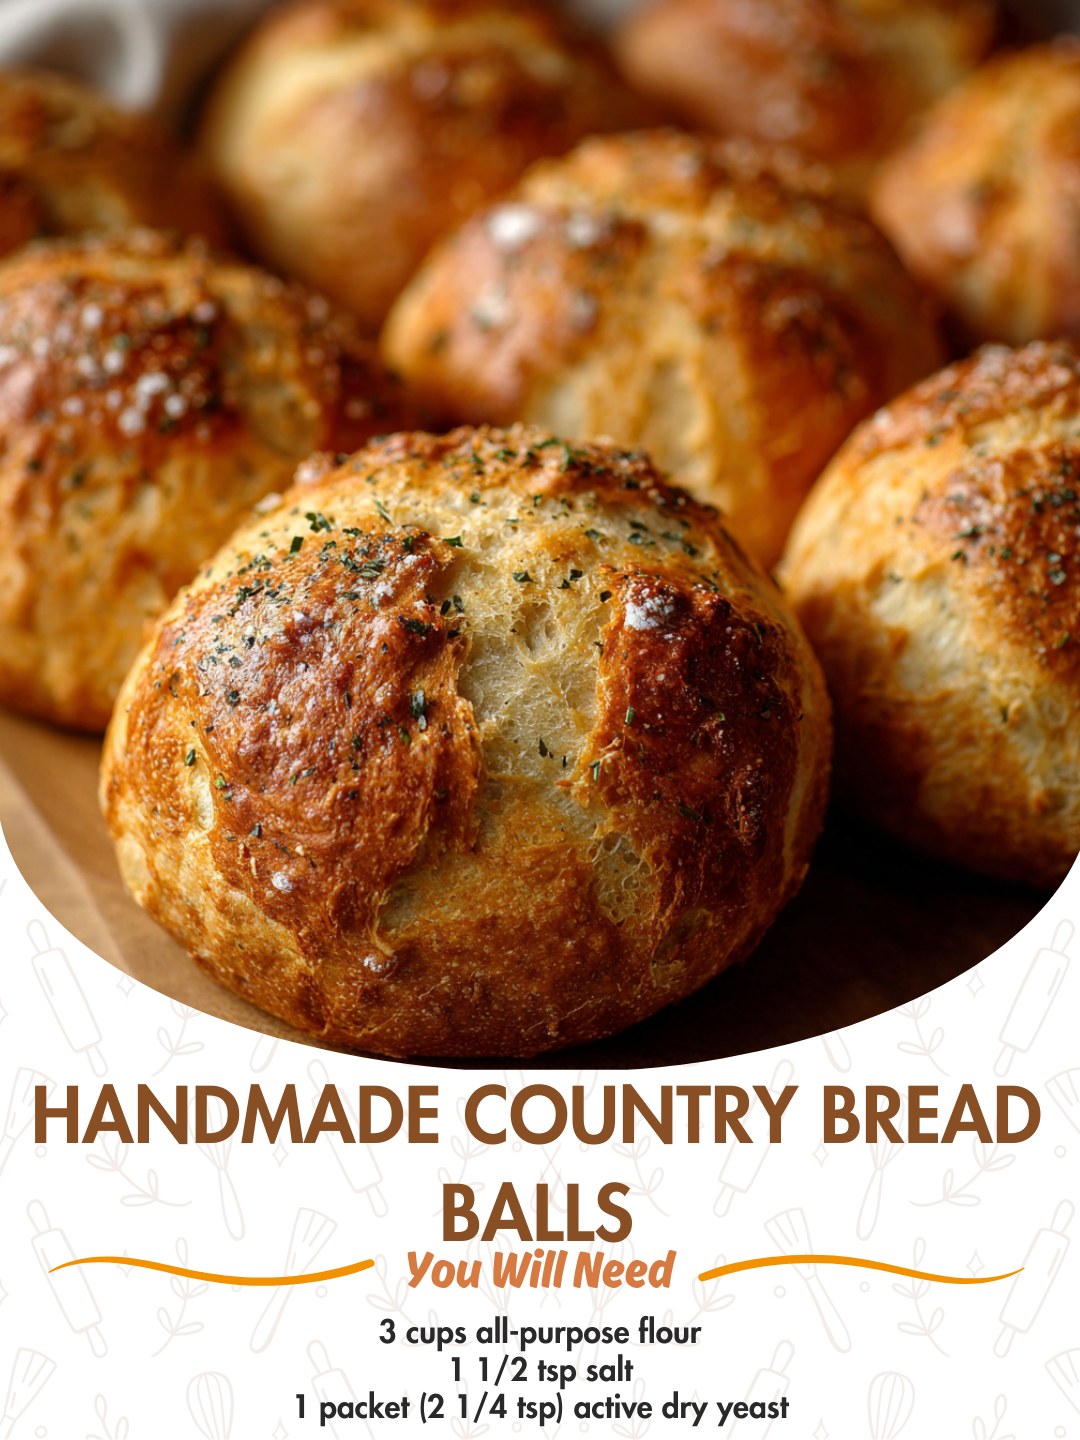
Finally, for that professional, crackly crust, steam is your best friend. My simple trick is to place an empty metal baking pan on the bottom rack while the oven preheats. When I load my bread balls, I carefully toss a handful of ice cubes into the hot pan and quickly shut the oven door. The instant steam creates the perfect environment for the crust to set and blister beautifully. Don’t be afraid of a dark, deep golden brown color—that’s where the flavor is.
Common Mistakes to Avoid
The first time I made these, I used all the flour at once without reserving any. The dough was so dry and tough it was nearly impossible to knead, and the resulting bread was dry. I learned to start with slightly less flour, adding the last ¼ cup only as needed during kneading. Flour hydration can vary based on humidity, so let the dough’s feel guide you, not just the cup measurement. It should be tacky but not stick relentlessly to your clean, floured hands.
Another mistake? Not letting the oven fully preheat. I was so excited once that I put the bread in when the oven said it was at temperature, but it hadn’t had time to truly heat the walls and rack. The bread didn’t get that vital “oven spring” (the initial big rise in the heat) and came out flat. Now, I always give my oven a solid 20-30 minutes to get roaring hot, and I use an oven thermometer to verify. It’s a small wait that guarantees a big result.
Serving Suggestions
I love serving these bread balls warm from the oven, piled high in a basket lined with a linen napkin. There’s nothing better than tearing one open, hearing the crust crackle, and slathering the steaming interior with good, salted butter that melts into all the nooks and crannies. It’s a simple, perfect moment. For a more substantial offering, I set out small bowls of high-quality olive oil for dipping, sprinkled with cracked black pepper and herbs.
For soup night, these are the ultimate companion. I make a big pot of creamy tomato soup or a hearty beef stew, and these bread balls are essential for sopping up every last drop. Their sturdy structure holds up beautifully without disintegrating. They also make fantastic mini sandwich rolls for sliders or are the ideal base for bruschetta, their crust providing a sturdy platform for ripe tomatoes and basil.
On my cheeseboard, a couple of torn bread balls add a wonderful homemade, rustic touch. Their mild, slightly sweet flavor pairs wonderfully with sharp cheddar, creamy brie, or tangy goat cheese. I often slice any leftovers from dinner thinly, toast them until crisp, and use them as crostini for appetizers the next day. Their versatility never ceases to amaze me.
Variations & Customizations
Once you’ve mastered the basic recipe, it’s so fun to play around. My favorite variation is a Garlic & Herb version. During the kneading stage, I incorporate 2-3 cloves of finely minced garlic and a tablespoon each of chopped fresh rosemary and thyme. The aroma while baking is absolutely divine. You can also roll the shaped balls in everything bagel seasoning or sesame seeds before the second rise for a delicious, textured crust.
For a Whole Wheat twist, I’ve successfully substituted up to 1 ½ cups of the all-purpose flour with whole wheat flour. The bread becomes heartier and nuttier, though I find the dough needs a touch more water, added a tablespoon at a time. Another stunning option is to create Stuffed Bread Balls. After dividing the dough, I flatten each piece, add a small cube of mozzarella and a basil leaf, or a spoonful of sundried tomato pesto, then seal the dough tightly around it before the final proof. A cheesy, surprise center is always a hit.
If you’re feeling adventurous, try shaping them differently. Instead of balls, you can form the divided dough into longer, oval rolls for a more traditional “batard” shape, or even braid a few strands together for a beautiful centerpiece loaf. The baking time may adjust slightly for larger shapes. The recipe is wonderfully forgiving and adaptable to your creativity.
How to Store, Freeze & Reheat
To store, I let the bread balls cool completely on a wire rack—trapping steam in a container is a recipe for a soggy crust. Once cool, I place them in a paper bag at room temperature for up to 2 days. For longer storage, a bread box is ideal. Avoid the fridge, as it accelerates staling. If the crust softens, a 5-minute reheat in a hot oven will bring back its crackle.
For freezing, these are champions. I wrap each completely cooled bread ball individually in plastic wrap and then in foil before placing them in a freezer bag. They keep beautifully for up to 3 months. To reheat, I don’t even thaw them. I unwrap a frozen ball, place it directly on the oven rack at 350°F (175°C), and bake for 15-20 minutes until heated through and crisp. It tastes nearly as good as the day it was baked, making future-you very, very happy.
Conclusion
Baking these Handmade Country Bread Balls has become one of my most cherished kitchen routines. It’s a process that asks for your attention and rewards you with something truly magical—the pride of creation and the profound comfort of simple, beautiful food. I hope you’ll give it a try, embrace the messiness of the dough, and fill your own home with that incredible smell. Trust me, there’s no better feeling than breaking bread you made with your own two hands. Happy baking