Equipment Needed
- 9×13 inch baking pan
- Parchment paper or non-stick spray
- Large mixing bowl
- Whisk
- Rubber spatula
- Electric hand mixer or stand mixer (for frosting)
- Measuring cups and spoons
- Cooling rack
Step-by-Step Instructions
I always start by preheating my oven to 350°F (175°C) and lining my 9×13 pan with parchment paper, leaving a little overhang on the sides. This little trick is a lifesaver for clean slices and easy removal later. Then, in one large bowl, I whisk together the flour, sugar, baking soda, and salt. No need for a separate bowl for wet ingredients here—this is a wonderfully simple “dump cake” method. I make a well in the center and crack in the eggs, add the vanilla, and pour in the entire can of crushed pineapple with all its glorious juice.
Now, this is where you need to switch from whisking to folding. Using a sturdy spatula, gently mix everything together until just combined. The batter will be thick and lumpy with pineapple, and that’s exactly what you want. Overmixing is the enemy of a tender cake. If I’m using nuts, I fold them in now. Then, I scrape the batter into the prepared pan and spread it evenly to the corners. It bakes for 35-40 minutes, but I start checking at 30. You’ll know it’s done when the top is a gorgeous golden brown and a toothpick inserted in the center comes out clean or with just a few moist crumbs.
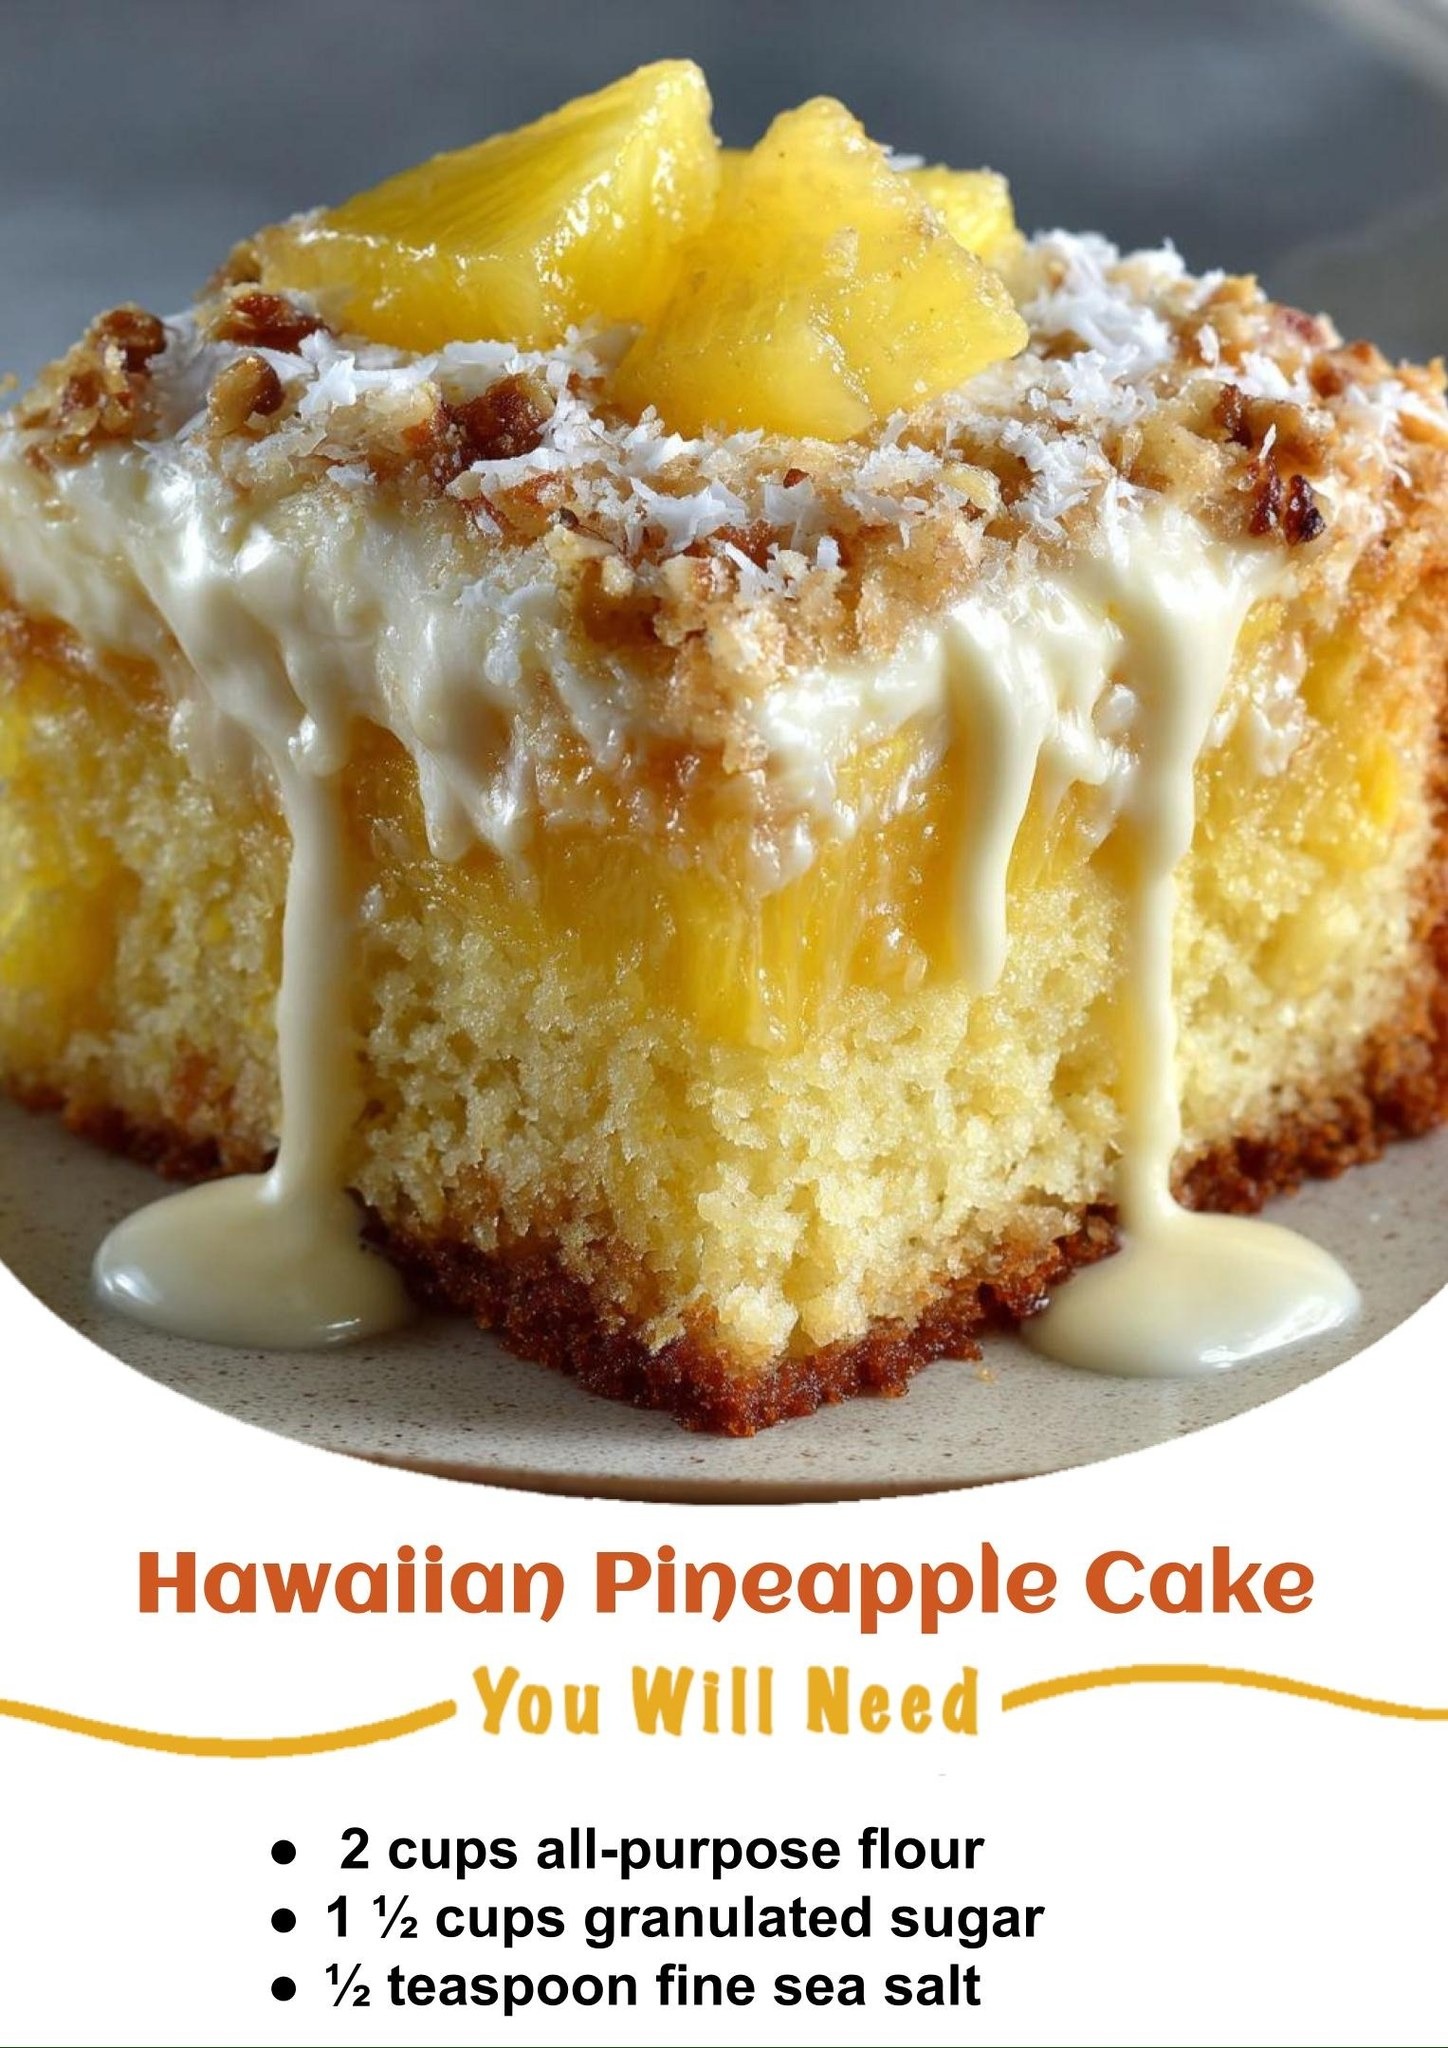
While the cake cools completely on a rack—and I mean completely, this is crucial—I make the frosting. I learned the hard way that frosting a warm cake is a recipe for a melted, sliding mess. For the frosting, I beat the softened cream cheese and butter together with my mixer until it’s perfectly smooth and fluffy, about 2 minutes. Then, I gradually add the sifted powdered sugar, vanilla, and pinch of salt, beating on low at first to avoid a sugar cloud, then on high until it’s dreamily light and spreadable.
Once the cake is totally cool to the touch, I spread the frosting over the top in swoops and swirls. Sometimes I’ll sprinkle a few extra chopped nuts or even some toasted coconut on top for texture. Then comes the hardest part: waiting. I find the flavors meld and become even more incredible if you let it sit for at least an hour before cutting. But I won’t judge if you sneak a corner slice early—I’ve done it more times than I can count.(See the next page below to continue…)