Finally, for serving, I line up my glasses—I love a classic champagne flute for elegance, but coupe glasses are a fun vintage touch. I carefully pour the cocktail from the pitcher into each glass. You’ll see the bubbles dance and carry that incredible color up. I like to give each glass a very light, almost imperceptible swirl as I set it down to just encourage unity. That’s it! You have a stunning, fizzy, festive drink that took you two minutes of active work.
Pro Tips for Best Results
Temperature is your best friend here. I cannot stress this enough: every single component must be cold. I chill the juices, the liqueur, the pitcher, and the sparkling wine. When I didn’t do this once, using a room-temperature sparkling wine, the batch went flat in minutes and tasted oddly warm. It was a sad moment. A uniformly cold start ensures the bubbles last longer and every sip is crisp and refreshing, just as a mimosa should be.
I’ve tested the mixing process three different ways: adding champagne to each glass individually, stirring the whole batch vigorously, and my preferred gentle-pour method. Adding to each glass is fine for a couple of drinks, but for a batch, it’s fussy and inconsistent. The vigorous stirring, as I mentioned, is the enemy of bubbles. The gentle pour from the bottle into the pre-mixed juices in the pitcher is the perfect compromise—it mixes enough without beating the life out of your sparkling wine.
If you’re pre-mixing the juice base ahead of time, do not add the sparkling wine until the absolute last minute. I made this mistake for a New Year’s Eve party, thinking an hour ahead would be fine. The result was a completely flat cocktail by midnight. The juice base can wait for days, but the champagne should wait mere moments. Treat it like a VIP guest that arrives right as the party starts.
Common Mistakes to Avoid
The biggest mistake I made, especially early on, was using the wrong ratio of juice to sparkling wine. I thought more juice would make it go further, but it just made a cloyingly sweet, flat fruit punch. The beauty of a mimosa is the lift and dryness from the bubbles cutting through the fruit. Sticking to this recipe’s proportions, which I’ve honed over many batches, creates the perfect harmony. It’s bright, festive, and still nicely effervescent.
Another classic error is overhandling the drink. This isn’t a cocktail that needs to be shaken or stirred hard once the champagne is in. I see people dunking a spoon in and swirling it around aggressively, and it makes me cringe a little. You’ve invited these delicate bubbles to the party; let them do their thing! Pour gently, serve immediately, and let your guests enjoy the lively texture. Treat it with a light touch, and it will reward you.
Serving Suggestions
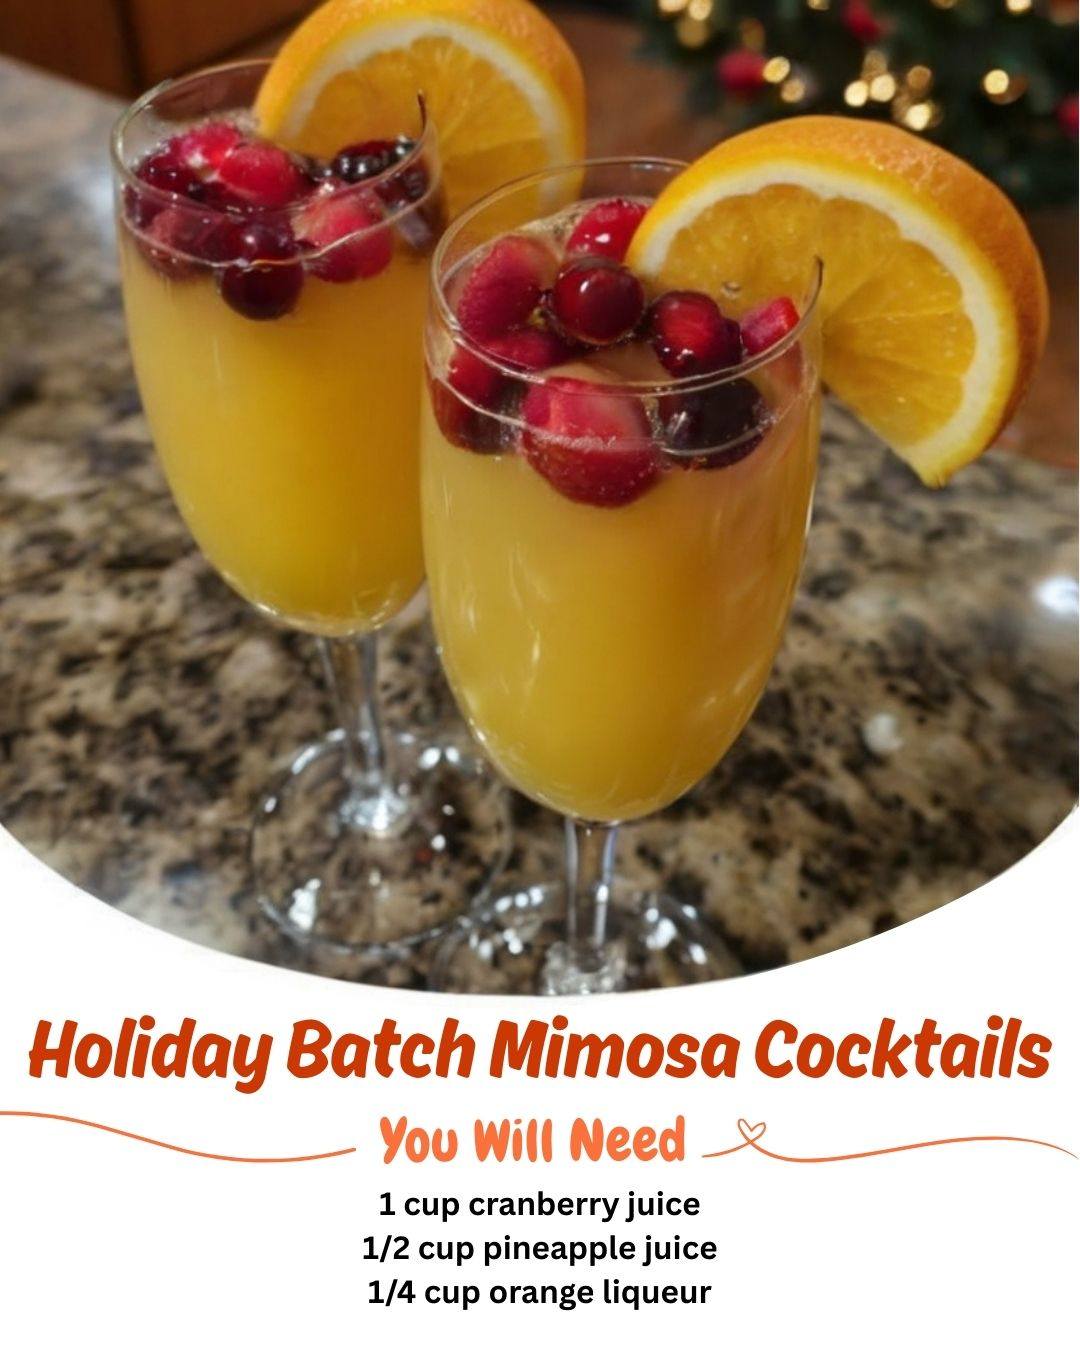
I love serving this batch directly from a beautiful glass drink dispenser set on a table alongside the glasses. It becomes a self-serve centerpiece. On the side, I’ll put out a small bowl of frozen cranberries and pineapple chunks—they act as gorgeous, non-diluting ice cubes that guests can add to their glass. A few fresh rosemary sprigs nearby for garnishing add an incredible aromatic wintery note that plays off the cranberry perfectly.(See the next page below to continue…)