Pro Tips for Best Results
I tested the simmering time three different ways: 15 minutes, 30 minutes, and an hour. The 15-minute version tasted good but a bit simplistic, like separate ingredients in a pot. The hour version was fantastic, but for a hot dog topping, the 30-45 minute sweet spot is perfect. It thickens to the ideal “spoonable” consistency without reducing so much that it becomes a paste. This is the timing I stick with every time now.
Here’s what I learned the hard way about the mustard: use plain yellow mustard. I once tried Dijon in a pinch, thinking it would be more “gourmet,” and its sharp, white-wine flavor completely clashed with the other ingredients. The humble yellow mustard provides the right tang and acidity without overpowering. It’s a background note that ties everything together, so stick with the classic.
For the absolute best texture, take a minute to really break up the ground beef into very small, fine crumbles as it cooks. I use my wooden spoon and a sort of pressing and chopping motion. A chunky, loose meat sauce will slide right off a hot dog. You want it almost to have a slightly “Sloppy Joe” consistency, where it mounds and stays put on the bun. This small effort in the browning stage pays off big time when you serve it.
Common Mistakes to Avoid
The biggest mistake I made the first time was adding salt too early. I seasoned the beef heavily while browning it, and then again after adding the broth and tomato products. By the time it finished simmering and reducing, it was painfully salty. Now, I only add a small pinch while browning and do the real salting at the very end, after I can taste the reduced sauce. Remember, broths and sauces reduce and concentrate, so their saltiness intensifies.
Another common pitfall is rushing the initial cook on the onions and spices. If you crank the heat too high to speed things up, you’ll likely burn the onions or, worse, the garlic and spice-tomato paste mixture. Burnt garlic is irredeemable and will make your whole pot taste bitter. A medium heat, a little patience, and constant stirring during these foundational steps guarantee a sweet, deeply flavored base for your chili. Trust me, do not rush this part.
Serving Suggestions
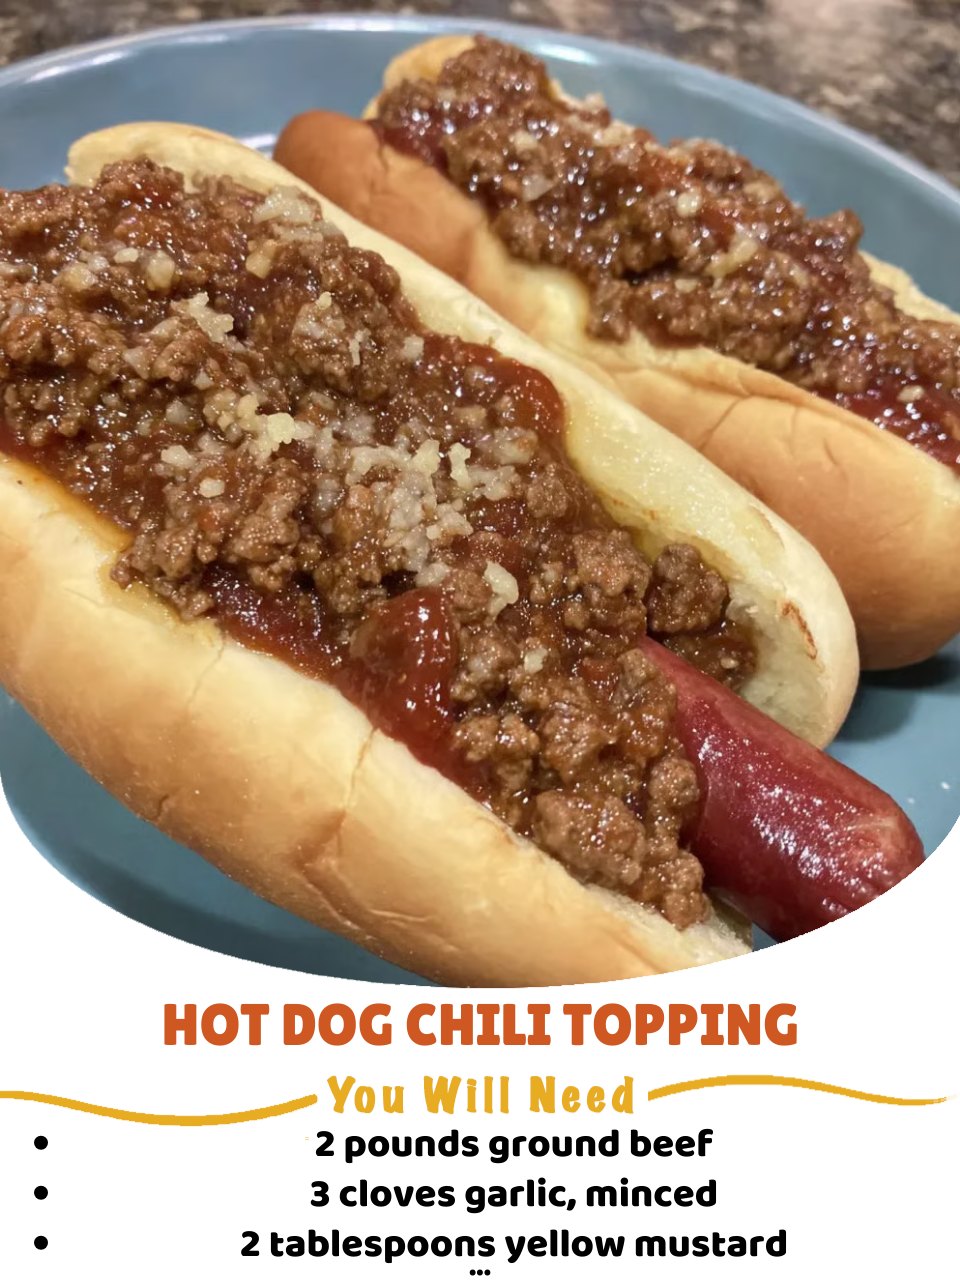
I love serving this chili piled high on a classic beef hot dog in a soft, steamed bun. The contrast of the cool, crisp toppings with the warm chili is divine. My personal favorite setup is a layer of creamy coleslaw right on the bun, then the dog, a generous ladle of chili, a sprinkle of sharp shredded cheddar cheese, and a few diced raw white onions for crunch. The coleslaw might sound unusual, but its creaminess and slight sweetness cut through the richness perfectly.
For a classic “chili cheese dog” experience, I simply top the chili with a handful of shredded cheese and pop the whole assembled dog under the broiler for just a minute until the cheese is melty and bubbly. It gets wonderfully messy in the best possible way. I always serve these with plenty of napkins and cold drinks on the side. The chili is also fantastic served over a pile of crispy French fries or crispy tater tots for the ultimate comfort food “chili cheese fries.”
Don’t limit this to just hot dogs! I often use any leftovers as a topping for baked potatoes, or even as a quick sloppy joe filling on a hamburger bun. It’s incredibly versatile. For a fun party idea, I’ll set up a “chili dog bar” with bowls of this warm chili, different sausages (brats, Italian), an array of cheeses, onions, jalapeños, and condiments. It lets everyone build their perfect creation and is always a huge hit.
Variations & Customizations
This recipe is a wonderful canvas. For a “Cincinnati-Style” twist, I’ll stir in a teaspoon of unsweetened cocoa powder and a pinch of cinnamon with the spices, and use a touch more brown sugar. It creates a complex, slightly sweet, and earthy flavor that’s really special. I’ve also added a tablespoon of apple cider vinegar at the end for extra tang, which brightens the whole dish beautifully.
If you love heat, the customization is easy. I’ve added a finely diced jalapeño (seeds and all) with the onions, or swapped the cayenne for a chipotle pepper in adobo, finely minced. The chipotle adds a wonderful smoky heat. For my friend who doesn’t eat beef, I’ve successfully made this with ground turkey or a plant-based ground meat alternative. Just be sure to add an extra tablespoon of olive oil when browning, as they tend to be leaner.
I’ve seen others add a can of drained kidney beans to make it a heartier, fork-and-knife chili dog, and while that’s not my personal preference for a topping, it’s delicious. You can also play with the liquid—substituting a dark beer or coffee for half of the beef broth adds a fantastic deep, roasted note. I tried the beer version for a football Sunday, and the adults loved it. The possibilities are endless.
How to Store, Freeze & Reheat
In my experience, this chili tastes even better the next day after the flavors have fully settled. I let it cool completely, then store it in an airtight container in the refrigerator. It keeps beautifully for up to 4 days. To reheat, I simply scoop what I need into a saucepan, add a tiny splash of water or broth to loosen it up, and warm it gently over medium-low heat, stirring often. You can also microwave it in a covered bowl, stirring every 30 seconds.
This chili freezes exceptionally well, which is why I often double the batch. I portion cooled chili into freezer-safe bags or containers, leaving a little space for expansion, and freeze for up to 3 months. To thaw, I leave it in the refrigerator overnight. The reheating process is the same, though you may need to add a bit more liquid as it can thicken up. I’ve found that freezing does not diminish the flavor at all—it’s a lifesaver for quick, delicious meals.
Conclusion
This hot dog chili topping recipe is more than just a condiment in my home; it’s a little pot of memories waiting to be made. It’s the taste of sunny afternoons, cheering for our team, and feeding the people I love with something made entirely by hand. I hope it brings as much joy and flavor to your table as it has to mine. Give it a try, make it your own, and get ready for the compliments. Happy cooking