After making the crust, I grab my electric mixer and beat the softened cream cheese and granulated sugar until it’s creamy and smooth. This usually takes about 2-3 minutes. I then carefully add in the eggs, one at a time, mixing well after each addition, followed by the vanilla extract. As I pour in the melted semi-sweet chocolate, the mixture transforms into a decadent chocolate cheesecake batter that I can’t resist tasting (just a spoonful, of course!). Now, I pour this luscious batter over the prepared crust, smoothing it out evenly.
Next, I bake the bars in my preheated oven for about 30-35 minutes, keeping a close eye on them. They’re ready when the edges are set, and the center has a slight jiggle. Once they’re out of the oven, I let them cool at room temperature before refrigerating them for a few hours (if I can wait that long!). The chill only enhances the flavors as they meld together beautifully.
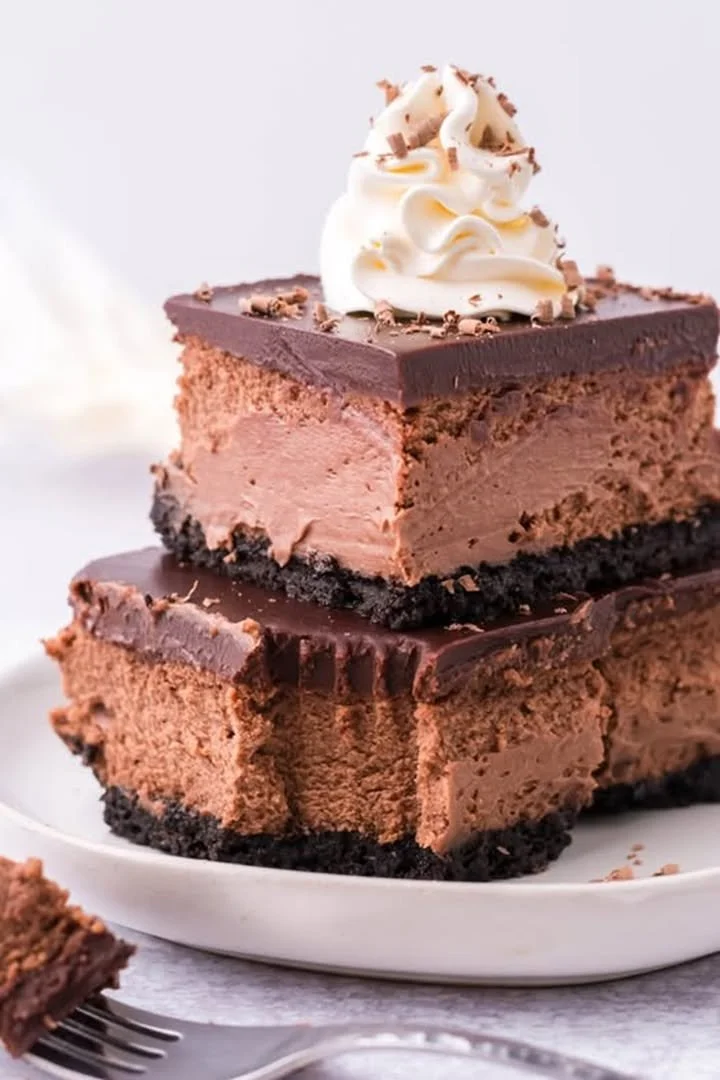
Finally, when it’s time to serve, I cut the bars into squares and top them with fresh strawberries or raspberries for a lovely pop of color and a burst of freshness. Trust me; these little bites of heaven will make anyone’s heart skip a beat!
Pro Tips for Best Results
1. I tested this recipe using different types of chocolate, and I found that semi-sweet chocolate gives the best balance of sweetness and richness. Milk chocolate can be a bit too sweet, while dark chocolate might be too intense for some palates. Choose what you love!
-
Always make sure your cream cheese is at room temperature. I learned this the hard way—no one likes lumpy cheesecake! To speed up the process, cut the cream cheese into cubes and let it sit out for about 15-20 minutes before mixing.
-
For an extra creamy texture, avoid over-mixing after adding the eggs. Over-mixing can introduce too much air into the batter, leading to cracks on the surface while baking. I gently fold in the eggs just until combined, and it always turns out beautifully!
Common Mistakes to Avoid
One common mistake is not letting the cheesecake bars cool completely before cutting. If you dive in too early, you risk a gooey mess instead of clean slices. I learned this the hard way — patience really is a virtue in baking! (See the next page below to continue…)
Another thing to watch out for is baking the bars at too high of a temperature. It’s tempting to rush the process, but cheesecakes need gentle heat to set properly. My advice? Stick to the temperature indicated in the recipe for the best results.
Also, don’t skip the chilling step after baking. Allowing the bars to cool in the fridge not only firms them up but also enhances the flavors. I promise the wait will be worth it!
Lastly, be careful with your crust. If you press it too lightly, it can crumble when you try to cut the bars. I like to use the bottom of a measuring cup to really pack it down firmly!