Pro Tips for Best Results
Letting the dough rest for just 10 minutes after mixing is a little trick I picked up. I simply cover the bowl with a towel while I finish cleaning up or prepping the pan. This brief rest allows the flour to fully hydrate, resulting in a more consistent texture and a better flavor. I tested this side-by-side, and the rested dough baked into a bar with a more even crumb.
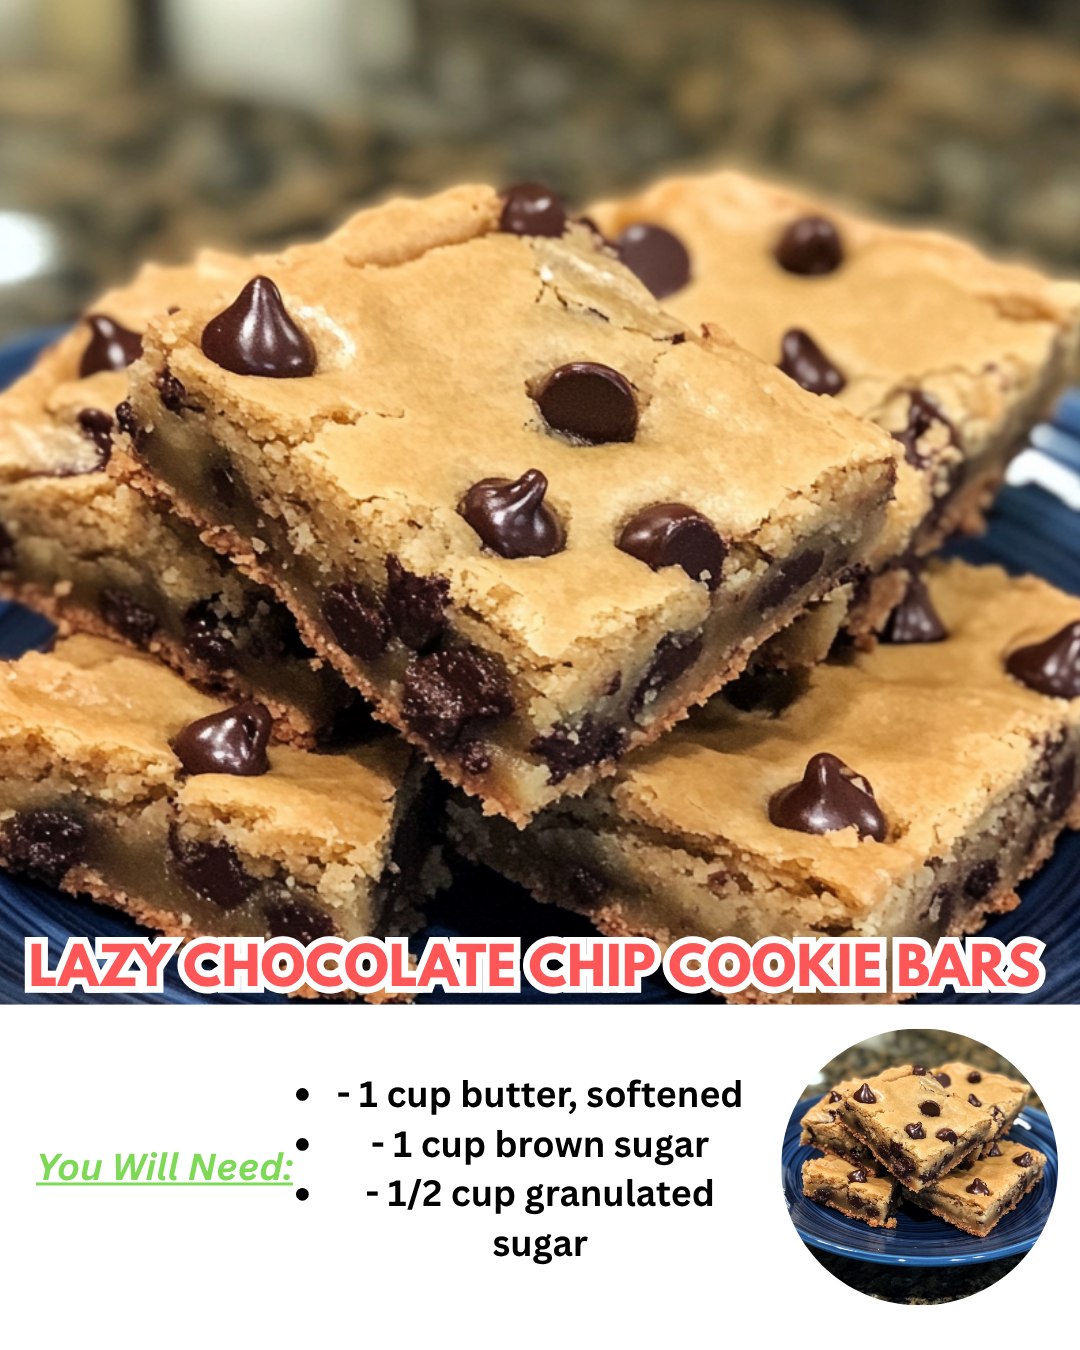
For the ultimate chewy-to-crispy ratio, use a glass or ceramic pan if you have one. Metal pans conduct heat faster and can lead to darker, crispier edges more quickly. My ceramic pan gives me that perfect golden edge with a fabulously gooey center every single time. It’s my preferred vessel for this recipe.
Finally, for picture-perfect slices, use a sharp chef’s knife and wipe it clean with a hot, damp cloth between each cut. The chocolate chips are molten when warm and will smear everywhere. Cooling completely is step one, but a clean knife is step two to getting those gorgeous, defined layers in every square.
Common Mistakes to Avoid
The biggest mistake I made early on was not properly creaming the butter and sugars. I’d get impatient and mix them for maybe 45 seconds. The result was a denser, more crumbly bar that lacked that lovely lift. Take the full two minutes—set a timer! You’ll see the color lighten and the texture become almost like a smooth frosting. This foundational step makes all the difference.
Another pitfall is overbaking. Because it’s a large pan, it’s easy to think it needs longer than it does. The bars will continue to cook from residual heat as they cool. If you wait until the center looks completely firm in the oven, you’ve gone too far. Look for that set edge and a slightly jiggly, soft center. It should smell incredible and be just turning golden. Remember, you can always bake it a minute more, but you can’t undo an overbaked batch.
Serving Suggestions
I love serving these bars just barely warm with a big scoop of vanilla ice cream on top. The contrast of the cold, creamy ice cream melting into the warm, chocolatey bar is pure bliss. It turns a simple snack into a decadent dessert that always impresses guests. I’ve even drizzled a little caramel sauce over the top for special occasions—it’s divine.
For a casual treat, I cut them into smaller squares and pile them on a plate for friends and family to grab. They are the ultimate potluck or bake sale item because they travel so well and don’t require any fussy plating. I often pack them in my kids’ lunches (they are the heroes of the lunchroom), or keep them under a cake dome on the counter for afternoon coffee.
If I’m feeling extra, I’ll sprinkle a little flaky sea salt over the top of the bars as soon as they come out of the oven. The tiny crystals stick to the surface and create this incredible sweet-and-salty bite that elevates the whole experience. A little chopped toasted pecans or walnuts sprinkled on top before baking is another fantastic way to add texture and depth.
Variations & Customizations
One of my favorite twists is the “Kitchen Sink” bar. I’ll fold in 1 cup of chocolate chips, 1/2 cup of butterscotch chips, and 1/2 cup of toasted pecans. The combination of flavors and textures is absolutely incredible. It feels like a completely different, and supremely indulgent, treat. I’ve also used peanut butter chips instead of chocolate chips for a rich, nutty flavor that my husband adores.
For a seasonal spin, try adding 3/4 cup of dried cranberries and 1/2 cup of white chocolate chips. The tartness of the cranberries cuts through the sweetness beautifully. Around the holidays, I’ll even add a teaspoon of orange zest to the dough for a festive, citrusy note. It makes the whole house smell like Christmas.
If you’re a fan of texture, try using 1 cup of semi-sweet chips and 1 cup of dark chocolate chunks. The chunks create those irresistible, melty pools of chocolate. You can also swap out 1 cup of the all-purpose flour for whole wheat pastry flour; it adds a subtle nuttiness and makes them feel a tad heartier without sacrificing tenderness.
How to Store, Freeze & Reheat
To store, I keep the bars right in the pan, covered tightly with foil or plastic wrap, at room temperature for up to 4 days. They stay wonderfully soft and chewy. I do not recommend refrigerating them, as it dries them out and changes the texture of the chocolate. I learned this the hard way after a batch turned disappointingly hard in the fridge.
For freezing, they are a dream. I cool them completely, cut them into squares, and wrap each square individually in plastic wrap before placing them in a large freezer bag. They freeze solidly for up to 3 months. To enjoy, I simply let a square thaw on the counter for an hour, or I’ll pop it, unwrapped, in the microwave for 15-20 seconds. That quick zap gives you that just-baked, warm-and-gooey experience all over again. It’s my secret for always having a homemade dessert on hand.
Conclusion
These Lazy Chocolate Chip Cookie Bars have become my go-to recipe for a reason. They are the embodiment of simple, heartfelt baking. They fill your home with the best smell, bring smiles with every bite, and remind you that the coziest treats don’t have to be complicated. I hope this recipe finds its way into your kitchen and becomes a cherished, easy favorite for you, just as it has for me. Now, go preheat that oven—your new favorite dessert is waiting.