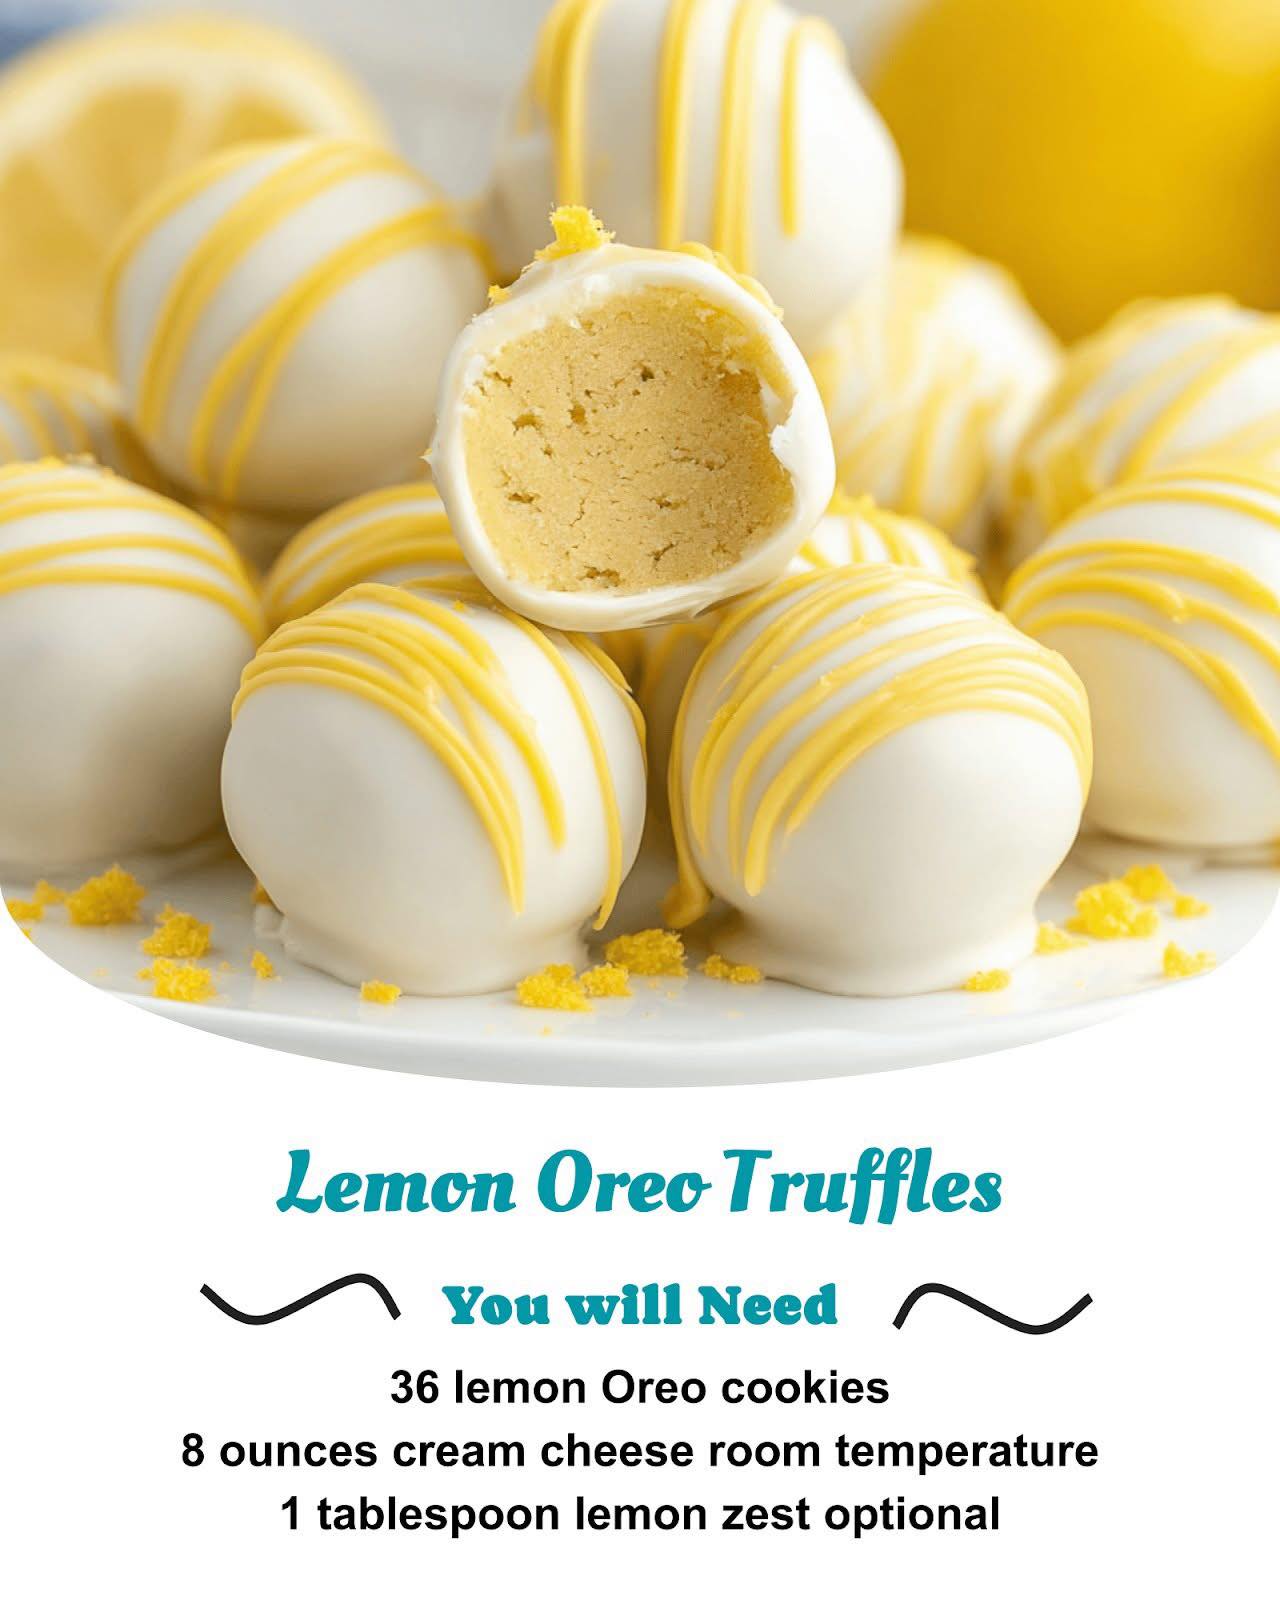
Step-by-Step Instructions
First, we transform those cookies. Pulse all 36 Lemon Oreos—filling and all—in your food processor until you have a texture like fine, dark sand. You should have no identifiable cookie pieces left. I once rushed this step and had chunky bits, which made rolling later a lumpy nightmare. Dump these gorgeous, fragrant crumbs into your large mixing bowl. To that, add your room-temperature cream cheese and that glorious tablespoon of fresh lemon zest. This is where I break out my hand mixer on low speed, blending until every last crumb is moistened and the mixture comes together into a cohesive, slightly sticky dough that smells like a lemon dream. It will look dubious at first, but trust the process.
Next, it’s time to roll. Using a tablespoon or a small cookie scoop, portion out the dough. I roll each portion firmly between my palms to form a smooth, one-inch ball. A pro-tip I learned after sticky fingers: if the dough is too soft to handle, pop the whole bowl into the fridge for 20-30 minutes. It firms up perfectly. Place each ball on your parchment-lined baking sheet. Once they’re all rolled, you need to chill them thoroughly—I’m talking at least an hour in the freezer, or two in the fridge. This step is critical. If the centers aren’t firm, they’ll fall apart when you dip them later. I learned this through a tragic, melted-chocolate puddle incident.
Finally, the coating. Melt your chosen coating (I adore white chocolate for these) in a microwave-safe bowl in 30-second bursts, stirring vigorously between each. This prevents seizing. Using a fork or a dipping tool, lower a chilled truffle into the chocolate, tap off the excess, and gently slide it back onto the parchment. If you’re adding sprinkles or extra zest, do it immediately before the chocolate sets. Then, let them set completely at room temperature until the shell is hard. The anticipation of that first bite is pure torture in the best way.
Pro Tips for Best Results
Let your cream cheese truly come to room temperature. I’ve made this recipe with cream cheese straight from the fridge, and it resulted in a lumpy, uneven mixture that was impossible to blend smoothly without overworking it. Taking the time to let it soften on the counter for an hour ensures a silky, homogenous dough that rolls like a dream. It’s a small wait that pays off hugely in texture.
When rolling, don’t be afraid to apply some pressure. A loose, lightly formed ball is more likely to crack or fall apart. I make a gentle but firm pressing motion with my palms, almost like I’m compacting the dough slightly. This creates a denser, smoother truffle that holds its shape beautifully during the dipping process. If you see cracks, just smooth them over with your finger—the dough is very forgiving.
For a flawless chocolate shell, ensure your truffle centers are cold and your melted coating is just barely warm. I tested this three different ways: with frozen centers and hot chocolate (shell cracked), room-temp centers and warm chocolate (messy meltdown), and the goldilocks zone of cold centers and fluid but not-hot chocolate. That last combo gives you a smooth, quick-setting shell that doesn’t melt the interior. If your chocolate is too thick, a tiny teaspoon of coconut oil can thin it perfectly.
(See the next page below to continue…)