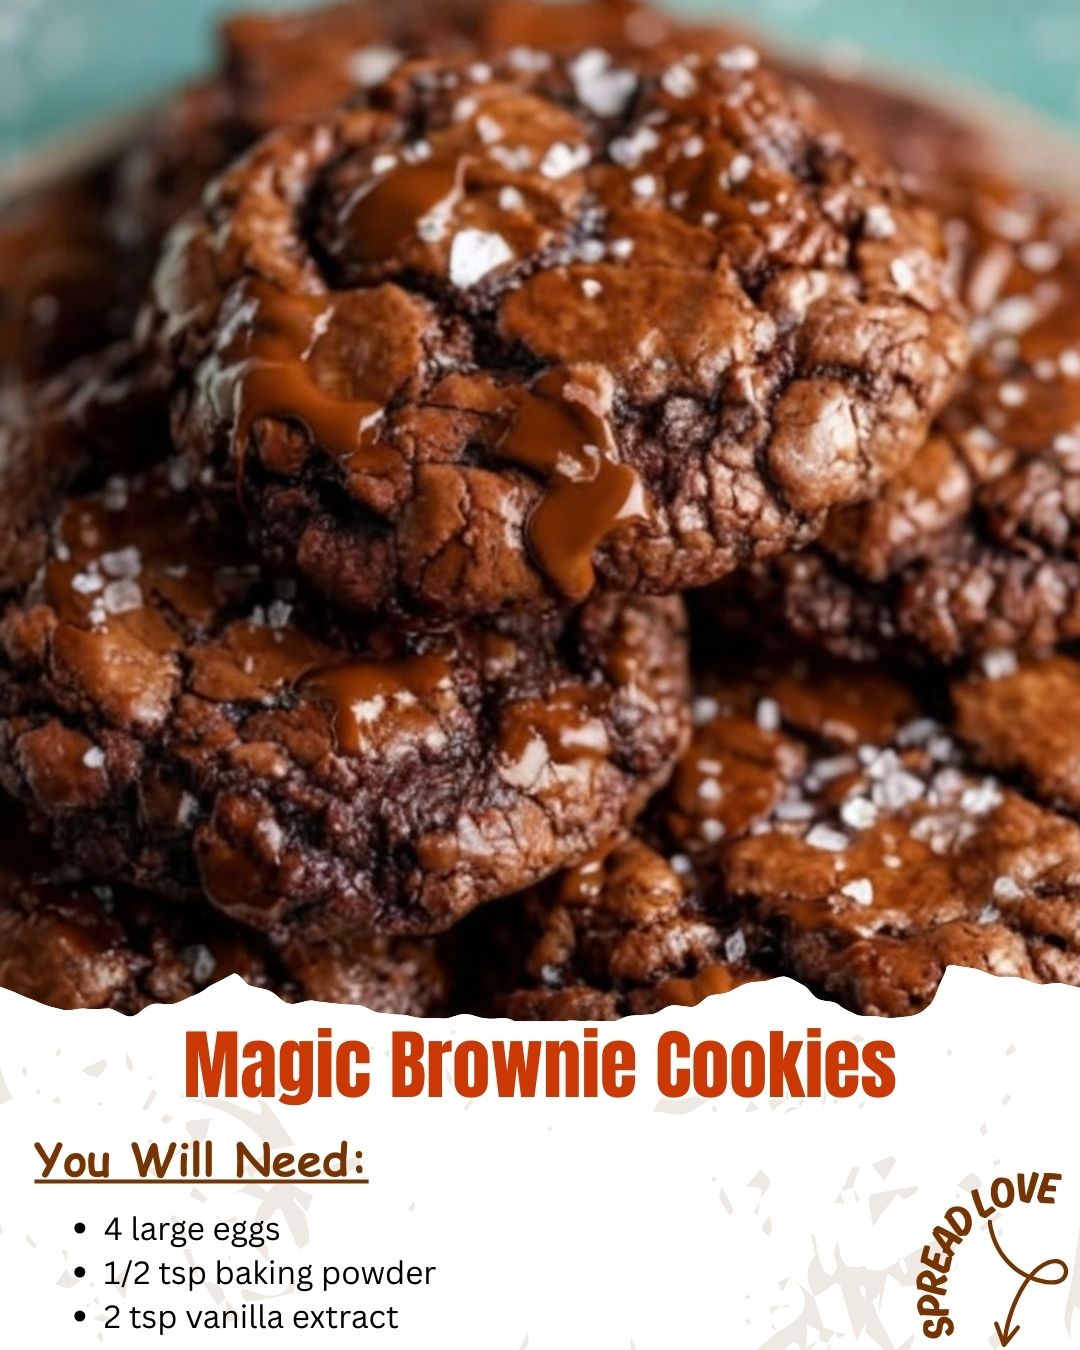
The first time I pulled a tray of these Magic Brownie Cookies from my oven, my entire kitchen filled with the deepest, richest chocolate aroma imaginable. It was like someone had bottled the essence of the most decadent brownie and wafted it through the air. I had been on a mission to create a cookie that delivered the dense, fudgy heart of a brownie with the charming, chewy-edged personality of a cookie. After a few, let’s call them “learning experiences,” I finally landed on this recipe. It’s now my absolute go-to when I need a chocolate fix that feels both nostalgic and spectacularly indulgent. Trust me, one bite of these, and you’ll be just as smitten as I am.
Ingredients
- 4 large eggs
- 1/2 tsp baking powder
- 2 tsp vanilla extract
- 1 cup (2 sticks) unsalted butter
- 1 ¼ cups granulated sugar
- ¾ cup packed brown sugar
- 1 cup unsweetened cocoa powder (Dutch-process is my favorite here)
- 1 ½ cups all-purpose flour
- ½ tsp salt
- 2 cups semi-sweet chocolate chips
Let’s talk ingredients for a second because a few choices here make a world of difference. First, using both granulated and brown sugar is non-negotiable. The brown sugar is your secret weapon for that moist, chewy texture. For the cocoa powder, I’ve tried this with natural and Dutch-processed. While both work, Dutch-processed gives a darker color and a smoother, less acidic chocolate flavor that I adore. And please, don’t skip the vanilla extract—it rounds out the chocolate and makes it taste richer and more complex. I learned that the hard way on batch number two; the cookies tasted flat without it.
Equipment Needed
- Large mixing bowls (2)
- Electric hand mixer or stand mixer
- Measuring cups and spoons
- Whisk
- Rubber spatula
- Baking sheets
- Parchment paper or silicone baking mats
- Wire cooling rack
Your most crucial tool here is a good mixer. You’ll be creaming butter and sugars for a few minutes, and doing that by hand is a serious arm workout I don’t recommend. I’m a devout convert to silicone baking mats for cookies—they promote even baking and perfect bottoms without any risk of sticking. If you only have parchment paper, that works beautifully too. A wire cooling rack is also essential; letting these rich cookies cool directly on the hot pan will continue cooking them and can lead to a drier cookie. I made that mistake once, and the texture just wasn’t the same.
Step-by-Step Instructions
I start by preheating my oven to 350°F (175°C) and lining my baking sheets. Then, in a medium bowl, I whisk together the flour, cocoa powder, baking powder, and salt. Getting this uniform now prevents over-mixing later, which is key for a tender cookie. In my large mixing bowl, I cream the softened butter with both sugars for a good 2-3 minutes until it’s light and fluffy. This step incorporates air, giving the cookies structure. Then I beat in the eggs, one at a time, letting each fully incorporate before adding the next, followed by the vanilla. The mixture might look a little curdled at this point—that’s okay! It all comes together.
Now, here’s where patience pays off. I add my dry ingredient mix to the wet ingredients in two batches, mixing on low speed until just combined. The second I can’t see any more dry flour, I stop the mixer. Overworking the dough is the enemy of a fudgy texture. Then, I fold in the chocolate chips with a rubber spatula. The dough will be thick, sticky, and gloriously dark. I use a cookie scoop (about 2 tablespoons worth) to portion the dough onto the sheets, leaving plenty of room for spreading. I gently press them down just a touch.(See the next page below to continue…)