Step-by-Step Instructions
First, I get the beef going. I heat my large skillet over medium-high heat, crumble in the ground beef, and cook it until it’s no longer pink, breaking it up as I go. This is where the first great smell hits! I drain any excess grease—this is crucial, or your wrap will be oily. Then, I stir in the taco seasoning and water, let it bubble away for about 5 minutes until a thick, fragrant sauce coats the beef. I take it off the heat; this filling needs to cool just slightly so it doesn’t immediately melt everything when we assemble.
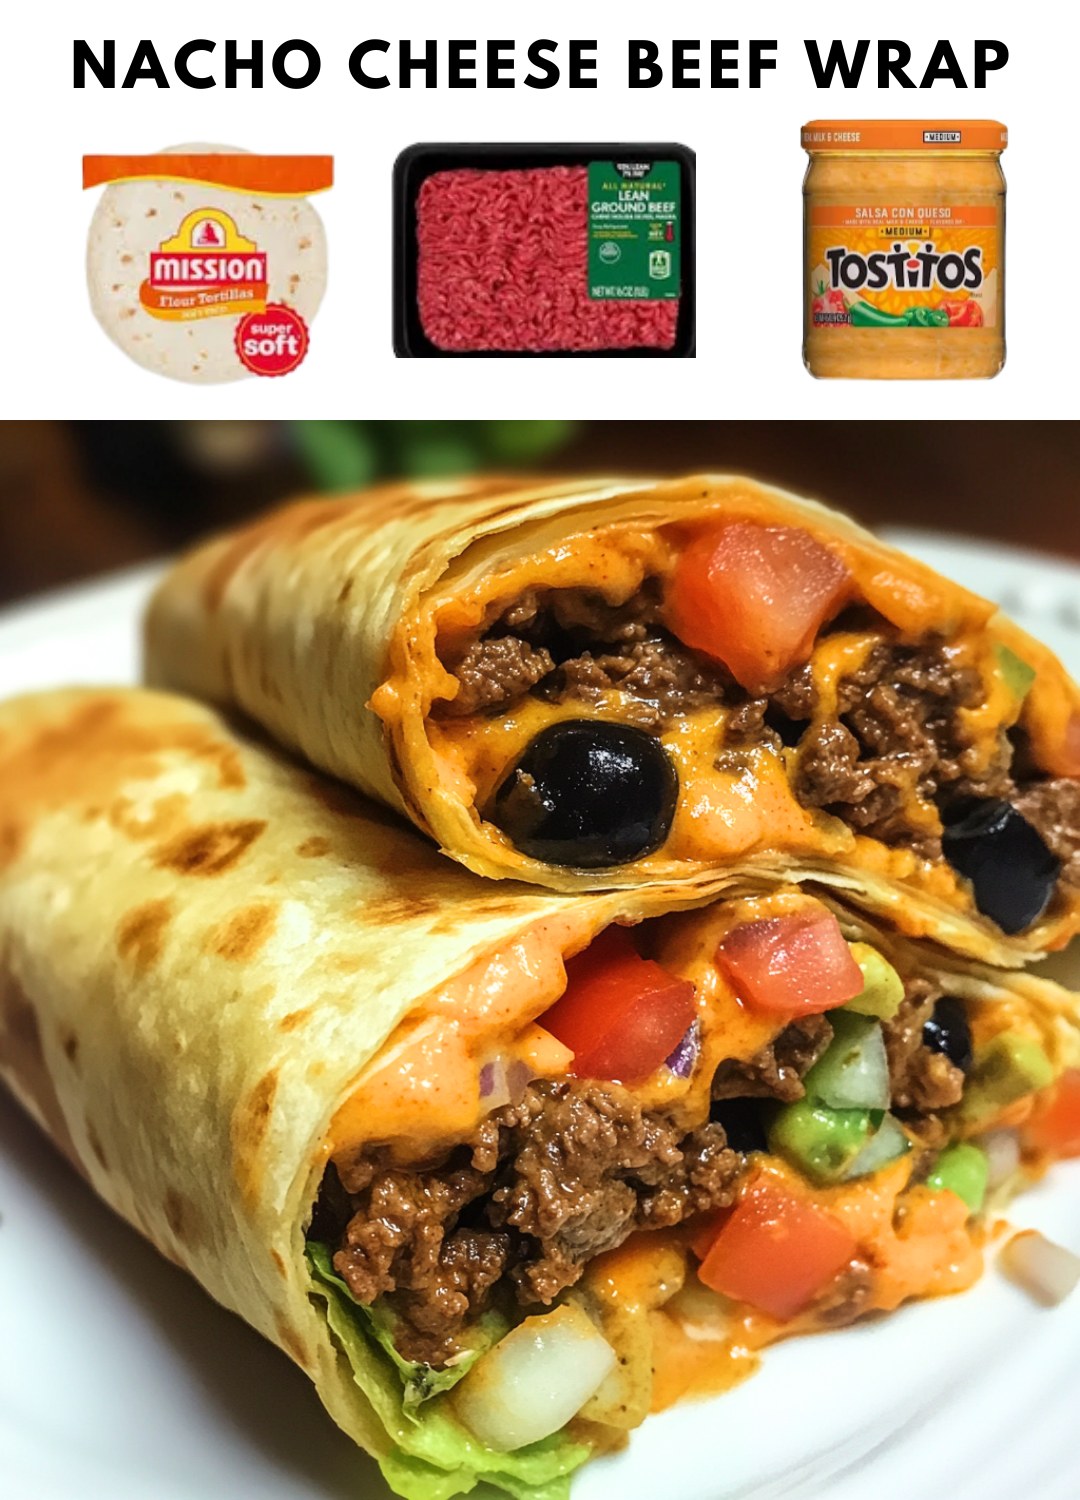
Now, for the all-important assembly line. I lay my giant tortillas on a clean surface. The mission, as my scribbled recipe note says, is to “Treat Tortillas” right, so I warm them until they’re softsoft—this is key to a roll that doesn’t tear. I spread a generous two tablespoons of nacho cheese sauce down the center of each tortilla, leaving a border. Then, I divide the beef mixture on top of the sauce, followed by a hearty handful of shredded cheddar, some lettuce, tomato, and jalapeños if I’m feeling spicy.
The final act is the roll. I fold in the sides about an inch, then, starting from the bottom, I roll it up as tightly as I can, tucking the filling in with my fingers. Sometimes a little cheese escapes, and that’s okay. To get that perfect golden finish, I wipe out the same skillet I used for the beef, give it a tiny spray of oil, and heat it over medium. I place each wrap seam-side down and cook for 2-3 minutes per side, until beautifully toasted with grill marks. The sizzle and the smell are your rewards.
Pro Tips for Best Results
My biggest tip is all about temperature management. I used to try to roll the wraps while the beef was piping hot, and it just steamed the tortilla into a soggy, tear-prone mess. Letting the filling cool for even 5-7 minutes before assembling was a game-changer. It keeps the tortilla intact and makes the rolling process so much less frantic. I tested this three different ways, and the slightly-cooled filling won, hands down.
Another revelation was to not overstuff. I know, it’s tempting to pack in every last bit of that delicious beef, but a truly successful wrap is about balance and structural integrity. Aim for about 3/4 cup of the beef mixture per tortilla. This leaves you enough room to get a proper fold and roll, ensuring every bite has a bit of everything without the dreaded “burrito blowout” on the first bite.
Finally, press down gently during the toasting phase. Once you place the wrap seam-side down in the hot skillet, don’t just leave it. Use your spatula to press down lightly for the first 30 seconds. This helps seal the seam and ensures an even, crispy toast across the entire surface. I’ve found this creates that delightful contrast of crispy exterior and soft, melty interior that makes this wrap truly exceptional.
Common Mistakes to Avoid
The first time I made these, I was in a hurry and skipped warming the tortillas. Big mistake. A cold tortilla cracks the second you try to fold it, leading to a leaky, frustrating mess. No matter what, take 30 seconds to warm them until they are pliable. Whether you use a microwave (damp paper towel works great) or a dry skillet, this step is non-negotiable for a professional-looking, easy-to-eat wrap.
Another classic error is adding wet ingredients like sour cream or salsa inside before cooking. I made this mistake once, and the wrap became a soggy, un-toastable disaster. Keep the wet condiments—sour cream, extra salsa, guacamole—for dipping or drizzling on top after the wrap is toasted and cut. This keeps the structure crisp and lets each component shine without turning into a mushy interior.
(See the next page below to continue…)