Next, in another bowl, I beat the softened cream cheese with my electric mixer until it’s smooth and creamy. Then, I gradually add in the powdered sugar and vanilla extract, blending them until there are no lumps. While that’s going on, I whip the heavy cream in a separate bowl until stiff peaks form. I gently fold this whipped cream into the cream cheese mixture until it’s light and airy. The combination fills my kitchen with the sweetest aroma!
Now comes the exciting part! I take my chilled crust out of the fridge and pour the cheesecake filling over it, spreading it evenly. After that, I place the cheesecake back in the fridge to set for about four hours, but if you can wait overnight, it’s even better! The anticipation of cutting into that creamy cheesecake is simply thrilling!
While the cheesecake is setting, I make a quick blackberry sauce. In a saucepan, I cook the fresh blackberries with sugar over medium heat until they soften and release their juices. I blend the mixture until it’s smooth, then strain it to remove the seeds. This is what I mainly look forward to – the sweet-tart smell of simmering blackberries is just heavenly!
Pro Tips for Best Results
In my kitchen adventures, I’ve discovered that using room-temperature cream cheese is crucial for a smooth filling. If it’s too cold, you’ll end up with lumps no one wants to see, trust me—I learned that the hard way! Another tip is to whip your cream to stiff peaks carefully; this helps keep the cheesecake light without collapsing. I always take my time with it!
If you’re in a pinch, you can substitute the fresh blackberries with frozen ones, just make sure to taste and adjust the sugar since they’re often sweeter. I’ve tried it both ways, and while fresh blackberries win on texture, the frozen ones still hold up quite nicely.
Finally, don’t shy away from personalizing your cheesecake! I love adding a bit of lemon zest to the filling for an added zing. It really adds depth to the flavor and brightens up the whole experience.
Common Mistakes to Avoid
One mistake I made early on was using a glass pan instead of a springform pan. If you want clean, beautiful slices, a springform pan is a must-have! This allows the cheesecake to set beautifully without any mess, instead of struggling to remove it from the dish. (See the next page below to continue…)
Another issue I often faced was not allowing the cheesecake to set long enough. Giving it adequate time to chill is essential for the perfect slice. Don’t rush this step; it’s worth it! I learned the hard way that a half-set cheesecake tends to be too gooey to cut properly.
Also, be cautious when folding in the whipped cream. It’s important to maintain that light and airy texture. Think of it as a gentle hug rather than a shove! Over-mixing here can lead to a denser cheesecake than desired.
Finally, when making the blackberry sauce, be careful with the heat levels. Cooking it too high can scorch the berries, leaving an unpleasant taste. Just remember to stay patient and let them simmer gently for the best result!
Serving Suggestions
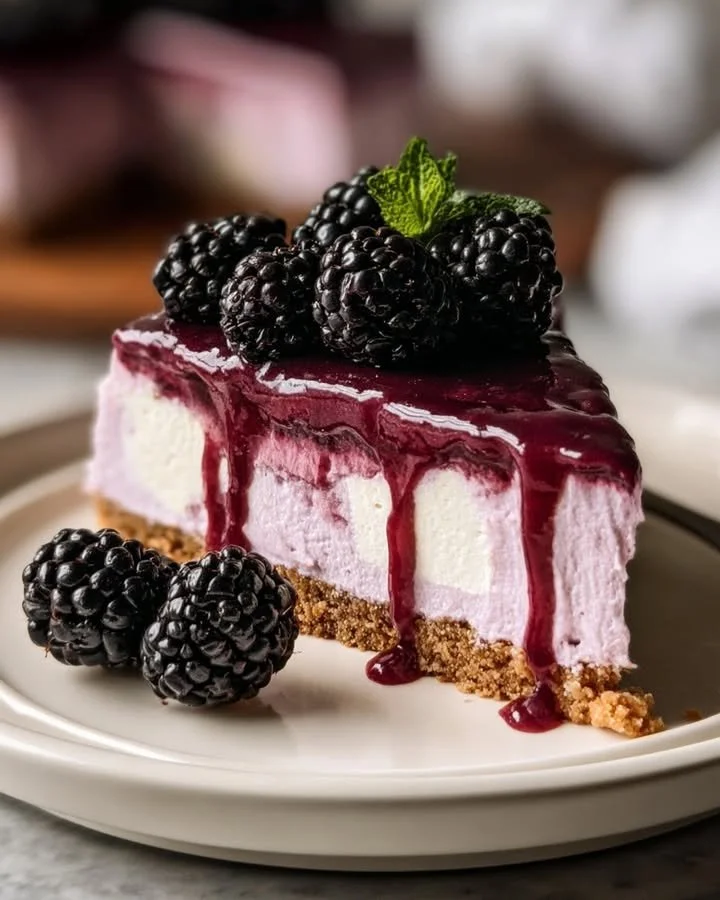
When it comes time to serve, I love to garnish the top of my No-Bake Blackberry Cheesecake with fresh blackberries and a drizzle of the blackberry sauce. It elevates the look of the dessert and makes it even more irresistible. I can almost hear my family’s joyful oohs and aahs when they see it!
Another fun idea is to serve slices of cheesecake alongside a dollop of whipped cream. This not only adds a lovely creaminess but also makes the dessert feel extra luxurious. I sometimes sprinkle a few crushed graham crackers on top for an extra crunch too!
If you’re hosting a gathering, consider pairing each slice with a refreshing glass of iced tea or lemonade. The tartness of the drink complements the sweetness of the cheesecake perfectly, and it makes for a delightful summer afternoon.
Variations & Customizations
There’s so much room for creativity with this cheesecake! If blackberries aren’t your favorite, you can easily replace them with raspberries or strawberries for a different twist. I’ve made a raspberry version that was equally heavenly, with the bright color and tangy flavor making it an instant hit!
If you want to make it a bit richer, adding a layer of white chocolate to the filling can elevate it beautifully. Just melt some white chocolate and fold it in with the cream cheese mixture. This makes for a cheesecake that’s delightfully decadent, perfect for special occasions!
For a fun twist, try making mini versions of this cheesecake in cupcake liners! They are great for parties, and everyone loves their individual portions. Just adjust the setting time, as they will firm up quicker than a large cheesecake.
How to Store, Freeze & Reheat
Storing your No-Bake Blackberry Cheesecake is super simple! Just pop any leftovers in an airtight container and place them in the fridge. It will stay fresh for about three to five days, although I doubt it will last that long! The flavors tend to meld even more after a day, making it just as delicious when you go back for seconds.
If you want to prepare it in advance, freezing is an option! To freeze, I wrap the cheesecake tightly in plastic wrap and then in aluminum foil. It can be kept in the freezer for about two months. When you’re ready to serve it, simply transfer it to the fridge to thaw overnight before serving.
And reheating? Well, there’s no need for that with a no-bake cheesecake! It’s best served chilled straight from the fridge. Just remember to let it sit at room temperature for about 10 minutes before slicing for the easiest cut!
Conclusion
I hope you’re as excited to make this No-Bake Blackberry Cheesecake as I always am! It’s a fantastic recipe that brings joy and flavor without any fuss. Whether it’s a quiet night in or a lively gatherings with friends, this cheesecake is sure to make everyone smile. Happy baking (or no-baking in this case)! Enjoy!